
How to Create Inquiry Form in Drupal? Instructions
Contact forms are an integral part of any modern website, especially for businesses that want customers to contact them quickly or send detailed questions. In this article, I’ll show you step-by-step how to prepare a business-specific inquiry form in Drupal. I invite you to read the article or watch a video of the “Nowoczesny Drupal” series.
What do you need to build an inquiry form?
To build a contact form in Drupal, you’ll use the Webform module. This advanced tool allows you to create various types of forms with rich configuration options.
It’s worth mentioning that Webform provides:
- support for different types of fields (e.g., text, selection, attachments),
- an extensive support system with instructional videos,
- integration with additional modules that extend its functionality.
Creating an inquiry form
To proceed with installing and creating the inquiry form, you need a ready-made Drupal environment. Then, follow the steps below.
Step 1: Install the Webform module
- Install the Webform module and activate all necessary submodules.
- After activating the module, a new subcategory - Forms - will appear in the Structure menu.
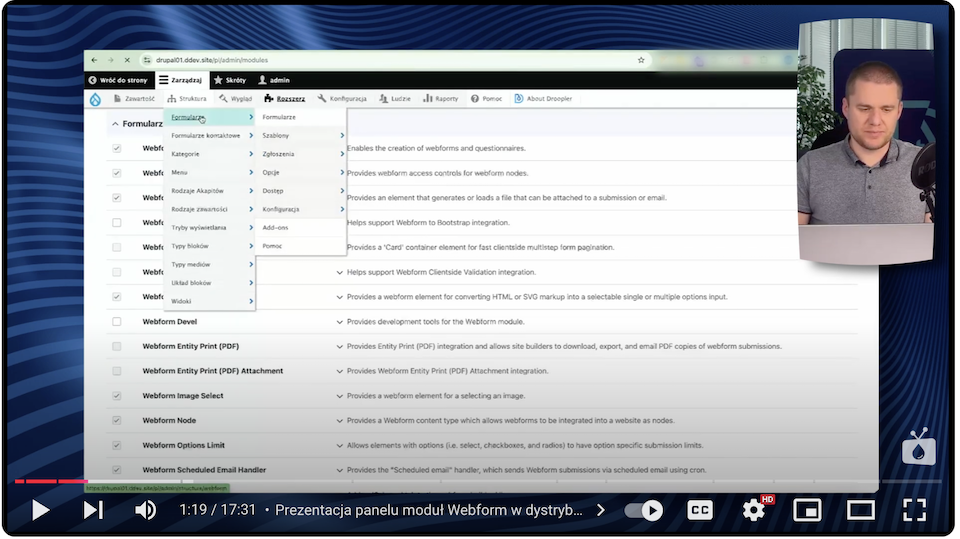
This option enables you to manage forms, review submissions, and edit existing forms.
Step 2: Create a basic contact form
To create a basic form on a landing page or website:
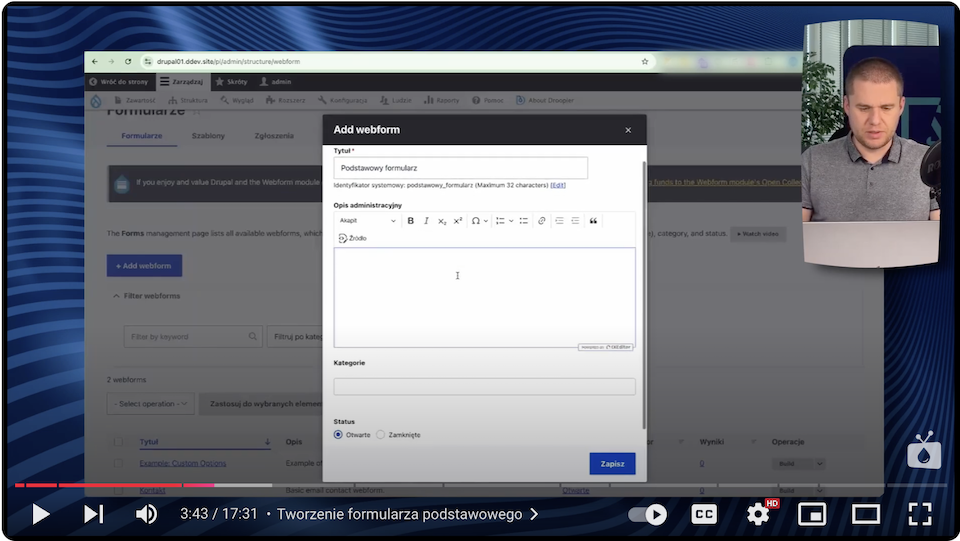
- Go to the Forms section and select Add Webform.
- Give the form a name, such as "Basic Contact Form."
- Optionally add an administrative description and assign a category.
Step 3: Add fields in the inquiry form
In the Build tab, you can add more form elements. Example fields for a simple form are:
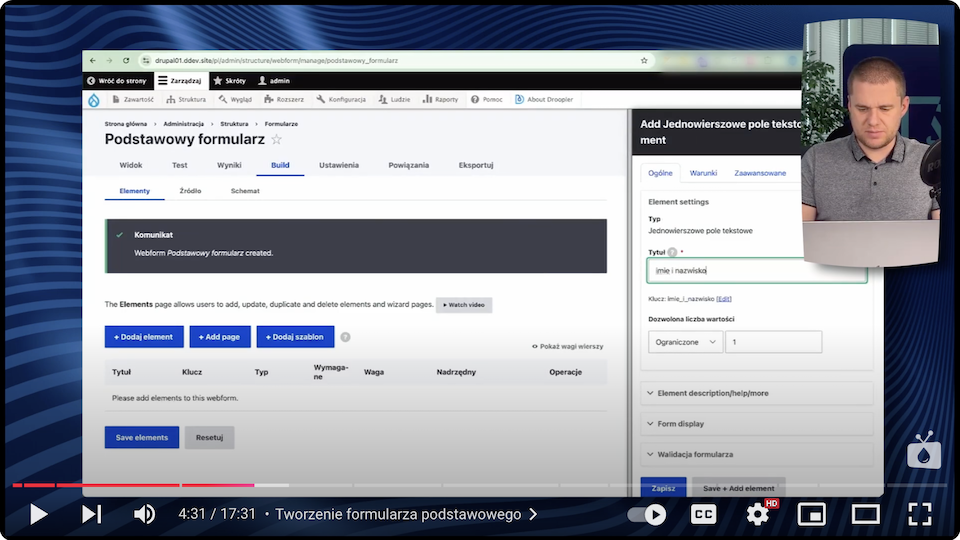
- Name (one-line text field)
- Limit the value to 1.
- Adding description: "Enter your name."
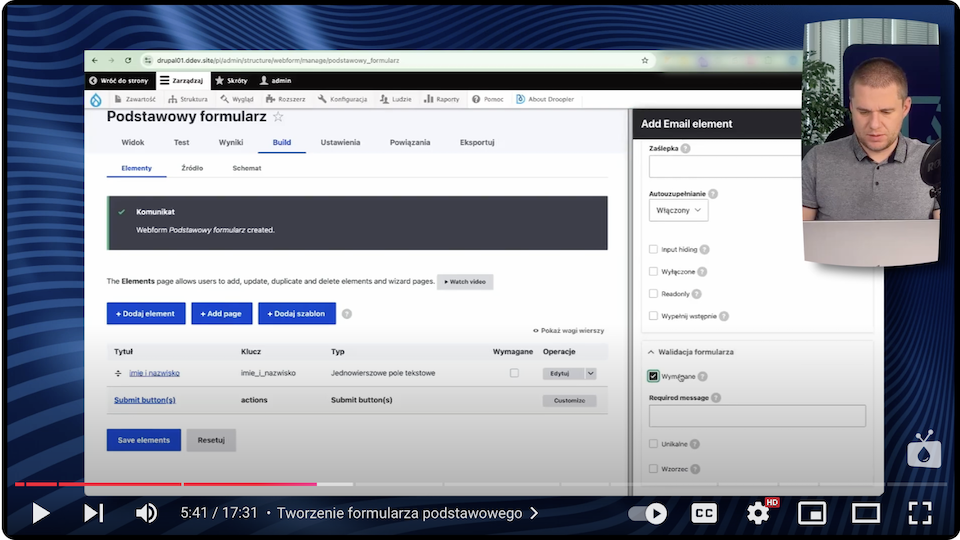
- Email address (email field)
- Mark as a required field.
- Message (multi-line text field).
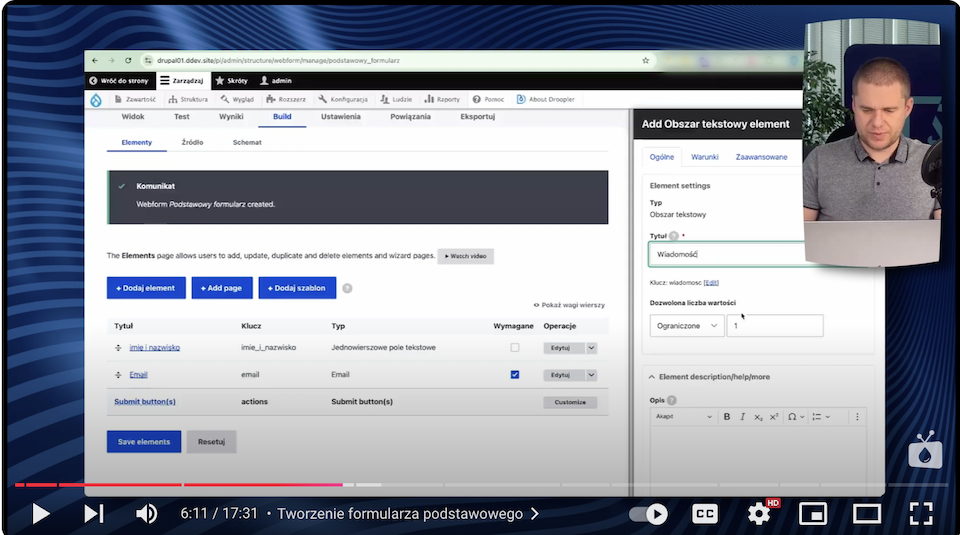
After saving the form, you can test it by selecting View.
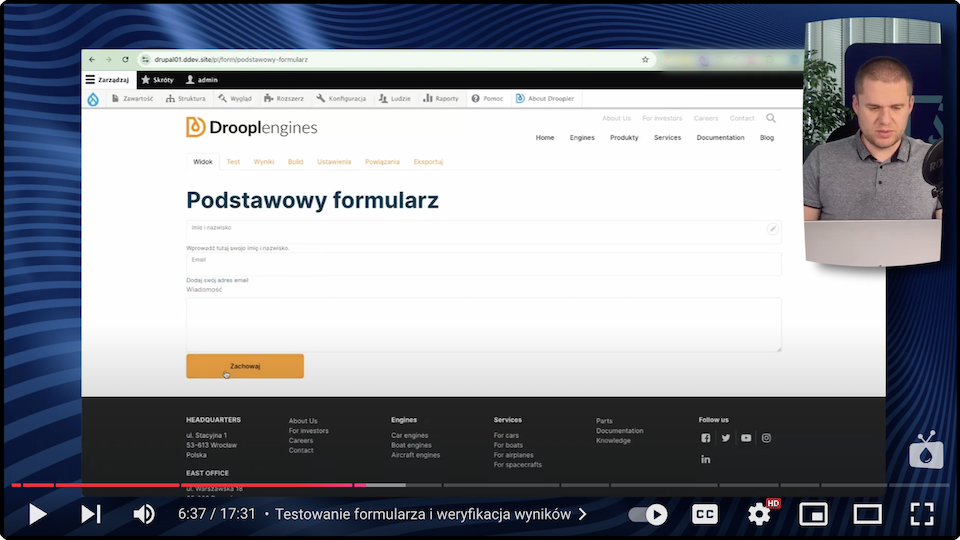
Step 4: Create an advanced inquiry form
For a company with specific business characteristics, you can create a more sophisticated form with additional fields. I’ll create one, for example, for a company that sells energy performance certificates:
- Address of the apartment/house (address field)
- It includes fields for city, postal code, and province.
- Apartment/home area (single-line text field).
- Room height (single-line text field).
- Type of heating (check box with a list of options, such as gas boiler, electric heater, other).
- Apartment floor plan (file type field)
- Maximum file size: 20 MB.
- Supported extensions: PDF, JPG.
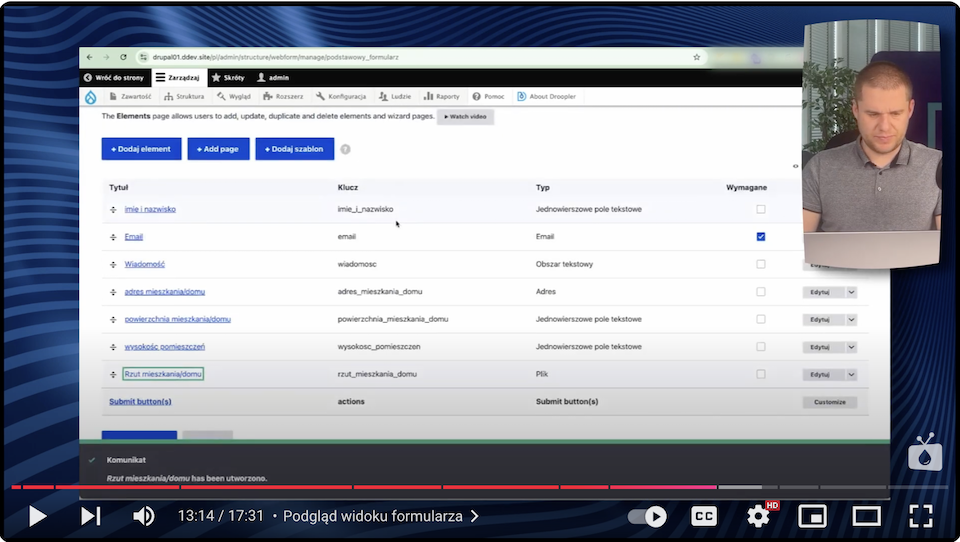
You can add all fields in the Build tab and drag them to the appropriate places for a logical form structure.
Step 5: Test the form and manage submissions
After configuring the inquiry form, you can:
- Test its operation in the View tab.
- Manage submissions in the Results tab, where options are available:
- export data in CSV, JSON, and YAML formats,
- delete notifications,
- import data from CSV files.
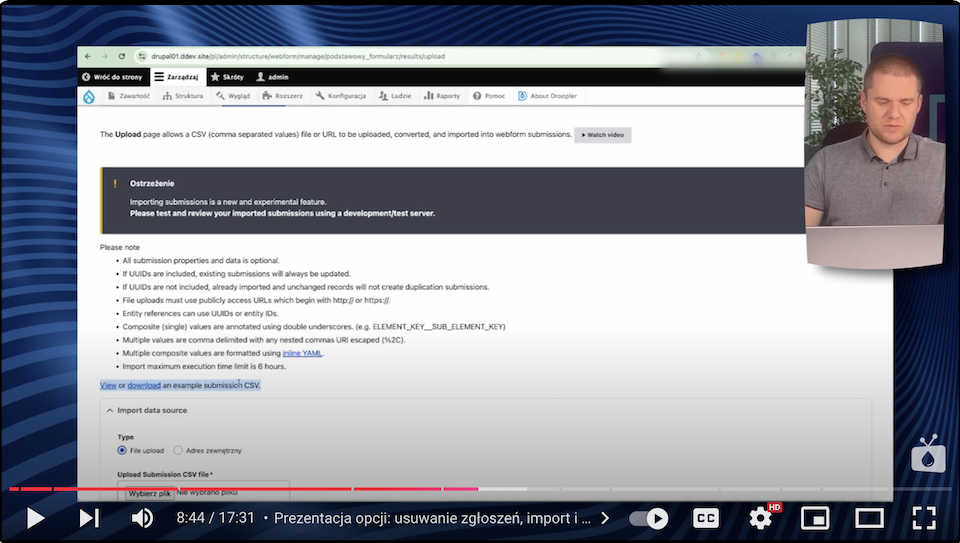
Step 6: Configure the inquiry form settings
The Webform module allows extensive configuration of forms. In the Settings tab, you can:
- specify the behavior of the form after submission (e.g., emailing, redirecting),
- configure limits on the number of requests,
- define user permissions to fill out forms.
You can read more about additional features and settings of the Webform module in the article about the multi-step form.
Drupal inquiry form - summary
Creating forms in Drupal using the Webform module is simple yet offers tremendous opportunities for personalization. From simple contact forms to job application forms to advanced inquiries, the possibilities are virtually endless.
Remember that a well-designed form is the key to effective communication with clients. If you need support in building it or embedding it on your website, get help from our experienced Drupal agency developers.


