What Is a Local Development Environment and How to Generate It?
We use multiple environments when developing software. We care most about the production environment which is accessible to all users. In the test environment, we check that the changes we make function as they should. There is also a local environment - we could say it is the most important one. It is where application development and maintenance starts. What exactly is it, what does it provide us with and how do we generate it? Let's get down to specifics.
What is a local development environment?
This is a group of systems on our computer that will allow us to run the application we’re developing. It’s a safe place where we can experiment without fear of getting anything wrong. Our local environment is accessible only to us and any change to it can be undone without any consequences. In addition, this environment should resemble the test and production environment as much as possible. This is to avoid unpleasant situations when deploying to these environments.
In the local environment, we also often install additional modules, allowing us to write and debug our code more easily. Sounds cool? Let us then move on to the next step.
How to set up a local development environment?
To begin with, let us consider what we’ll need. In this article, we’ll focus on launching Drupal. This is a web application, so we’ll definitely need a web server. Here we can choose between two popular solutions - Apache and Nginx. On top of that, Drupal is written in PHP, so we’ll need its interpreter. Finally, let us add some kind of database because we need to keep our data somewhere, right? This way, we already have the three systems we need to kick off our fun. We can install them separately and configure them one by one. This will work but we don’t have to agonize like this. Someone has already done it for us.
Tools for generating a local development environment
These are ready-made solutions that will create our desired local environment in a few steps. In addition, they will give us an interface for managing it. Let us analyze what we can choose from.
Lando
Lando is one of the tools that will generate a ready-made environment for us in a few simple steps. It’s based on Docker and Docker Compose. It gives us a level of abstraction over these tools, making them easier to use. Then how do we create this environment? We use a single, slightly long command.
mkdir my-drupal-environment \
  && cd my-drupal-environment \
  && lando init \
    --source remote \
    --remote-url https://www.drupal.org/download-latest/tar.gz \
    --remote-options="--strip-components 1" \
    --recipe drupal9 \
    --webroot . \
    --name my-drupal-environment
When all goes according to plan, we should see the following message:
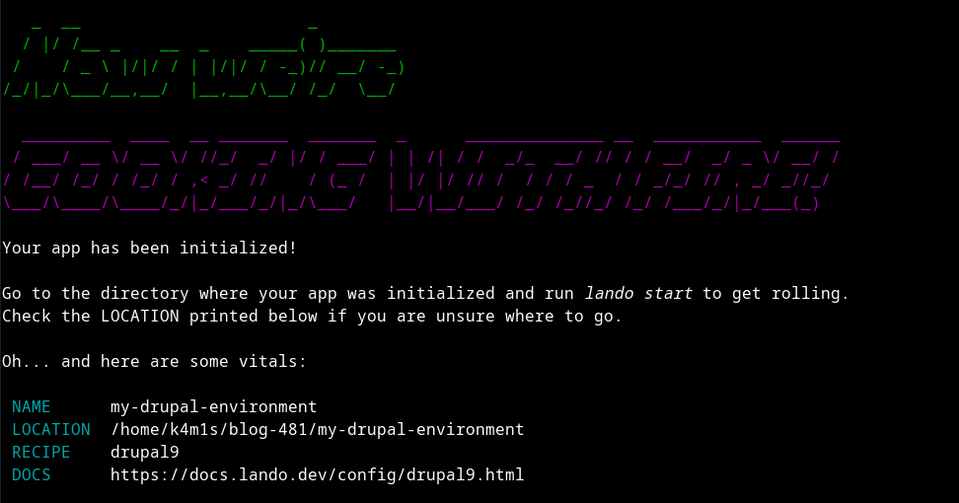
What next? It’s simple - we need to launch our environment. How do we do that? We’ll use the lando start command which will launch the Docker containers we need. After everything is completed, we shall get the message:
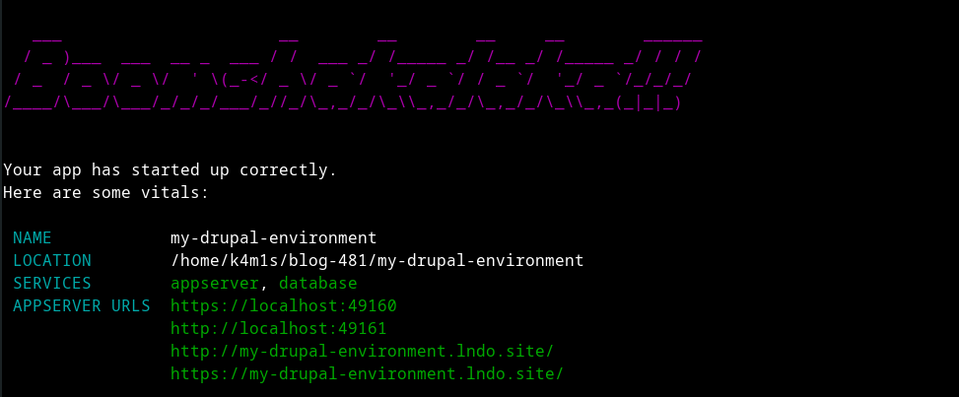
When we follow the link that Lando gives us, we’ll notice the Drupal installation website. This means that the local environment, created using Lando, is ready. Now we can continue with the development of our application. More information about Lando is available in the official documentation.
Ddev
This tool is actually a direct competitor to Lando. Like the solution above, Ddev takes advantage of the benefits of Docker and Docker Compose. Then let’s create an environment using this tool!
We’ll start by creating a Drupal installation. We'll use Composer for this.
composer create-project drupal/recommended-project my-local-drupal-install
cd my-local-drupal-install
We’ll now run the Ddev config command.
ddev config
This tool is clever enough to detect for itself where our docroot directory is and what type of project it is. In fact, all we have to do is to click on enter. Now, as directed, we type ddev start. This will download the required images and create the containers. The result of this command looks roughly as follows:
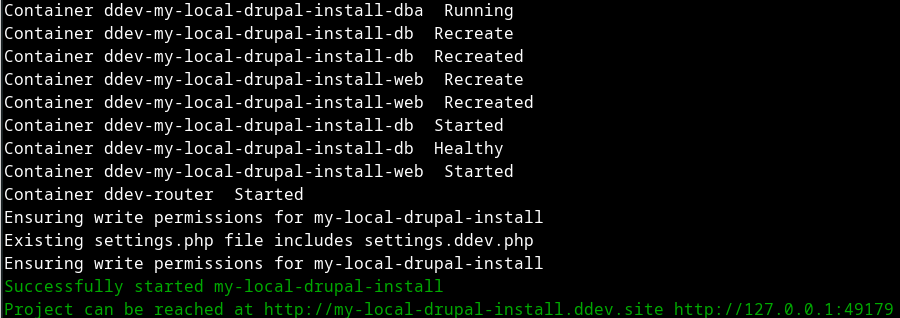
We can see here the address to our website, and this means that our environment is ready! We recommend taking a look at the documentation of this tool to explore more details.
Xampp
Xampp is a simple software that launches the systems we need, directly on our computer. The advantage of this tool is lower consumption of our computer resources and ease of installation and operation. The downside of this solution is that we’re often limited to a single running environment at any given time. The two preceding solutions theoretically (because at some point we’ll run out of hardware resources) offer us the possibility of creating and using an infinite number of environments.
After launching Xampp, we’ll see the following panel:
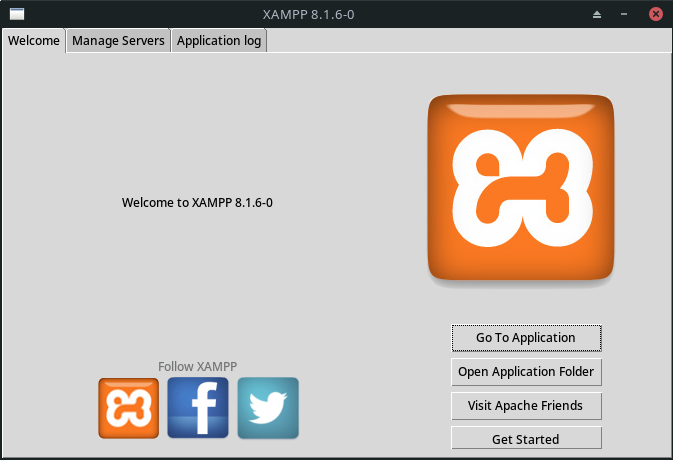
Navigating to the Manage Servers tab, we’ll notice three items.
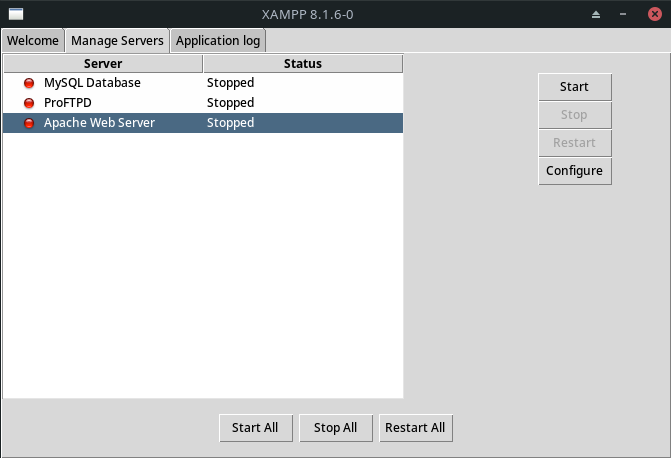
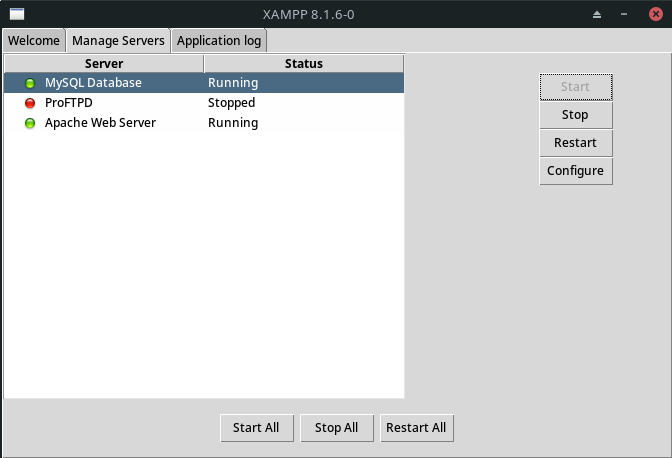
We’ll launch Apache Web Server and MySQL Database. Once the services have started, the dots next to them should glow green.
Now we need to move the files to the Xampp folder. On the welcome site, we click Open Application Folder and navigate to the htdocs directory. Next, we download the zip file containing the Drupal installation. Then, we remove everything from the htdocs folder and extract the files from the zip archive there. We should make sure that the index.php file is located directly in the htdocs directory. Finally, we navigate in the browser to http://localhost. And voila! Our local environment is just waiting for a fruitful development!
Mamp
This tool is very similar to Xampp. The difference is that Mamp is mainly aimed at macOS and Windows users. It isn’t available for Linux. When we launch this application, it automatically starts the web- and MySQL servers we need.
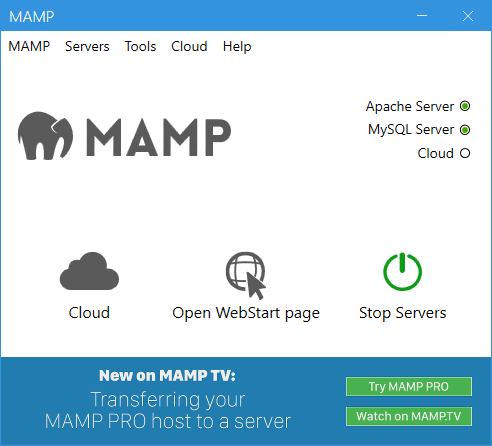
If we navigate to the localhost site in our browser, we will see a simple welcome site. There will also be information about the location of the docroot directory. In our case, it is C:/MAMP/htdocs. With this information, we can repeat the steps described for Xampp, as they will be identical.
Docker4Drupal
This solution is a prepared collection of images, optimized to work with Drupal. By reading the “images”, you’ve probably already deduced that we need Docker and Docker Compose to make it work. To create an environment using this tool, let’s start by initializing a Drupal installation using Composer.
composer create-project drupal/recommended-project my-local-drupal-installcd my-local-drupal-installNow we download and extract the latest version of Docker4Drupal, available on GitHub. We move all files from the archive to our project folder. We remove the docker-compose.override.yml file. We open the .env file. Here we can set the name of our project, URL, database access data, PHP version, and much more. Once we have dealt with the configuration, we run the make up command. Once we are done, our site will be available at the address set in the .env file (default drupal.docker.localhost:8000). We’ve completed setting up the fifth and final environment in this article. Well done!
Local development environment - summary
Local development environments are essential when creating and developing applications. It’s in these environments that we develop code safely, without worrying about the operation of the main software, available to users. As you can see, setting up such an environment isn’t difficult, so if you aren’t already using it, we highly recommend it. Improved quality and speed of work guaranteed!
And if you’re interested in Drupal websites, check out what we do as part of Drupal development.


