
How to Create a Services Page in Droopler

Together with the contact page, the services page is one of the key parts of a website. It's also one of the basic elements of an effective business website. Presenting the scope of services is usually the main purpose of its existence. We'll show you step by step how to create a services page in Droopler - a Drupal distribution.
Pages created using ready-made components
Droopler is a website builder based on predefined components. Thanks to a set of ready-made parts, it's good for building company websites for organisations of all sizes. We can easily create with it a home page and each subpage. Depending on the needs and preferences, we can use photo and text components, a gallery, a contact form, emphasise some significant numbers or direct the users to other subpages with more detailed information, such as the offered services.
Building a services page from scratch
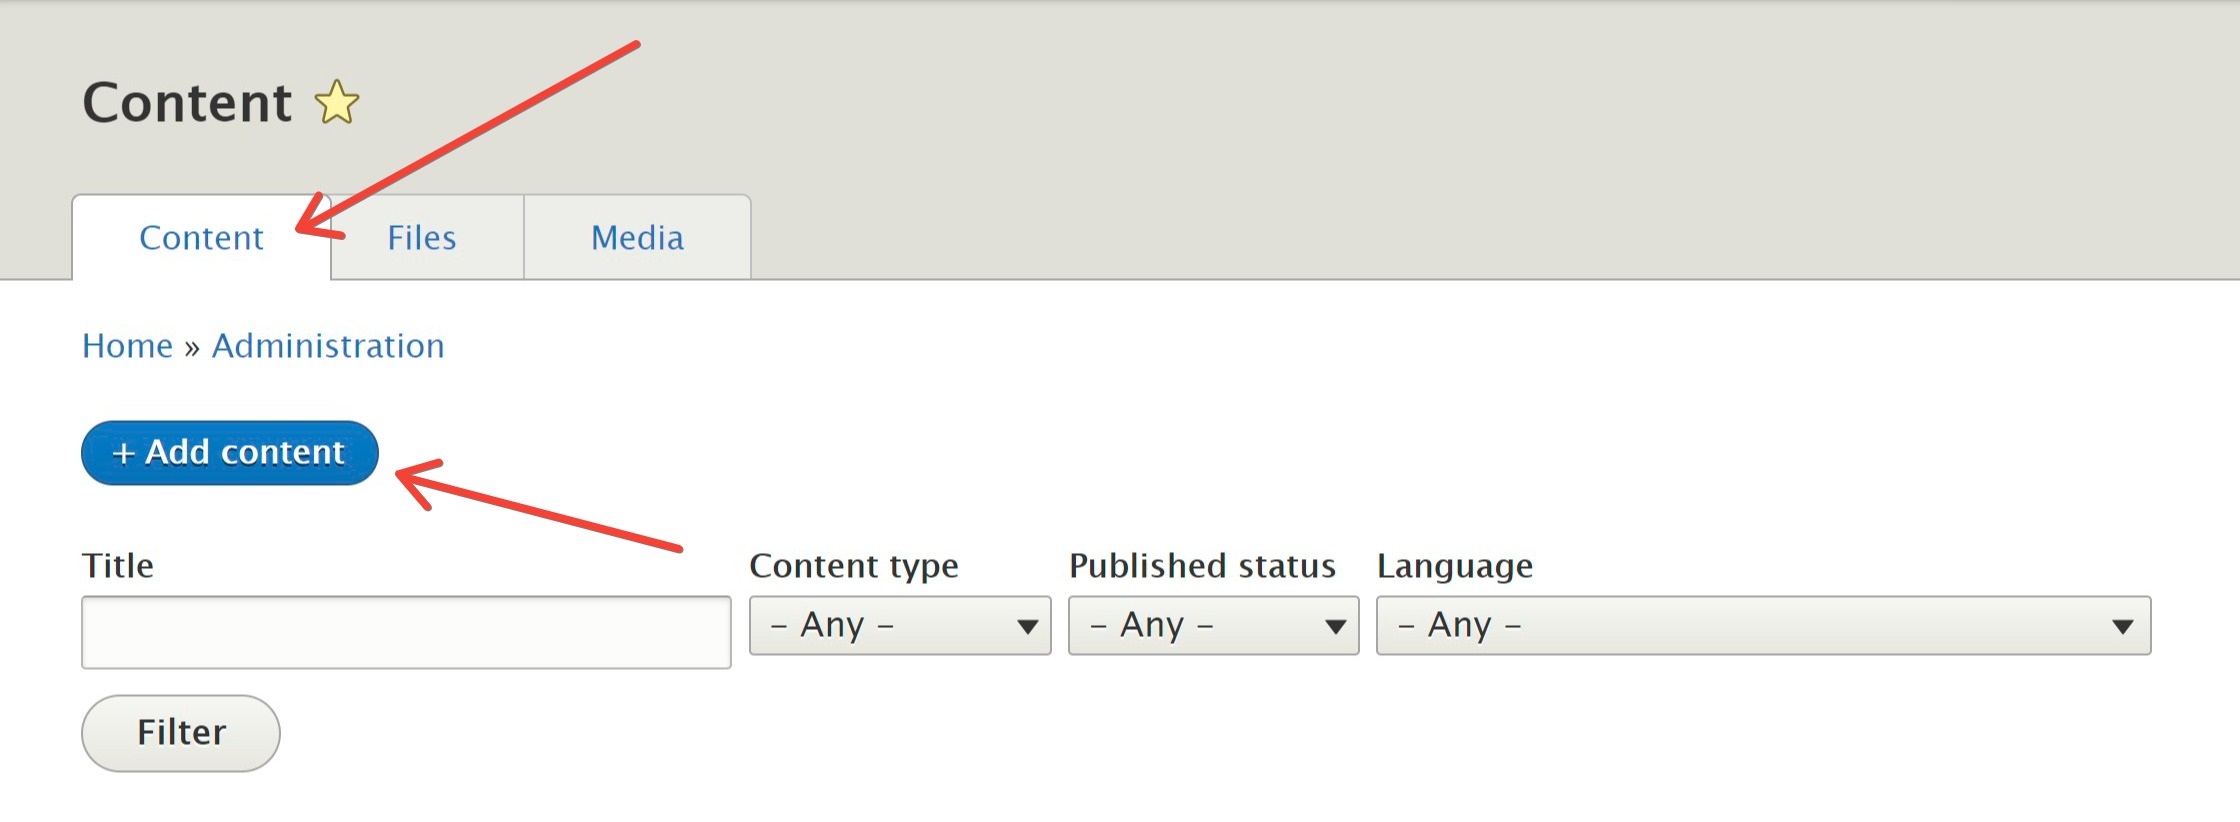
We'll start building a services page by creating a new subpage. To do this, after logging in, select Add content from the Content menu and then Content page.
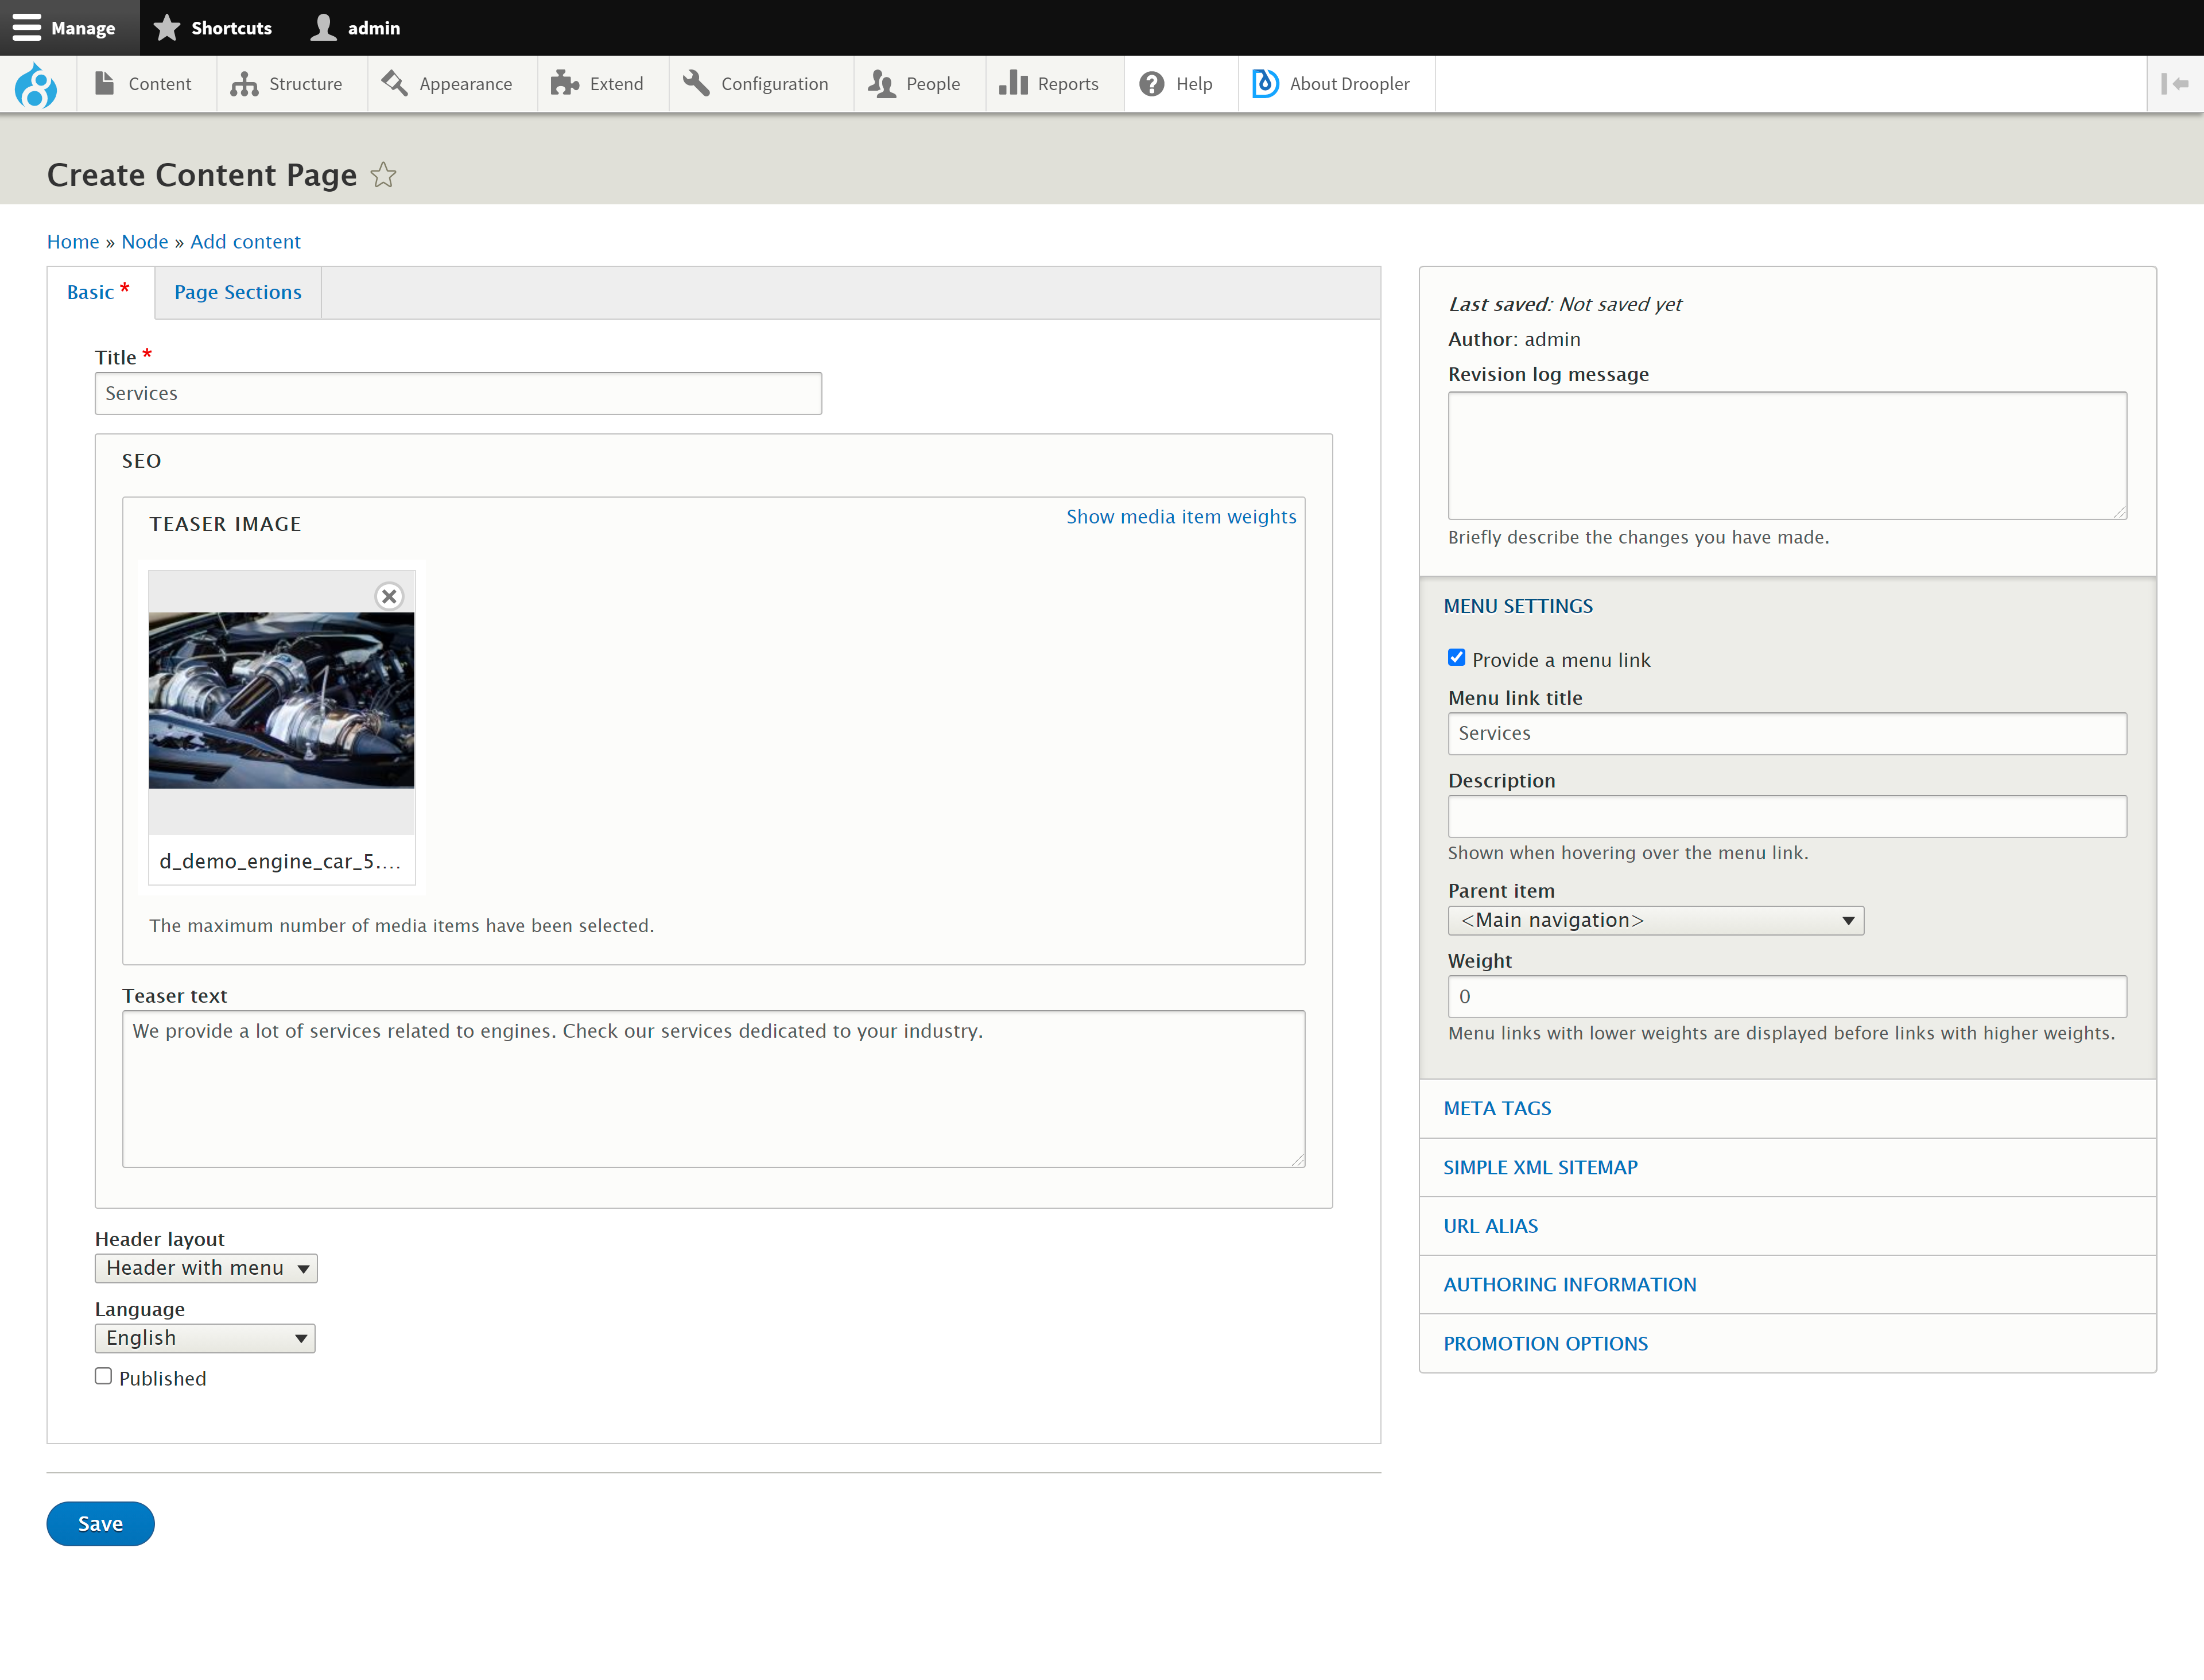
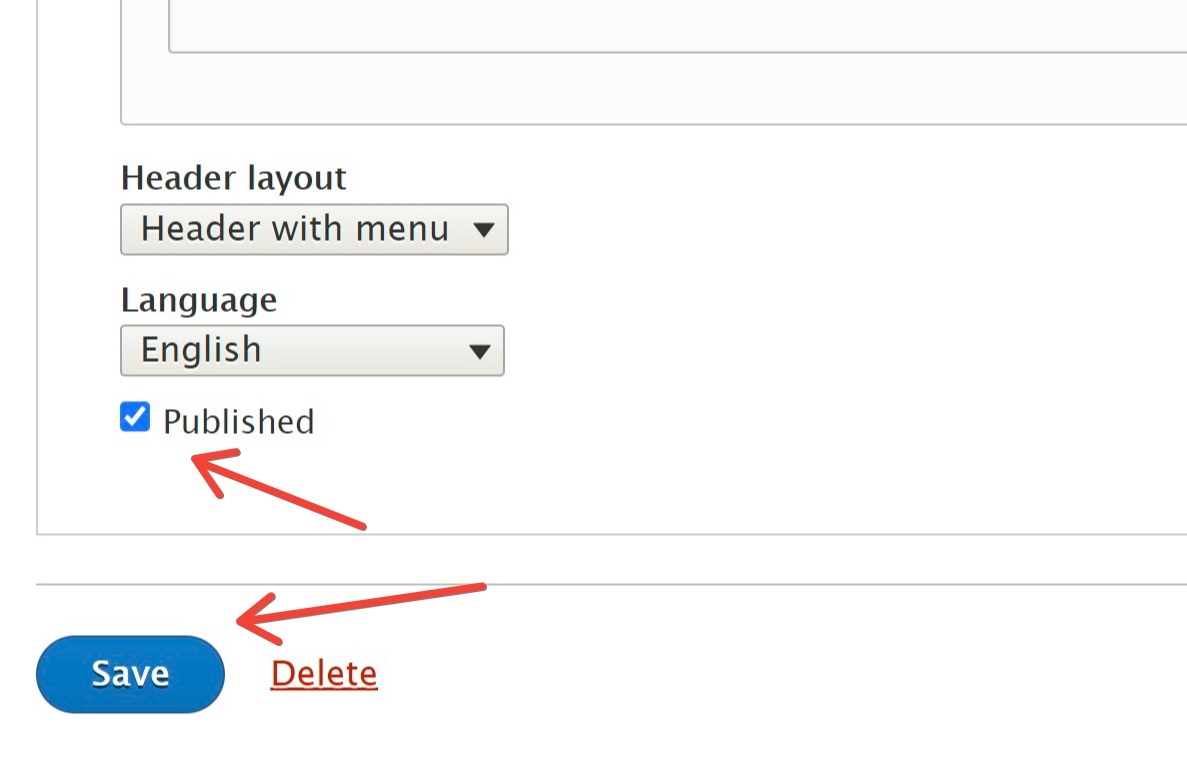
In the displayed view, we enter the title of the page. It'll be Services in our case. We also add "Teaser Image" and "Teaser text". In the options on the right, we select Provide a menu link, which will make the link to the new subpage appear in the top menu. We also enter the text that should appear as a link in the menu. It'll also be Services in our case. After filling in these fields, we deselect the Published checkbox so that our subpage isn't visible to visitors for this moment. We'll only publish it when it's finished.
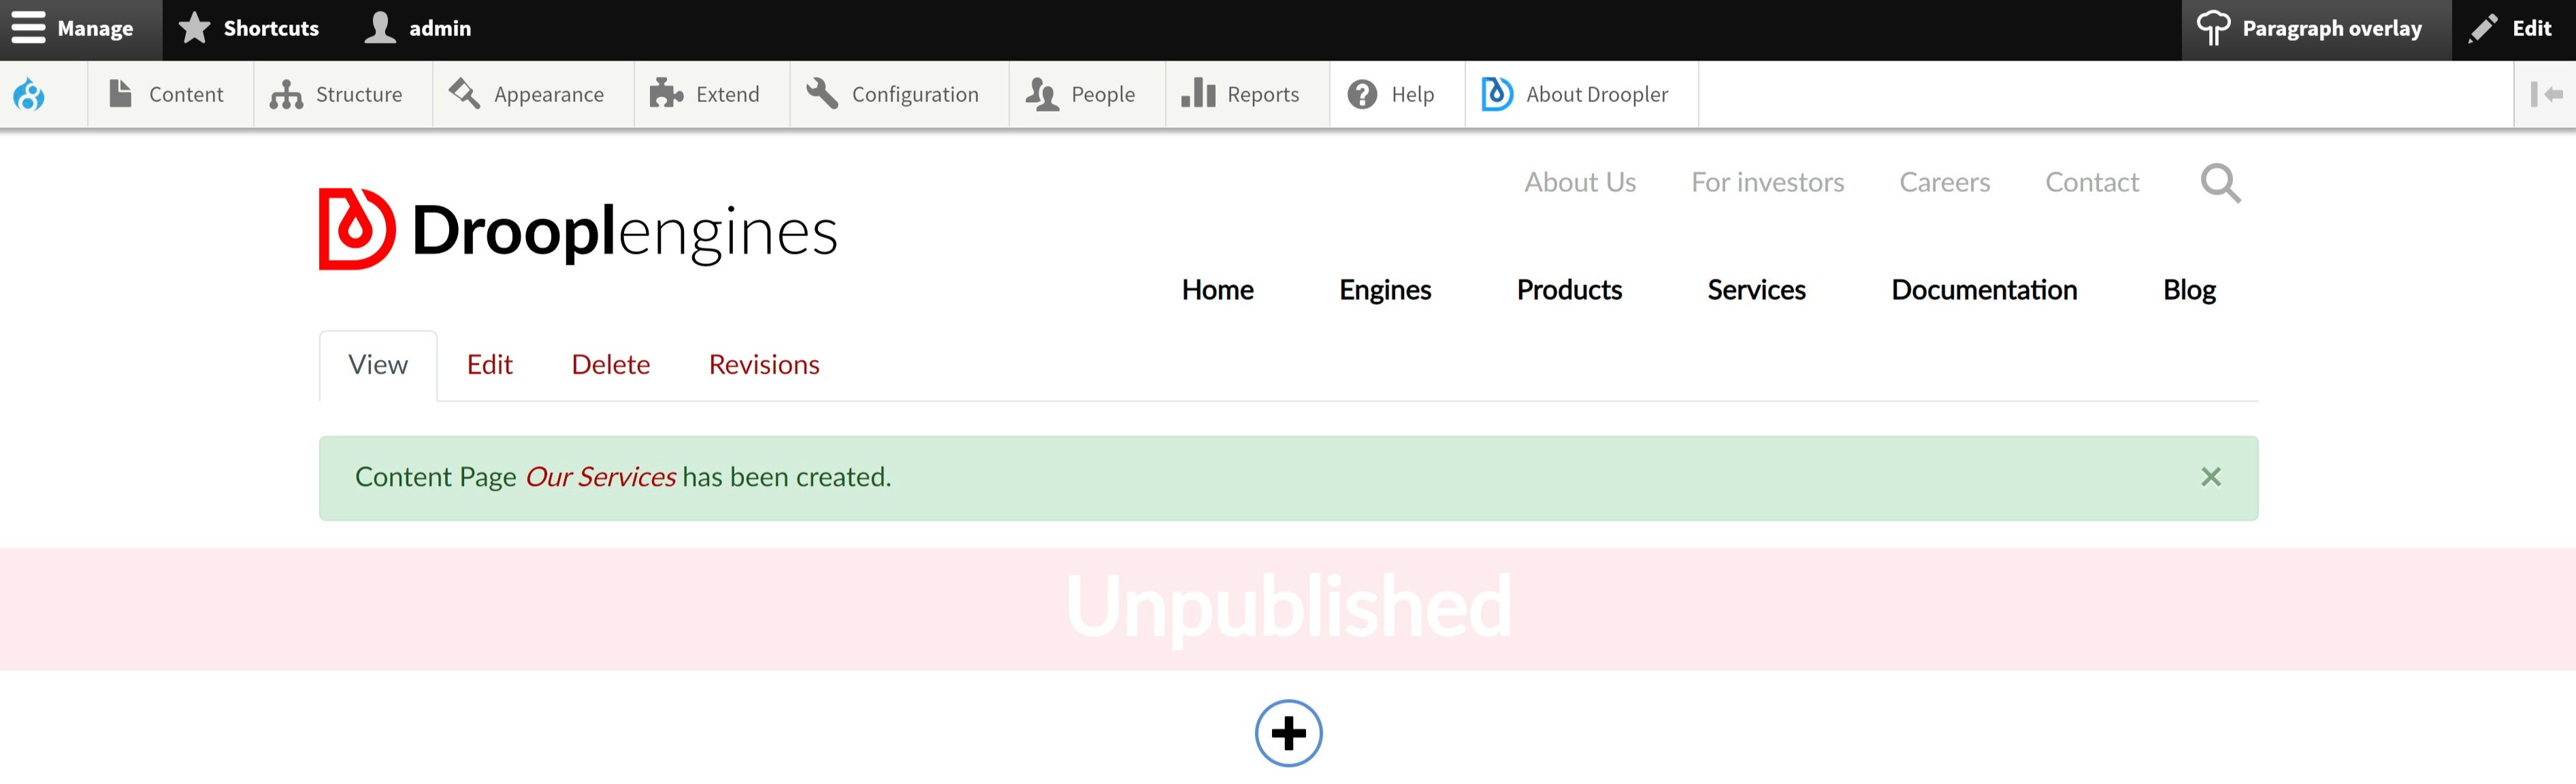
Finally, we click Save and see this:
Sidebar Image
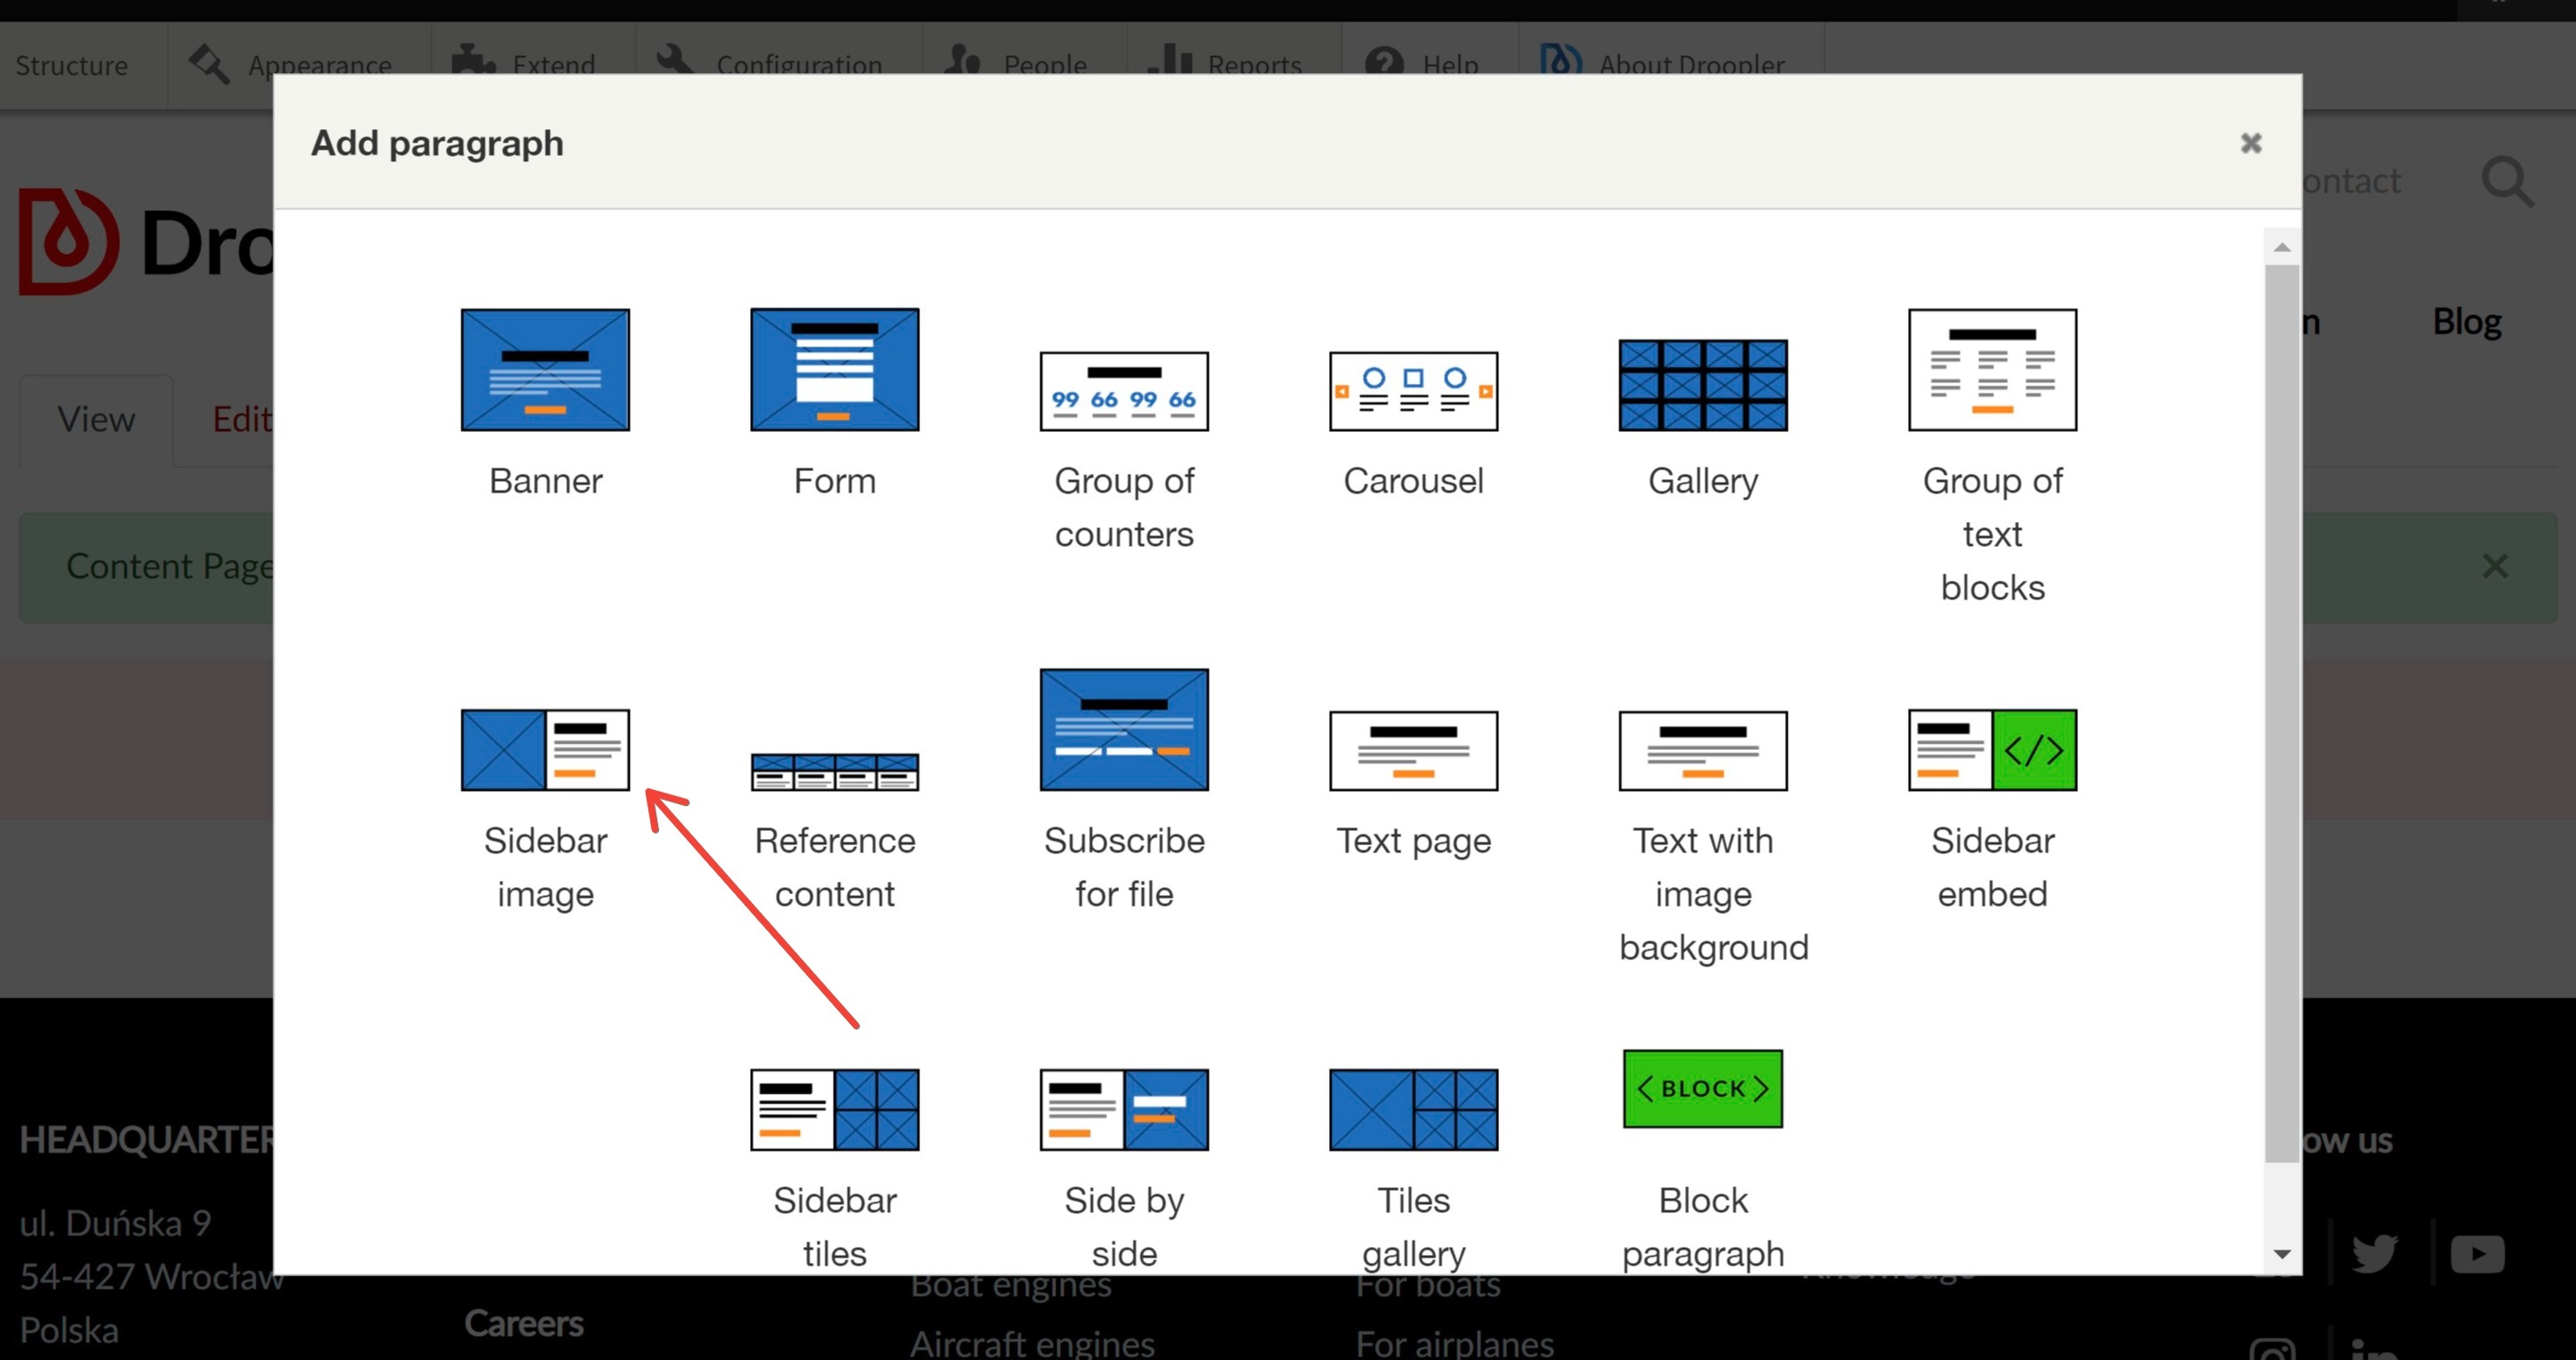
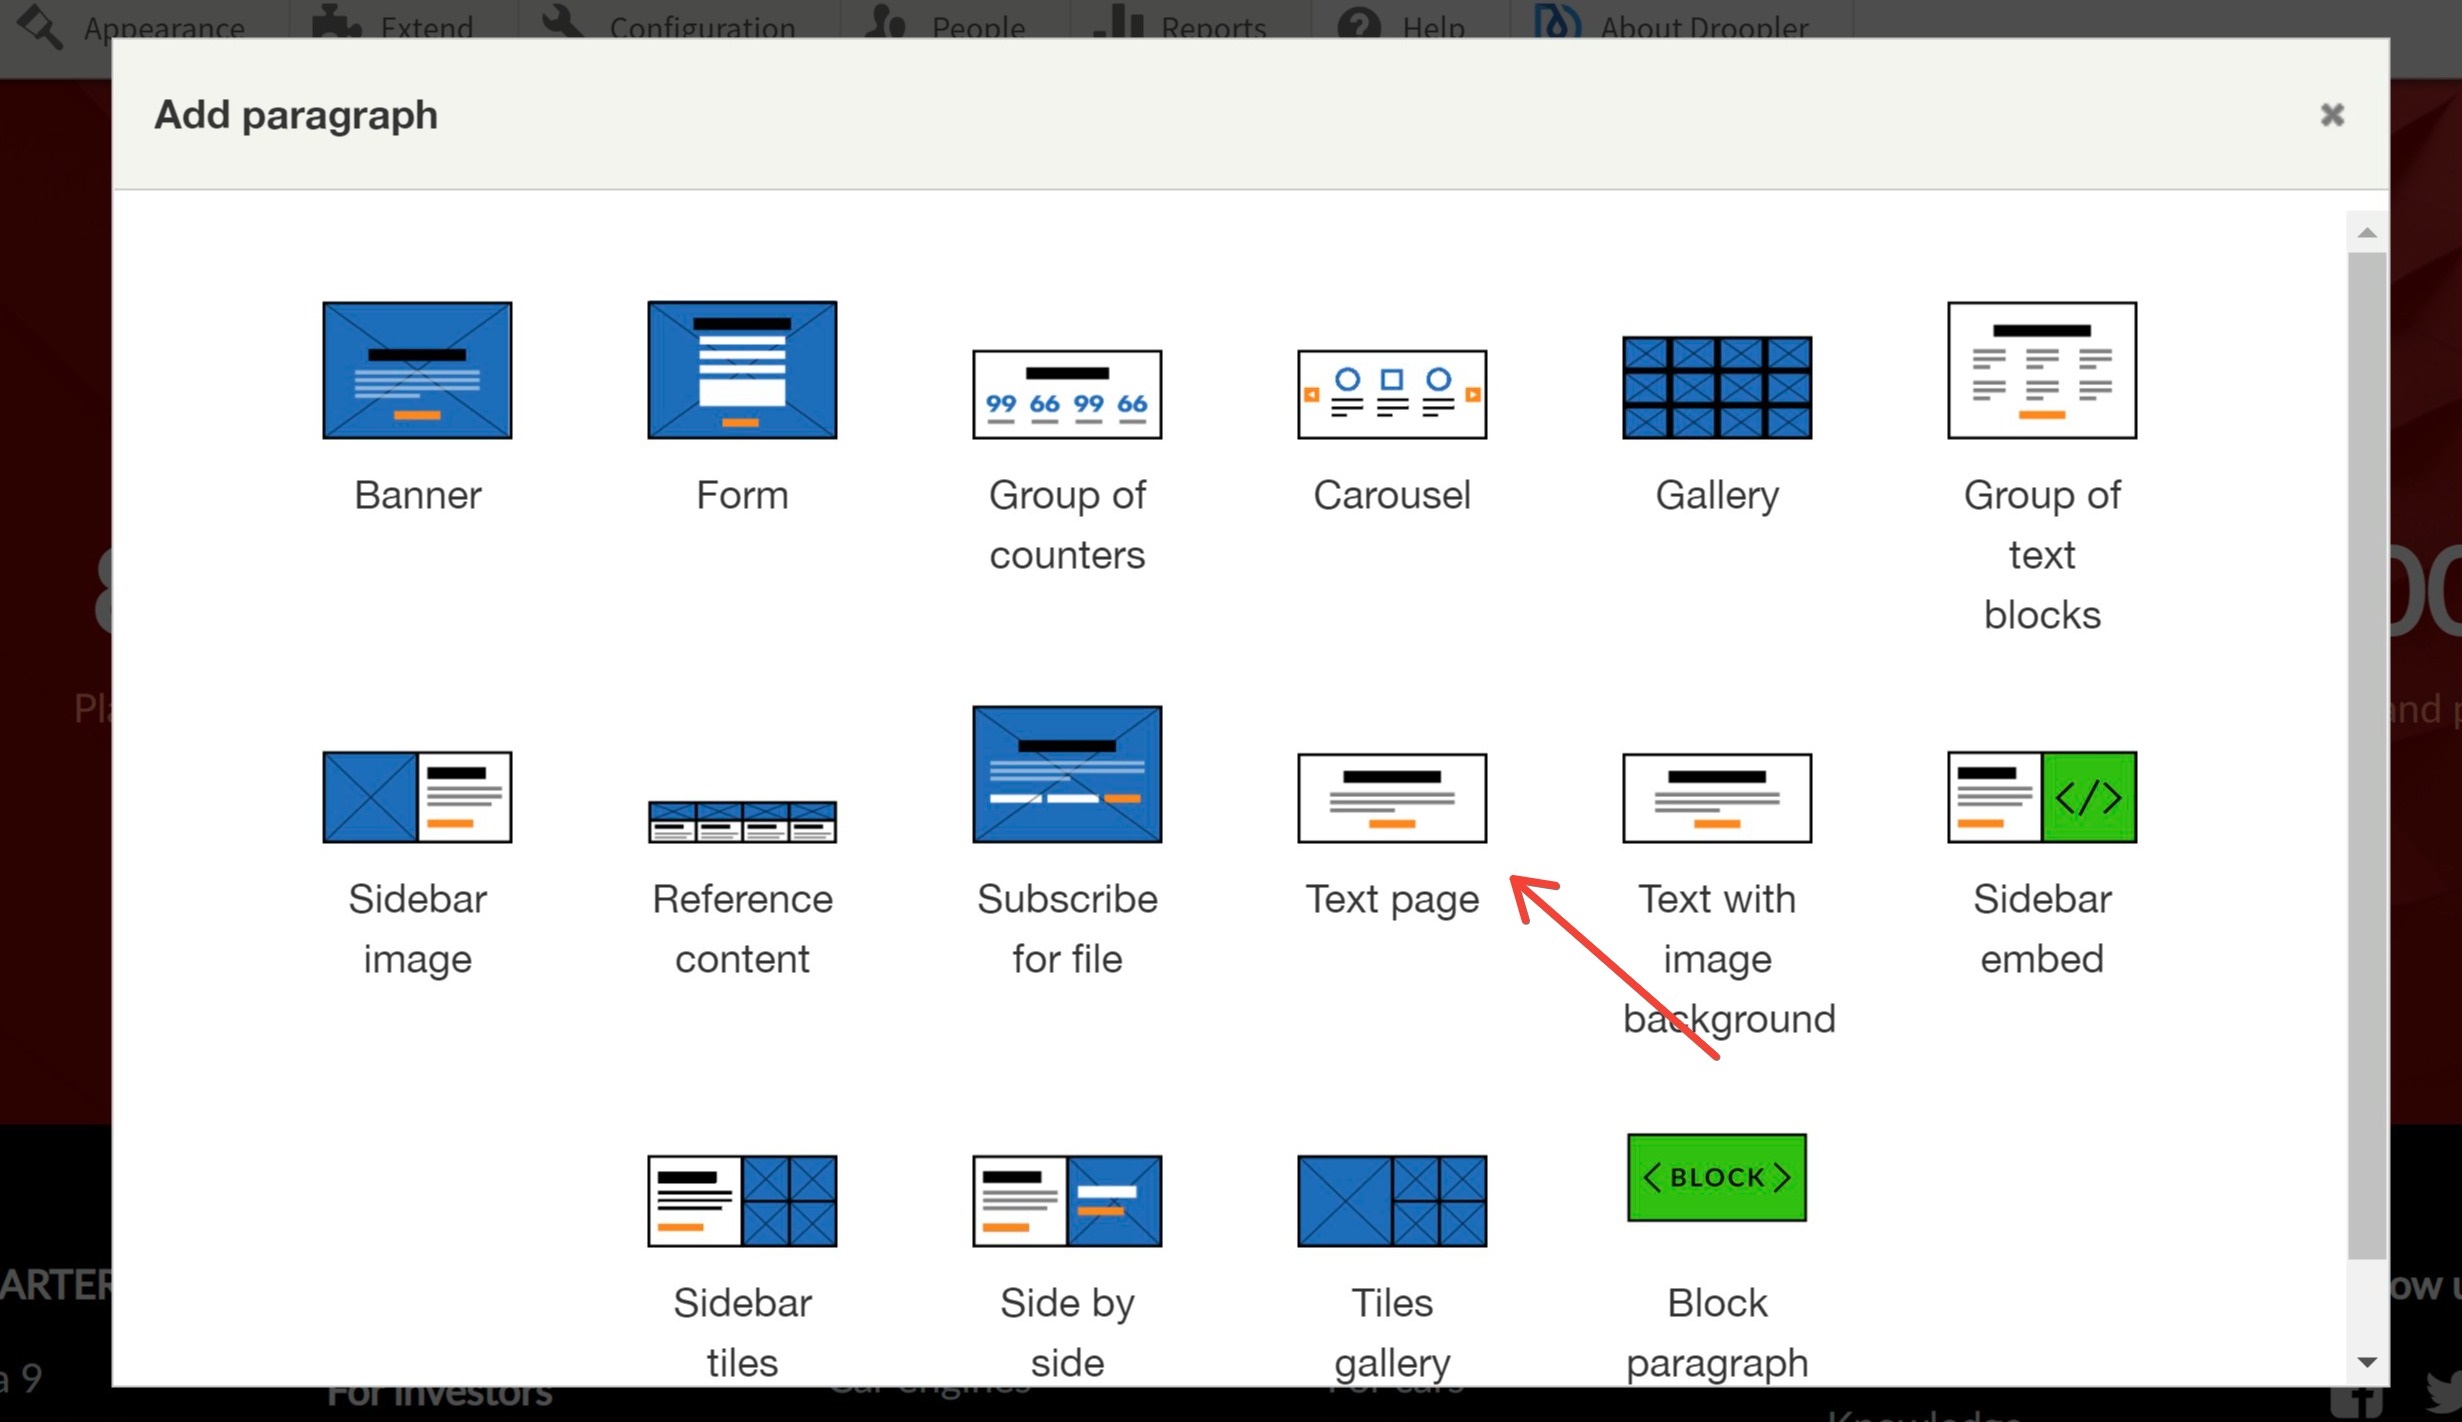
Now we can start adding components. To access the library of available items, we click the "+" in a circle button. We'll see a menu with the available options. The first item we choose will be Sidebar Image.
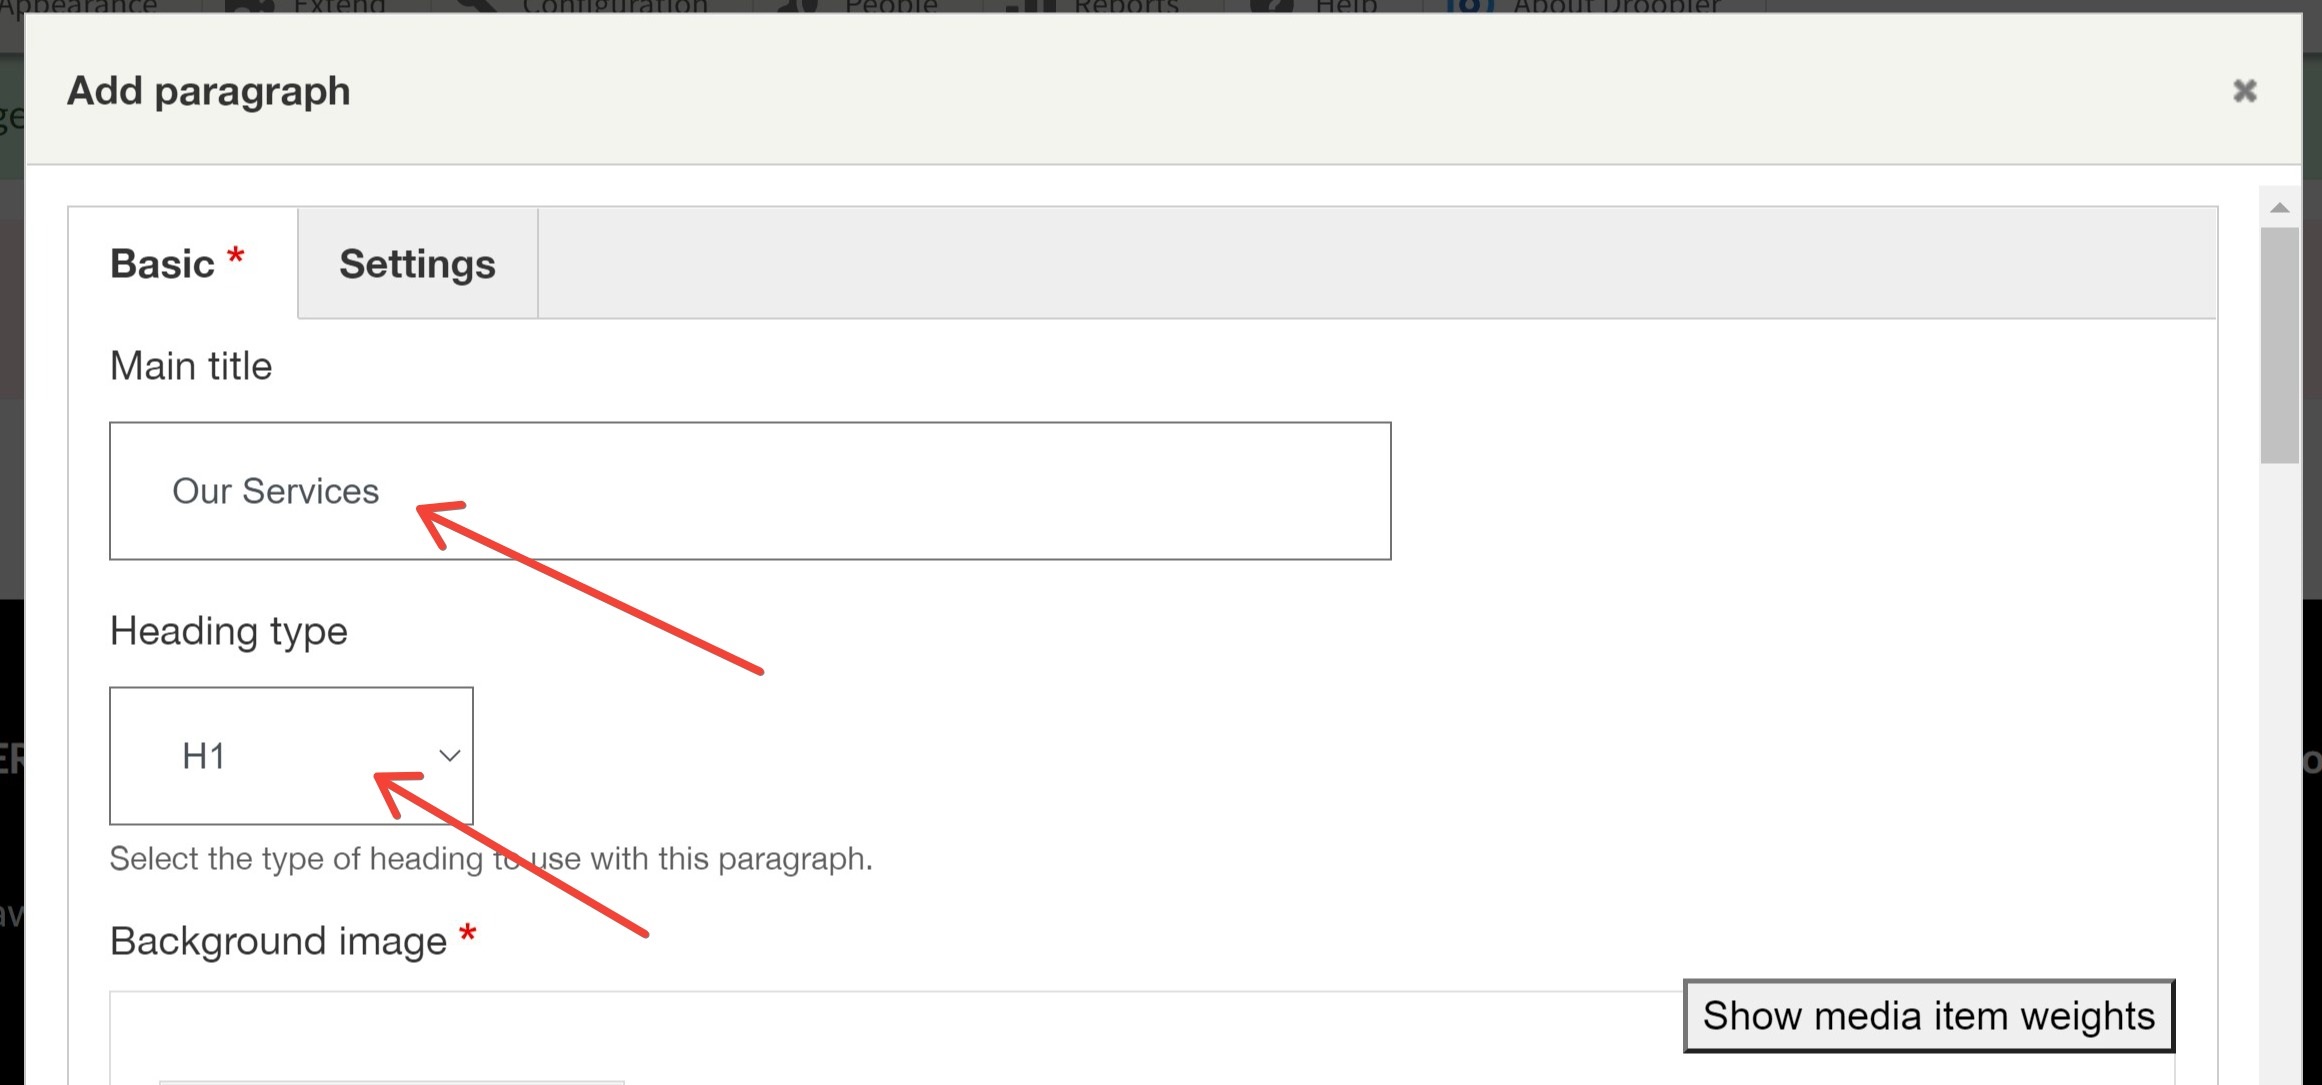
We select this paragraph and start filling in the fields. First, we enter the header (this will be the title of our subpage) and choose its type - H1.
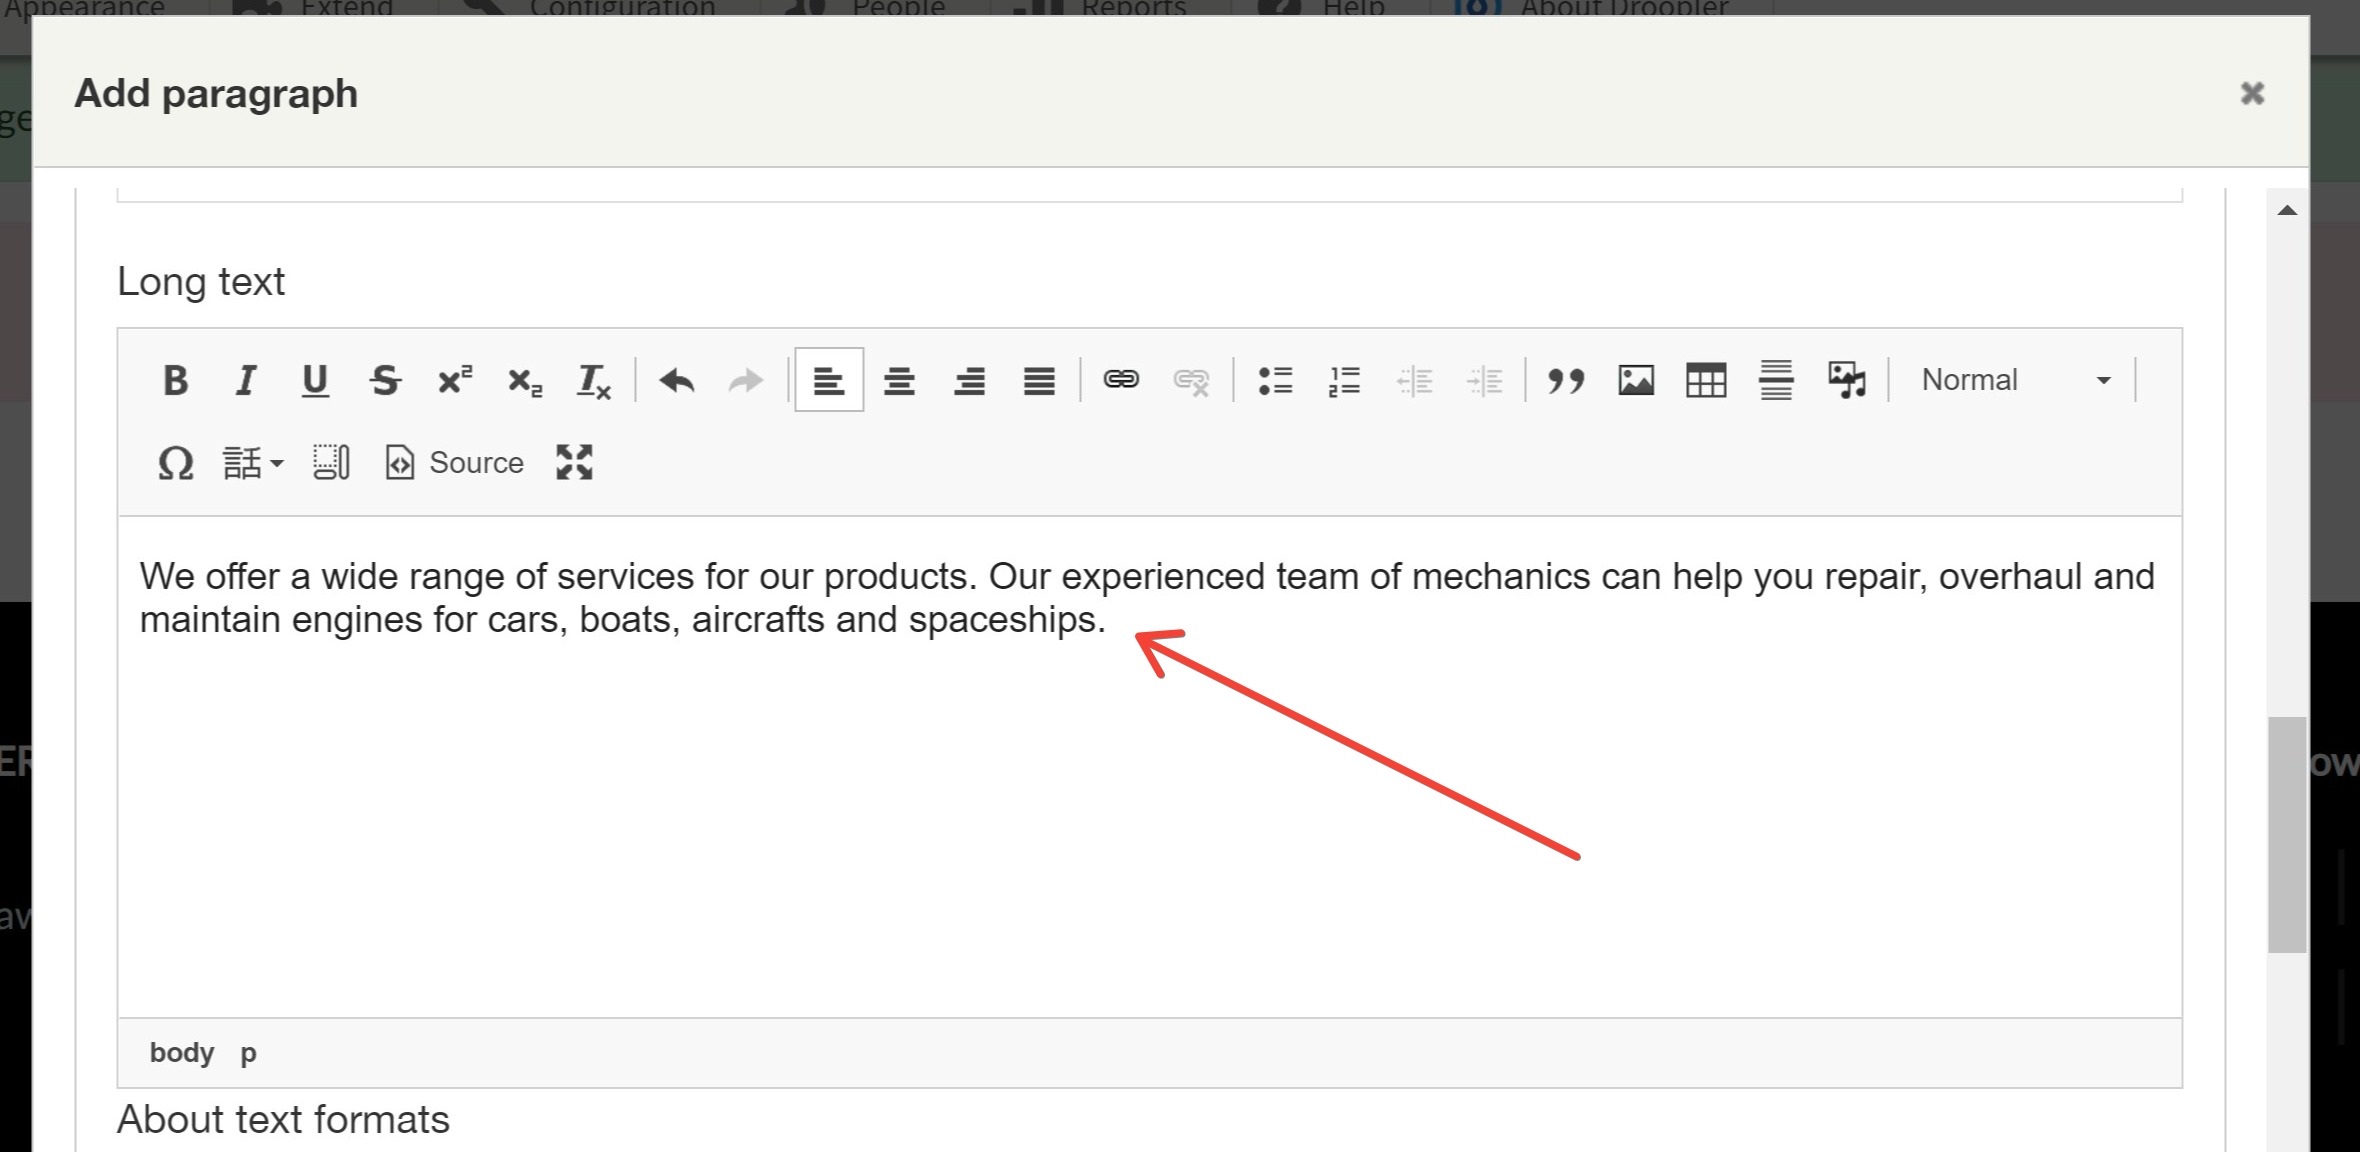
We add a photo and enter the text describing the subpage.

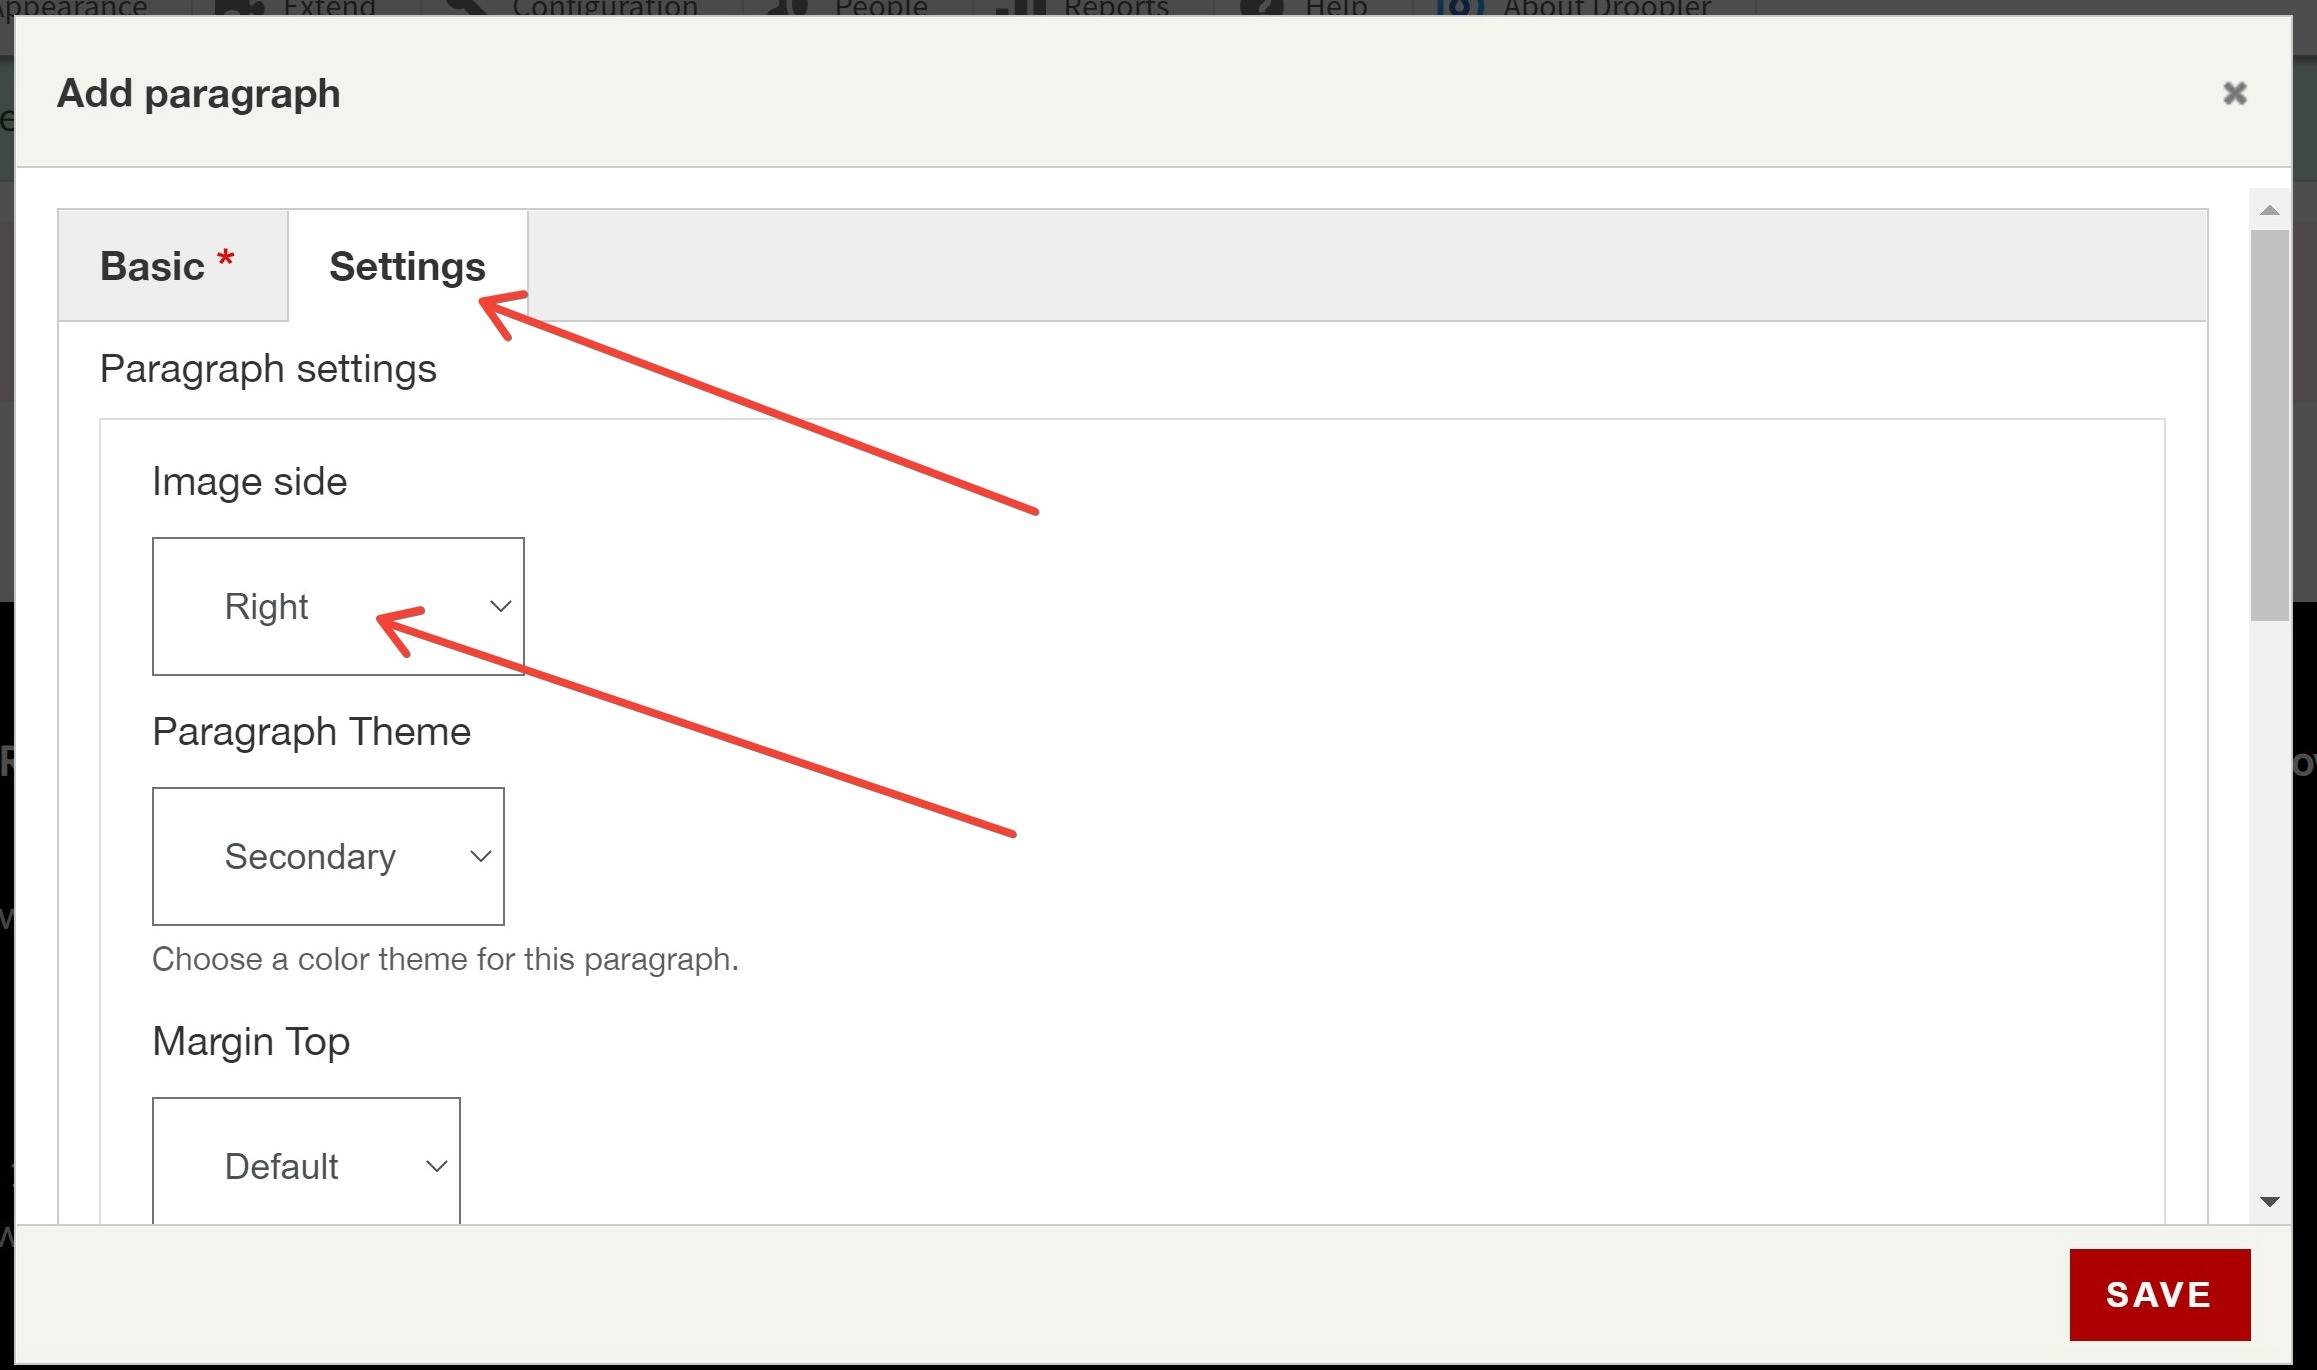
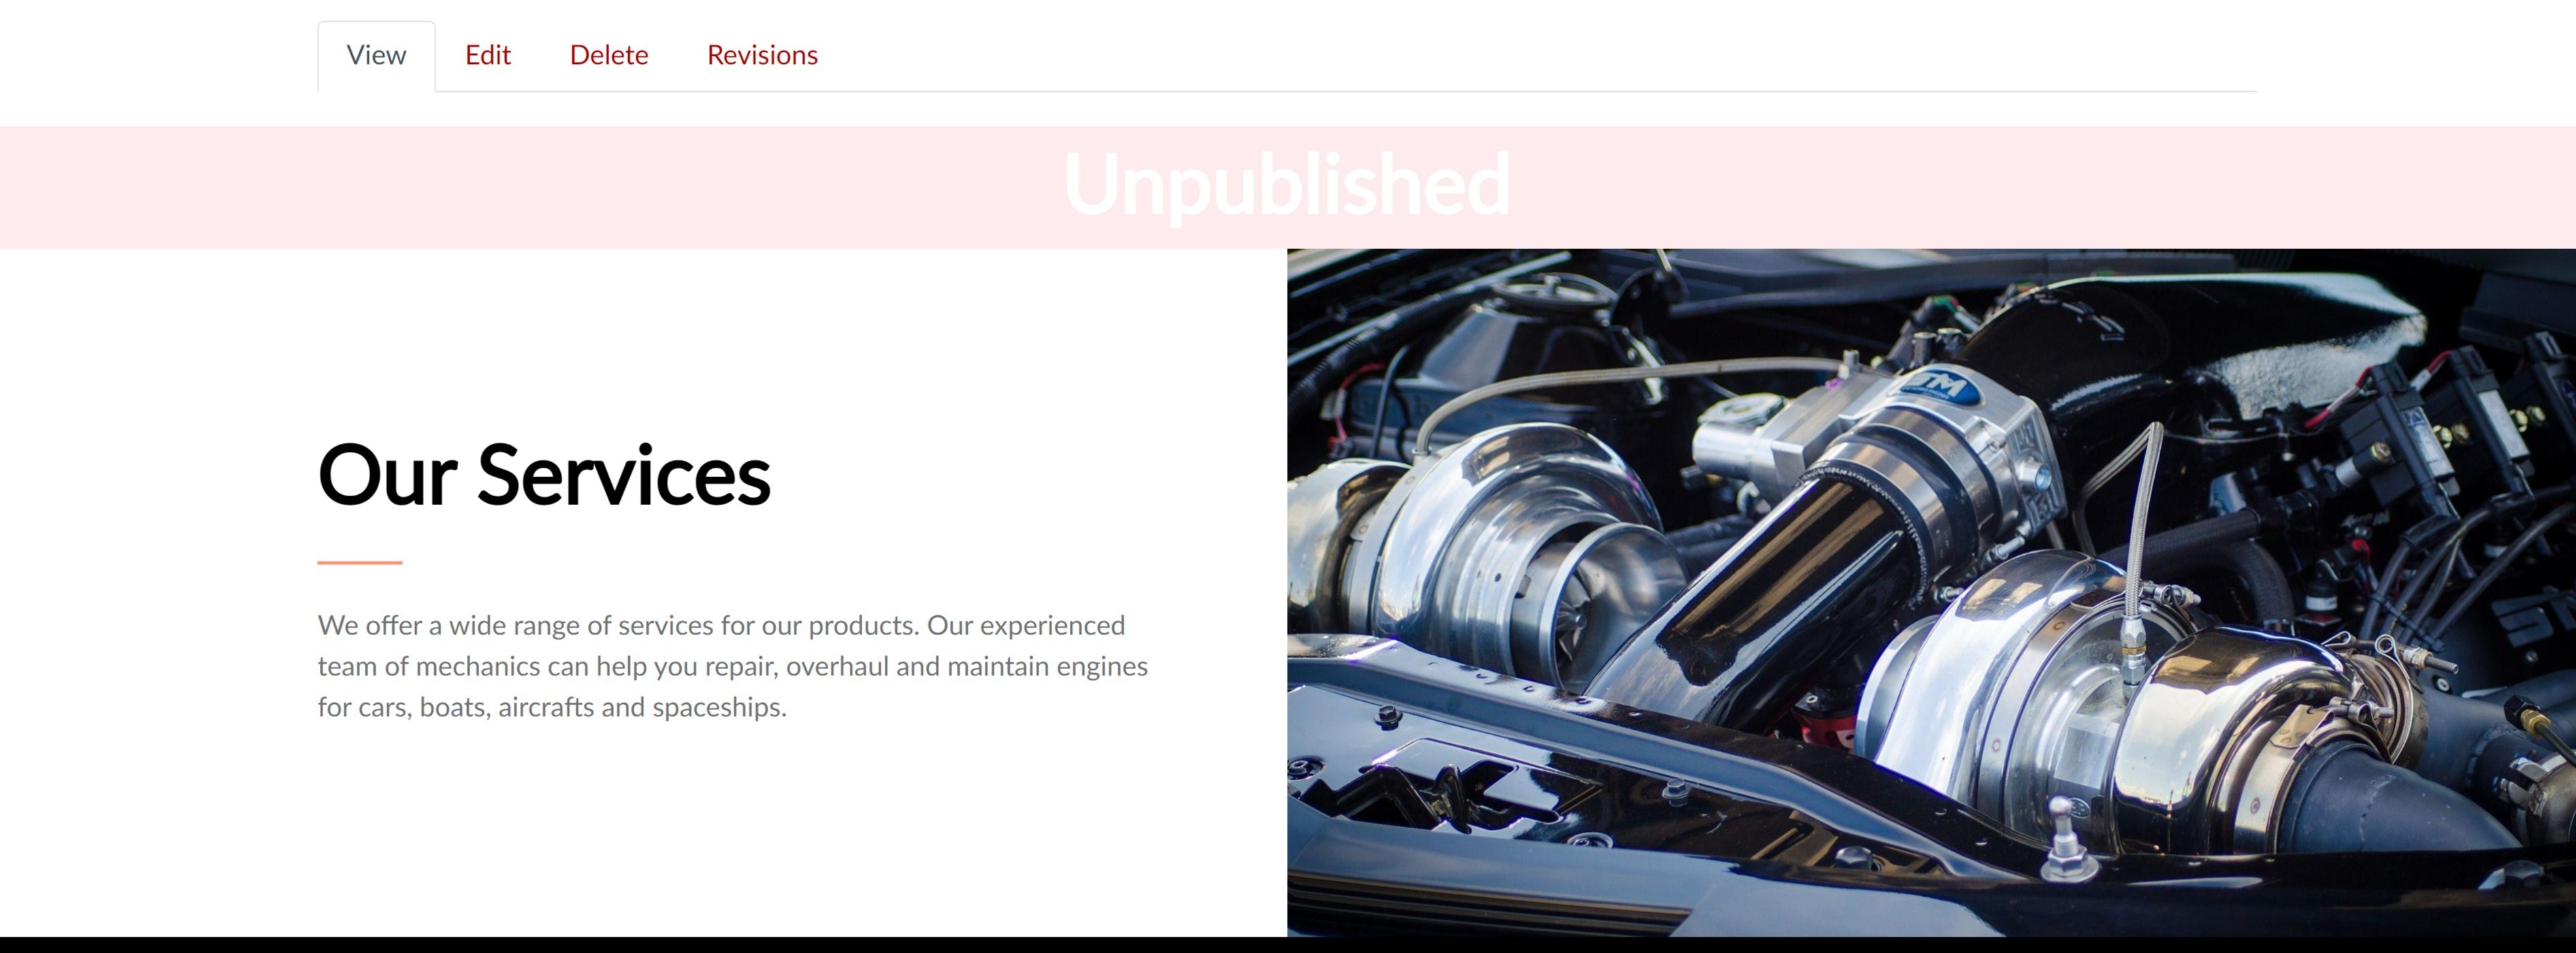
In the options found in the right tab, we choose which side the picture will be on. We select Right and click Save. The first component (section) of our services page is ready!
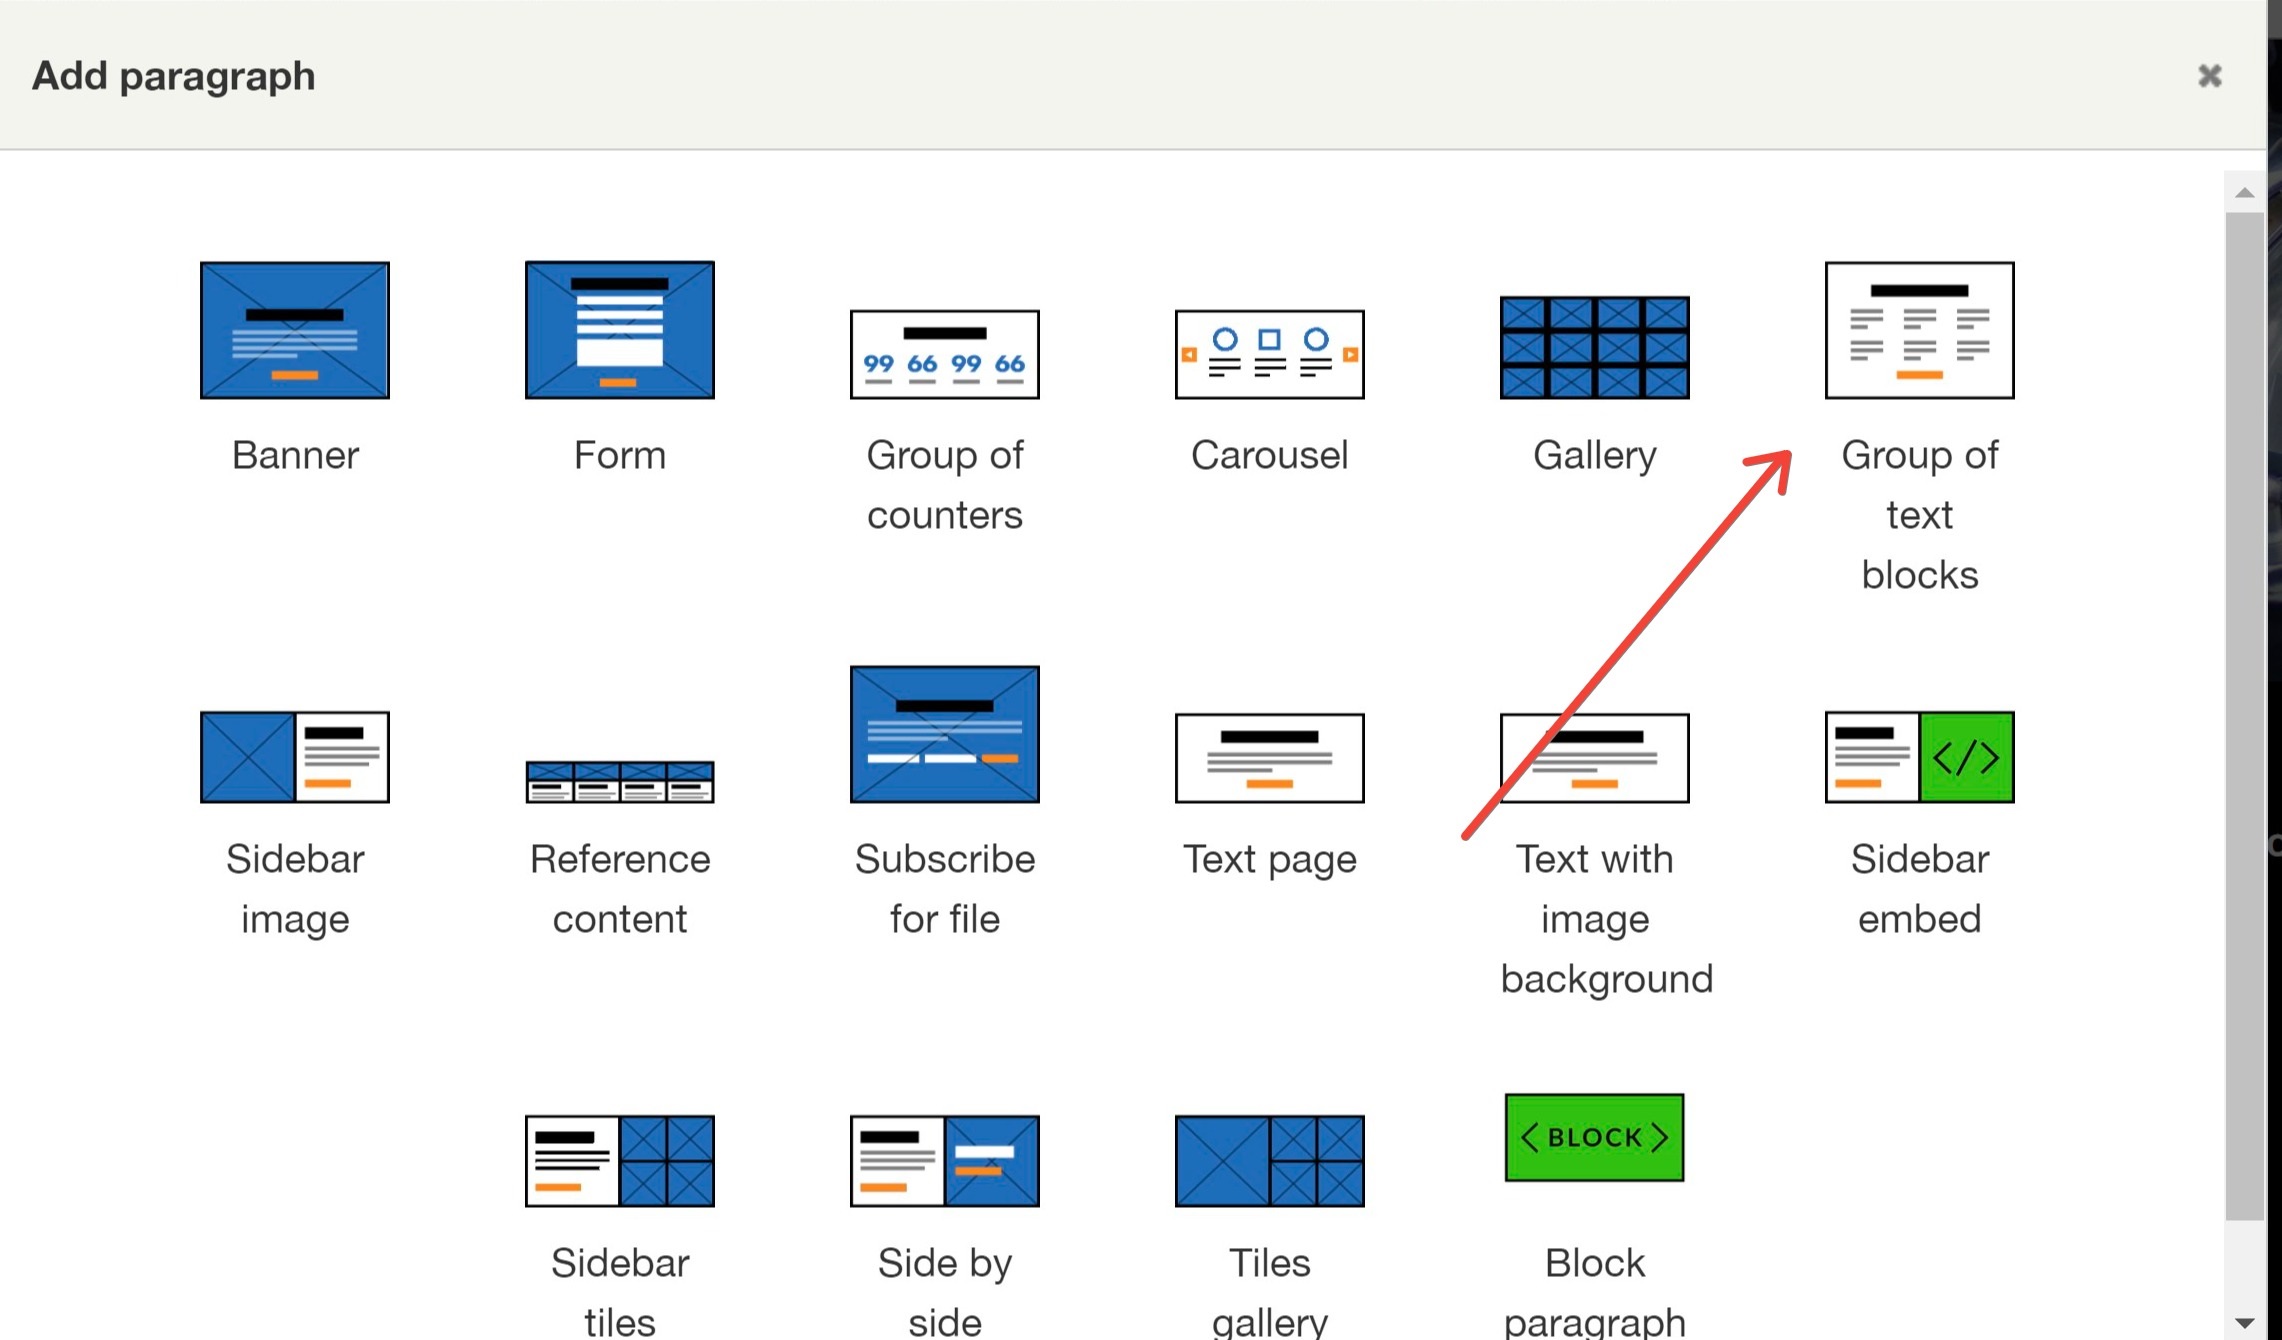
The next section will consist of links to individual services. To add this section, we'll start by selecting the Group of text blocks component.
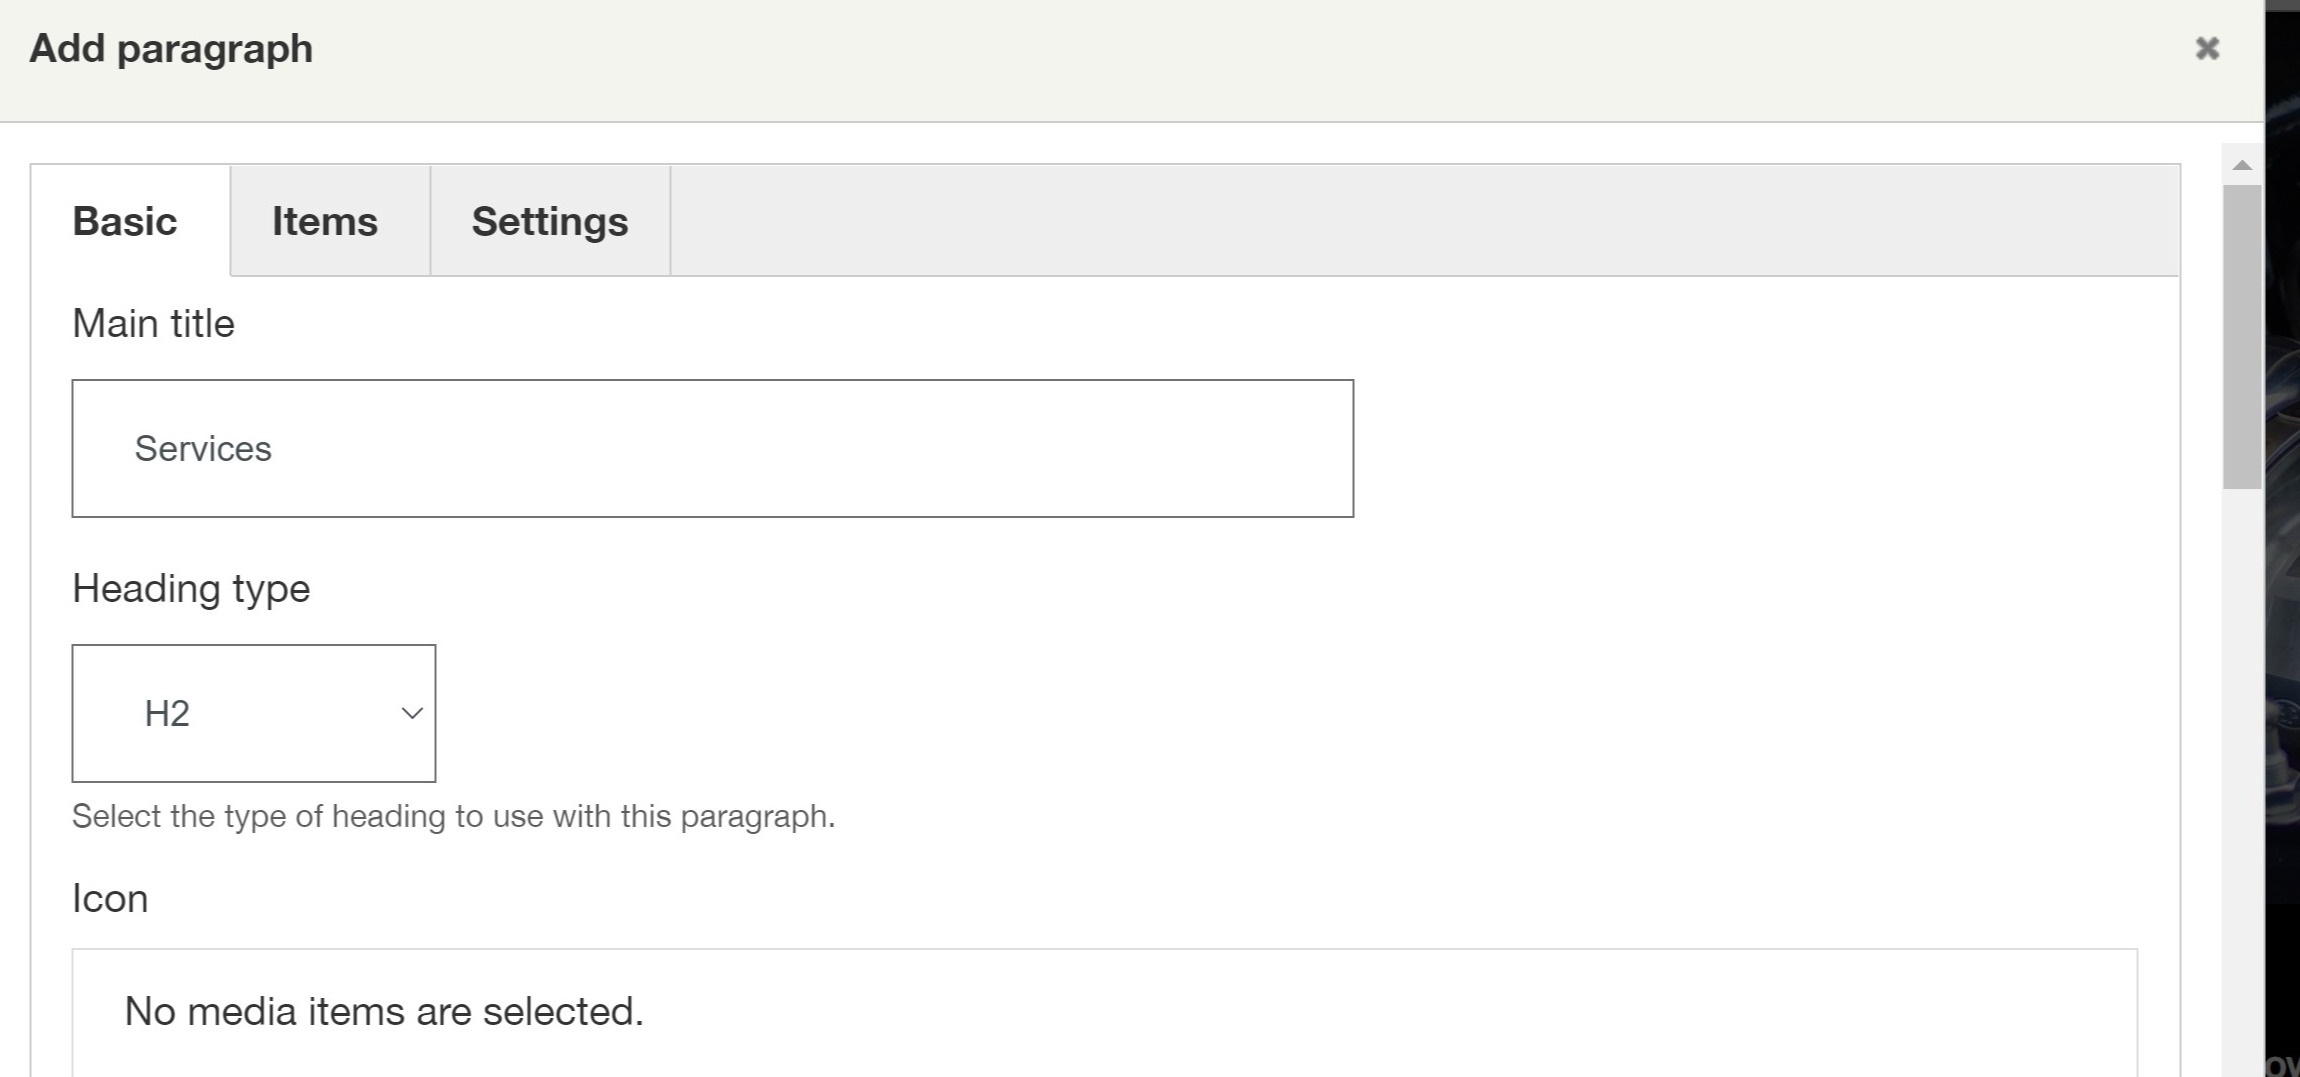
As in the case of the previous component, we enter the title and select the header type (this time it'll be H2).
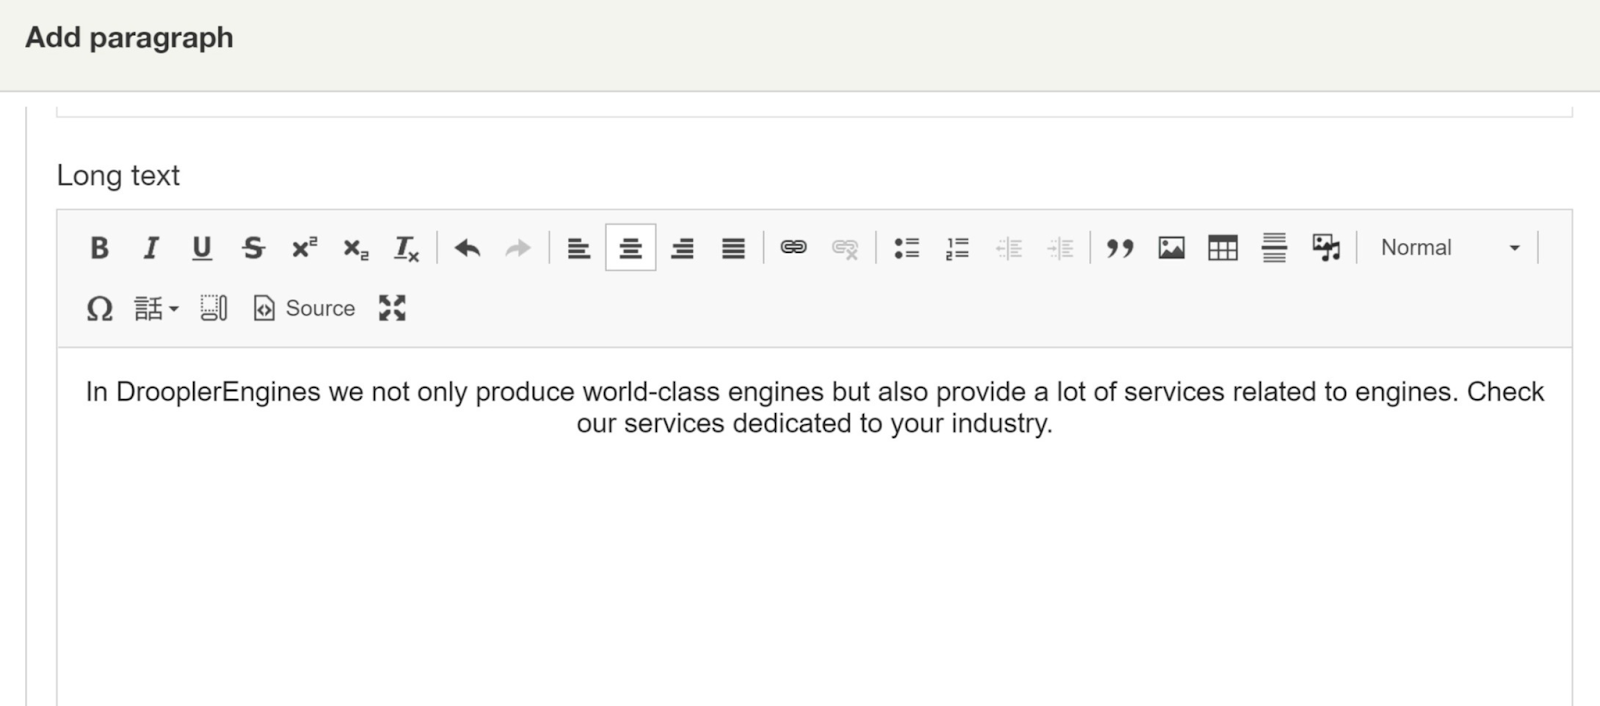
Below, we also enter the text that describes the given section:
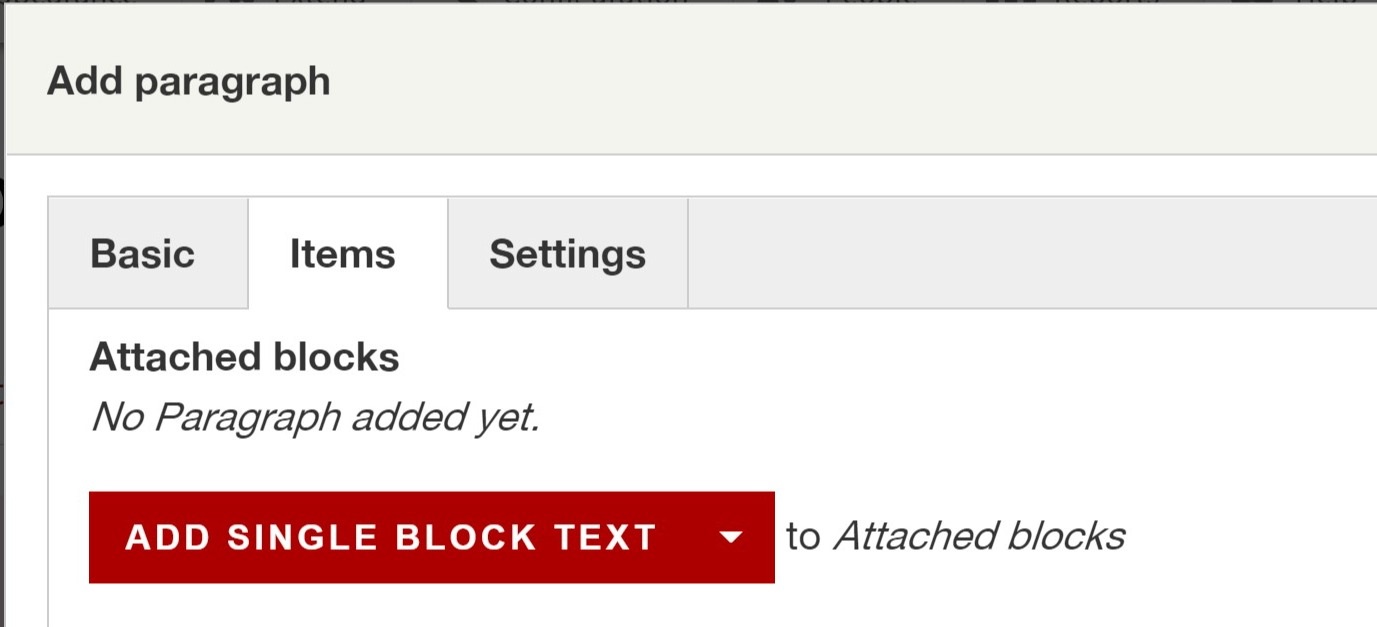
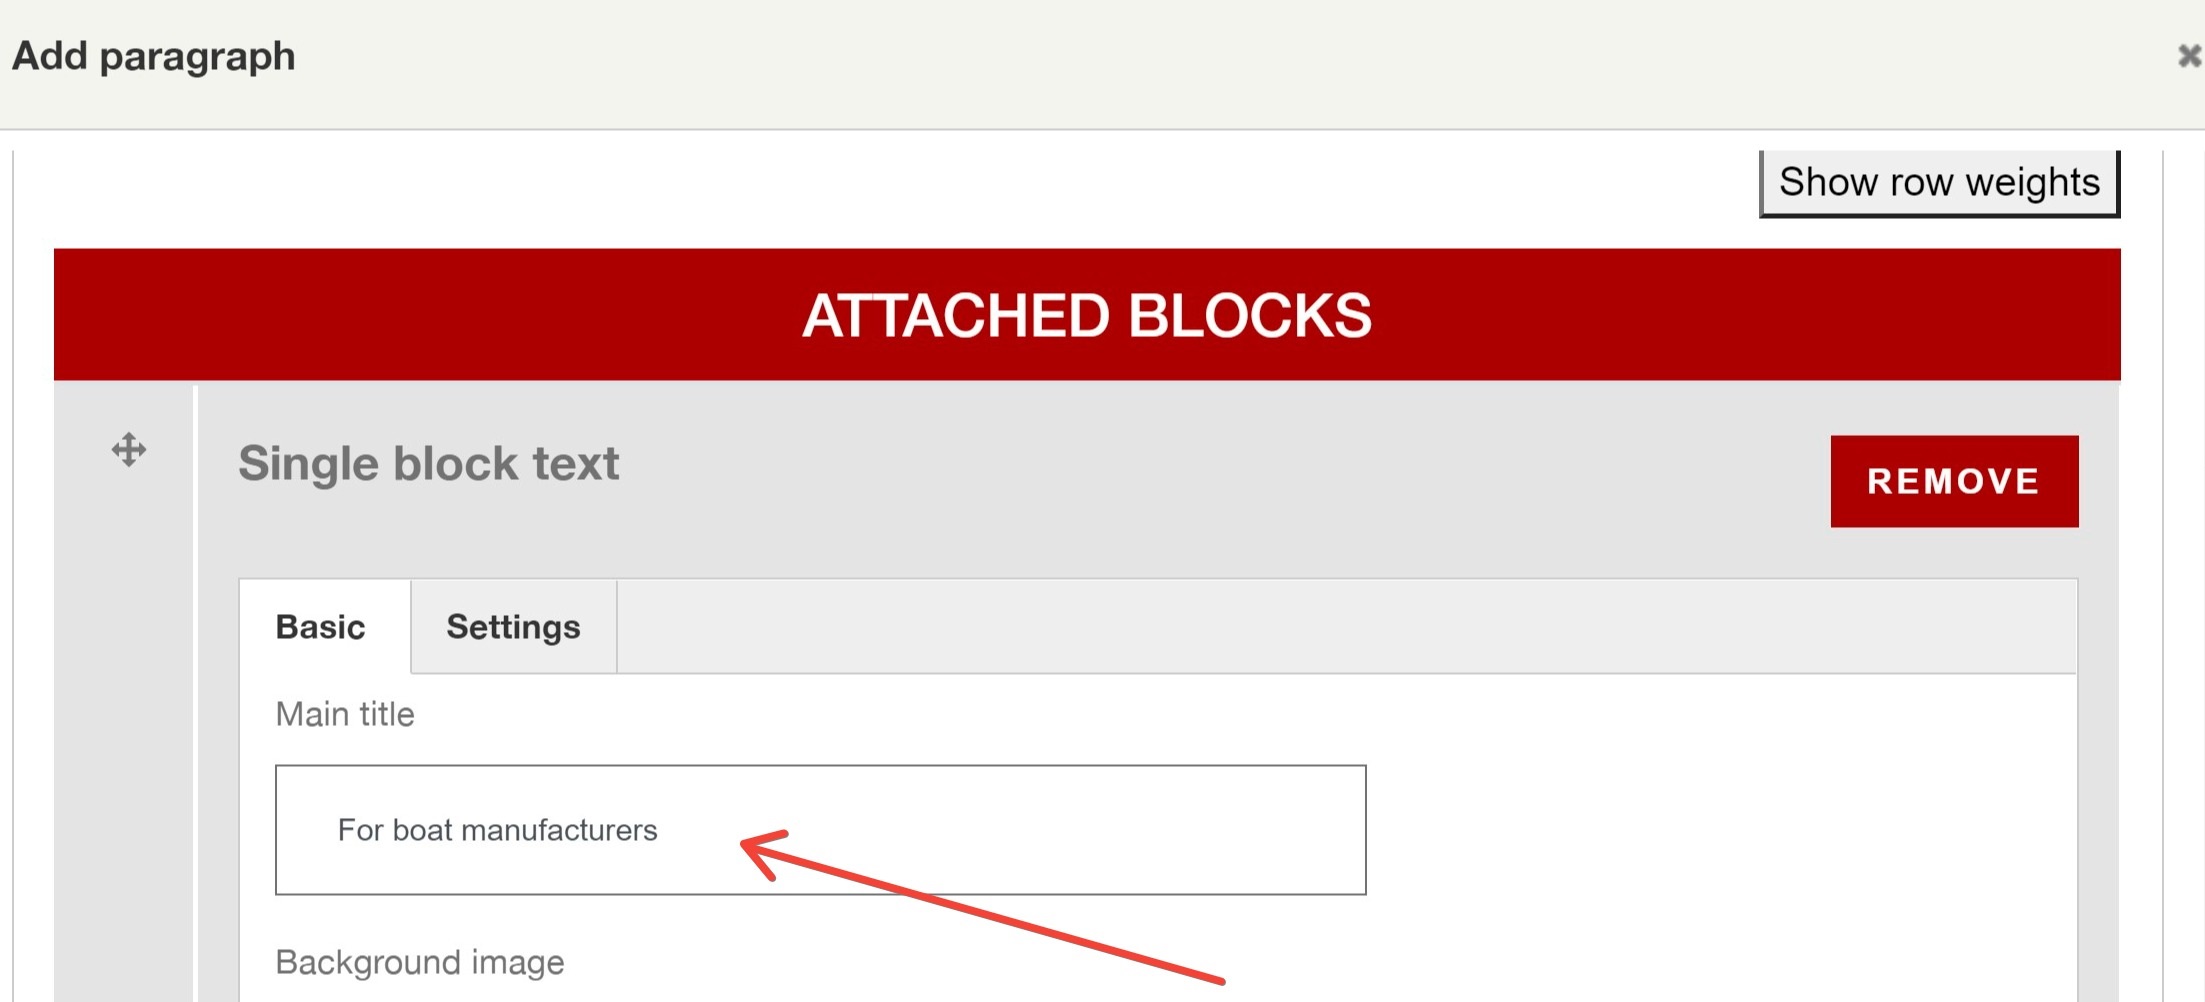
The next step is adding the 4 tiles which are the links to individual subcategories of the subpage. In order to create them, we select the second Items tab and click Add single block text.
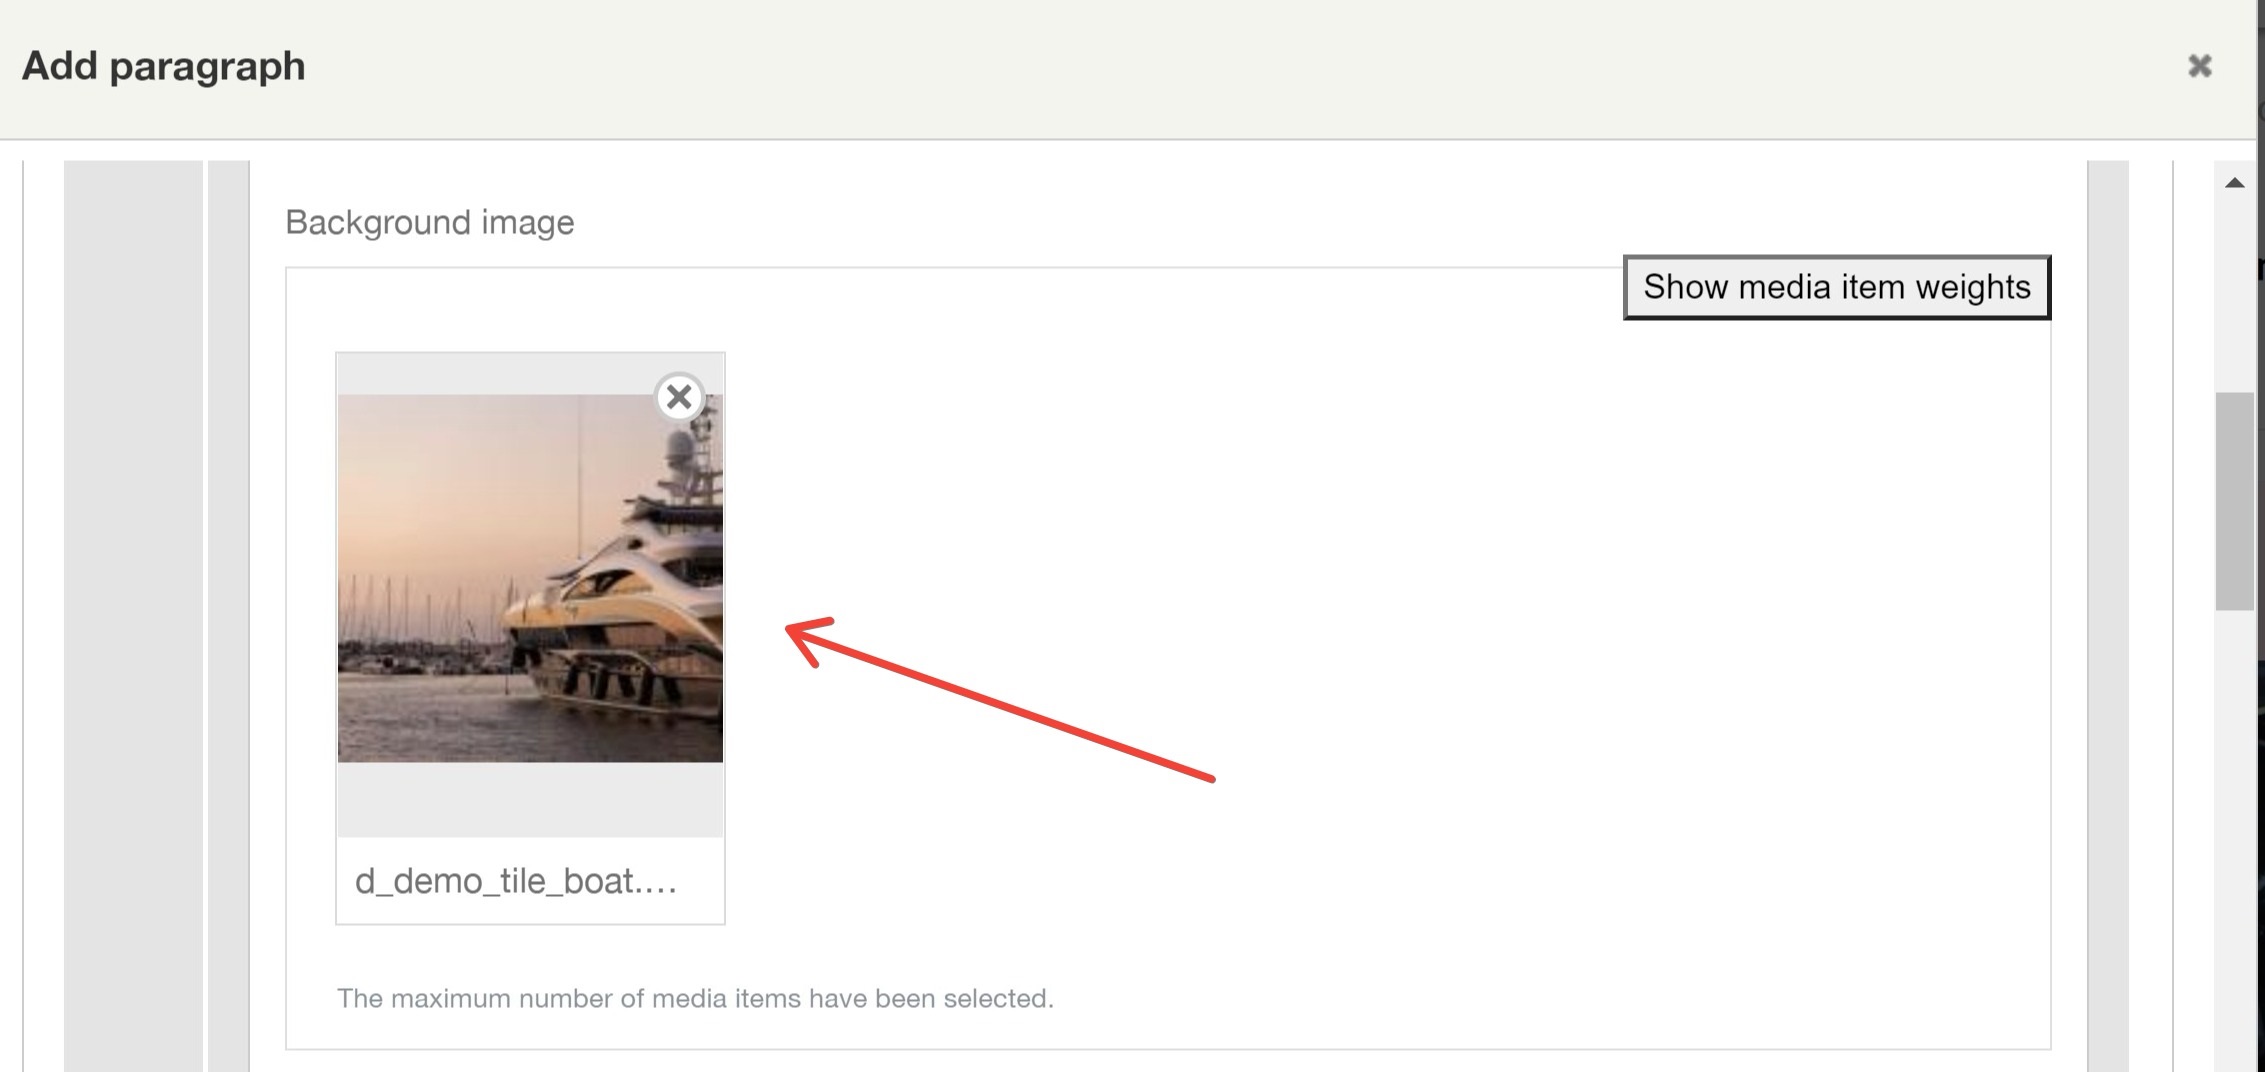
We enter the title of the tile and select the photo which will be its background.
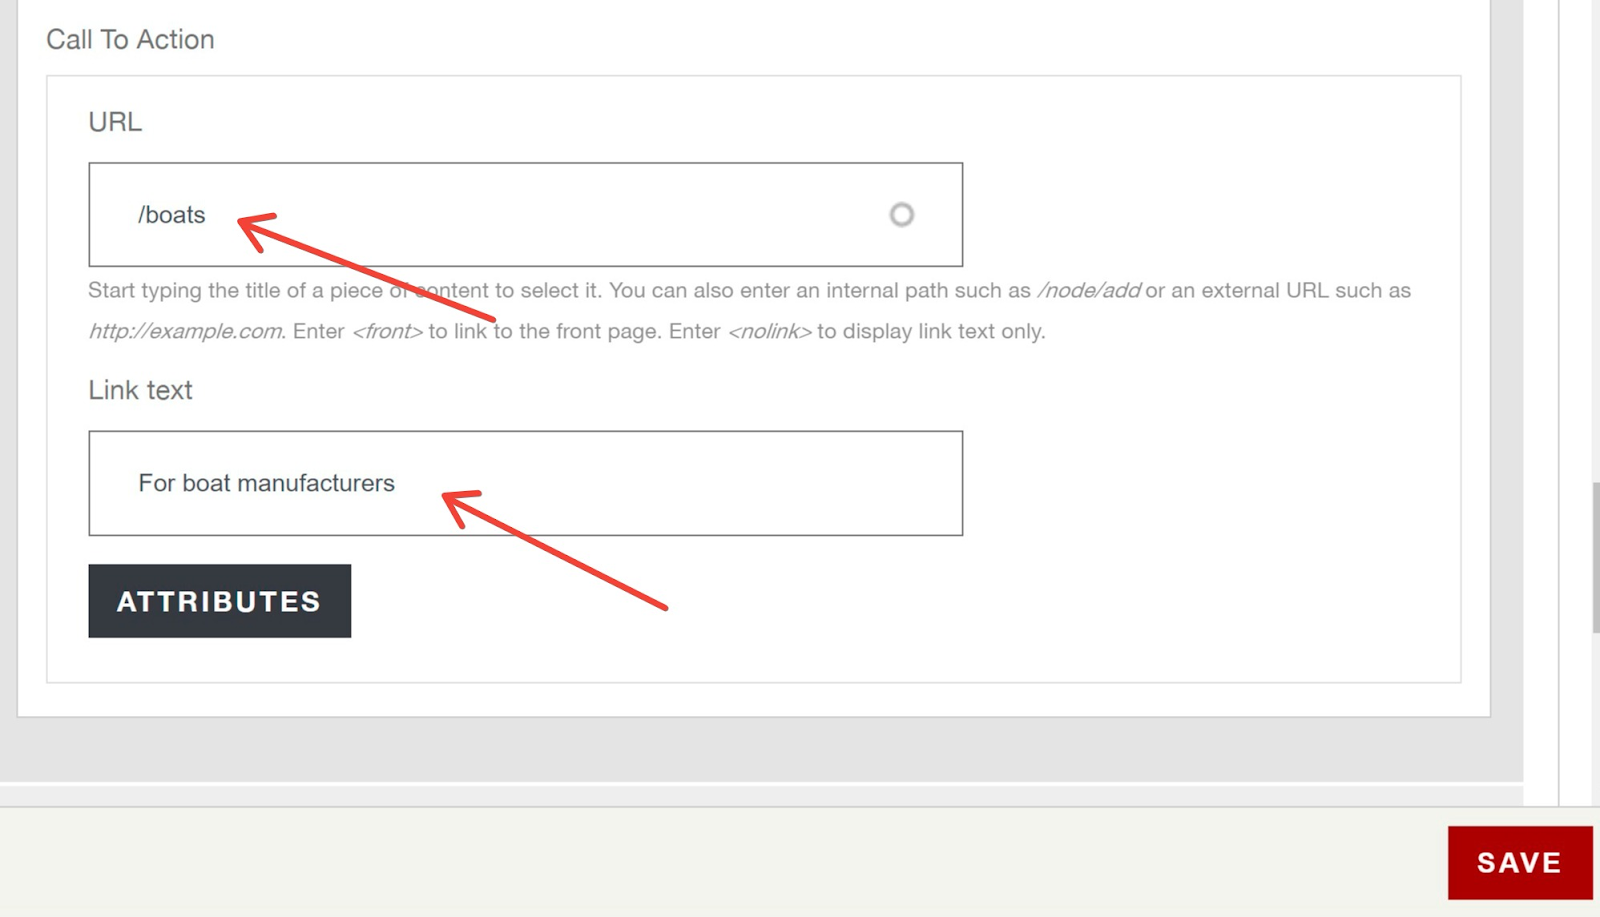
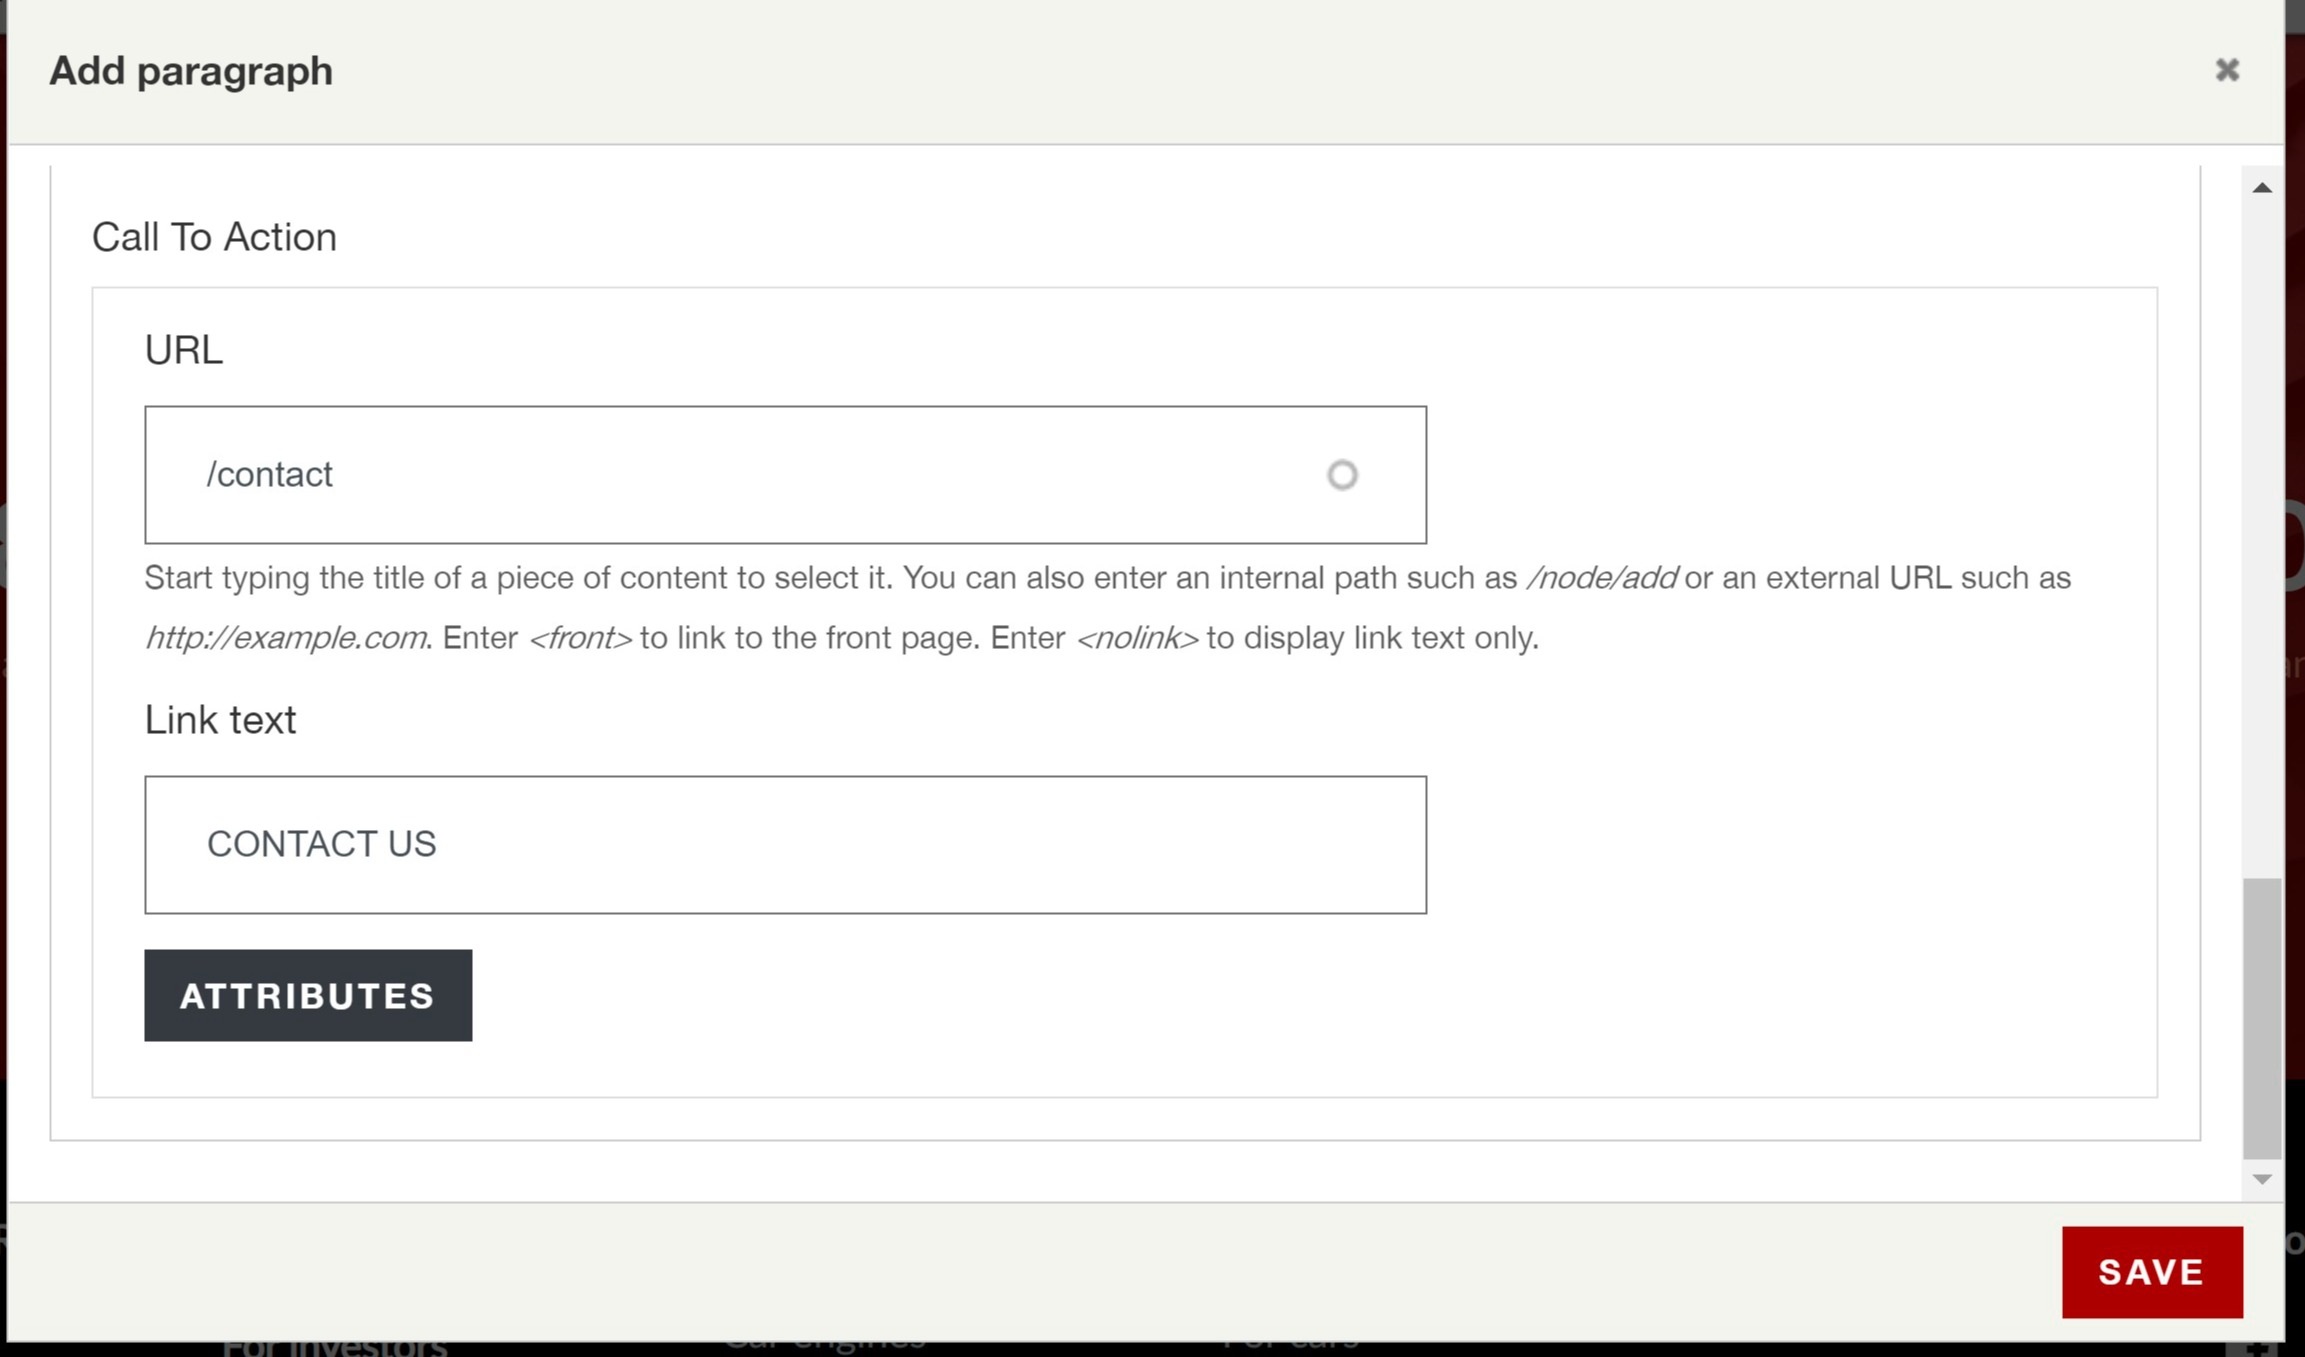
In the Call To Action subsection we enter the subpage which the tile should link to (in the format "/" plus "subpage name", e.g. /boats), as well as the link's text.
We prepare the other 3 tiles in a similar way. When it's ready, we click Save and we see this:

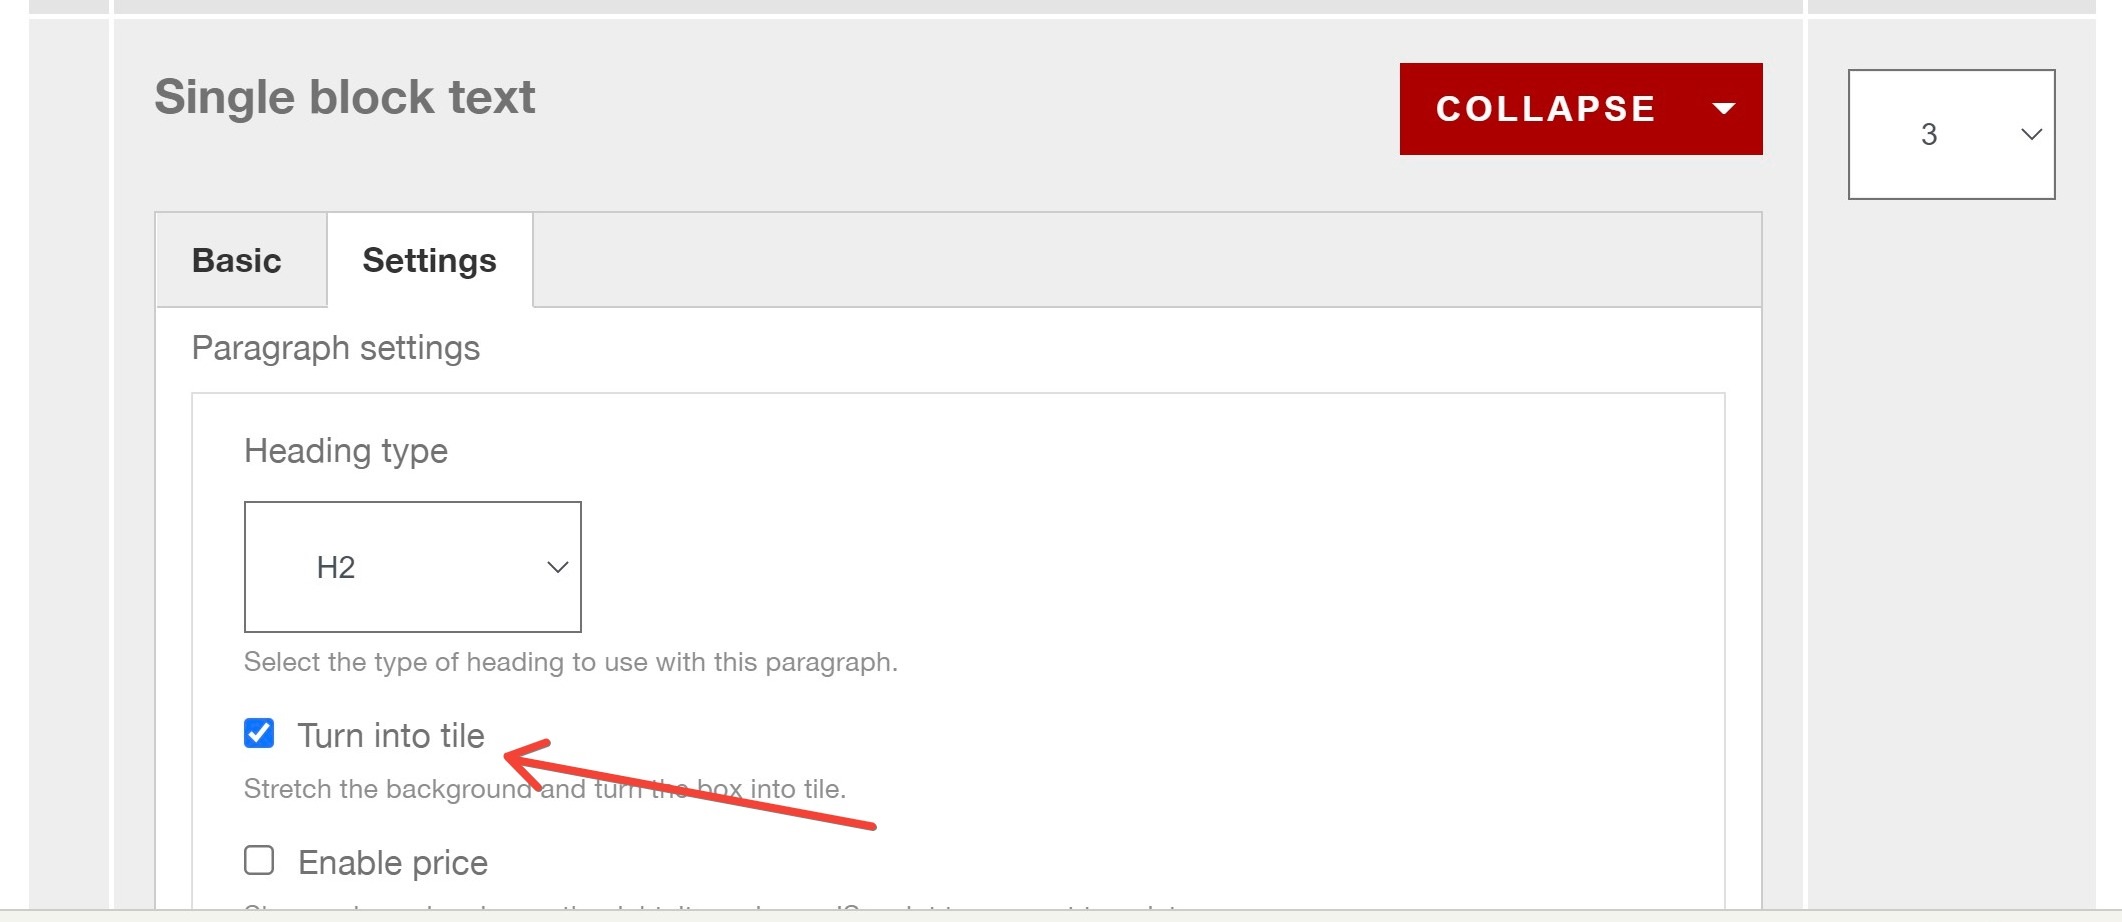
Now it's time to embellish this section. Therefore we go to the paragraph's settings by clicking on the pencil button:

In the settings, we change a few fields:
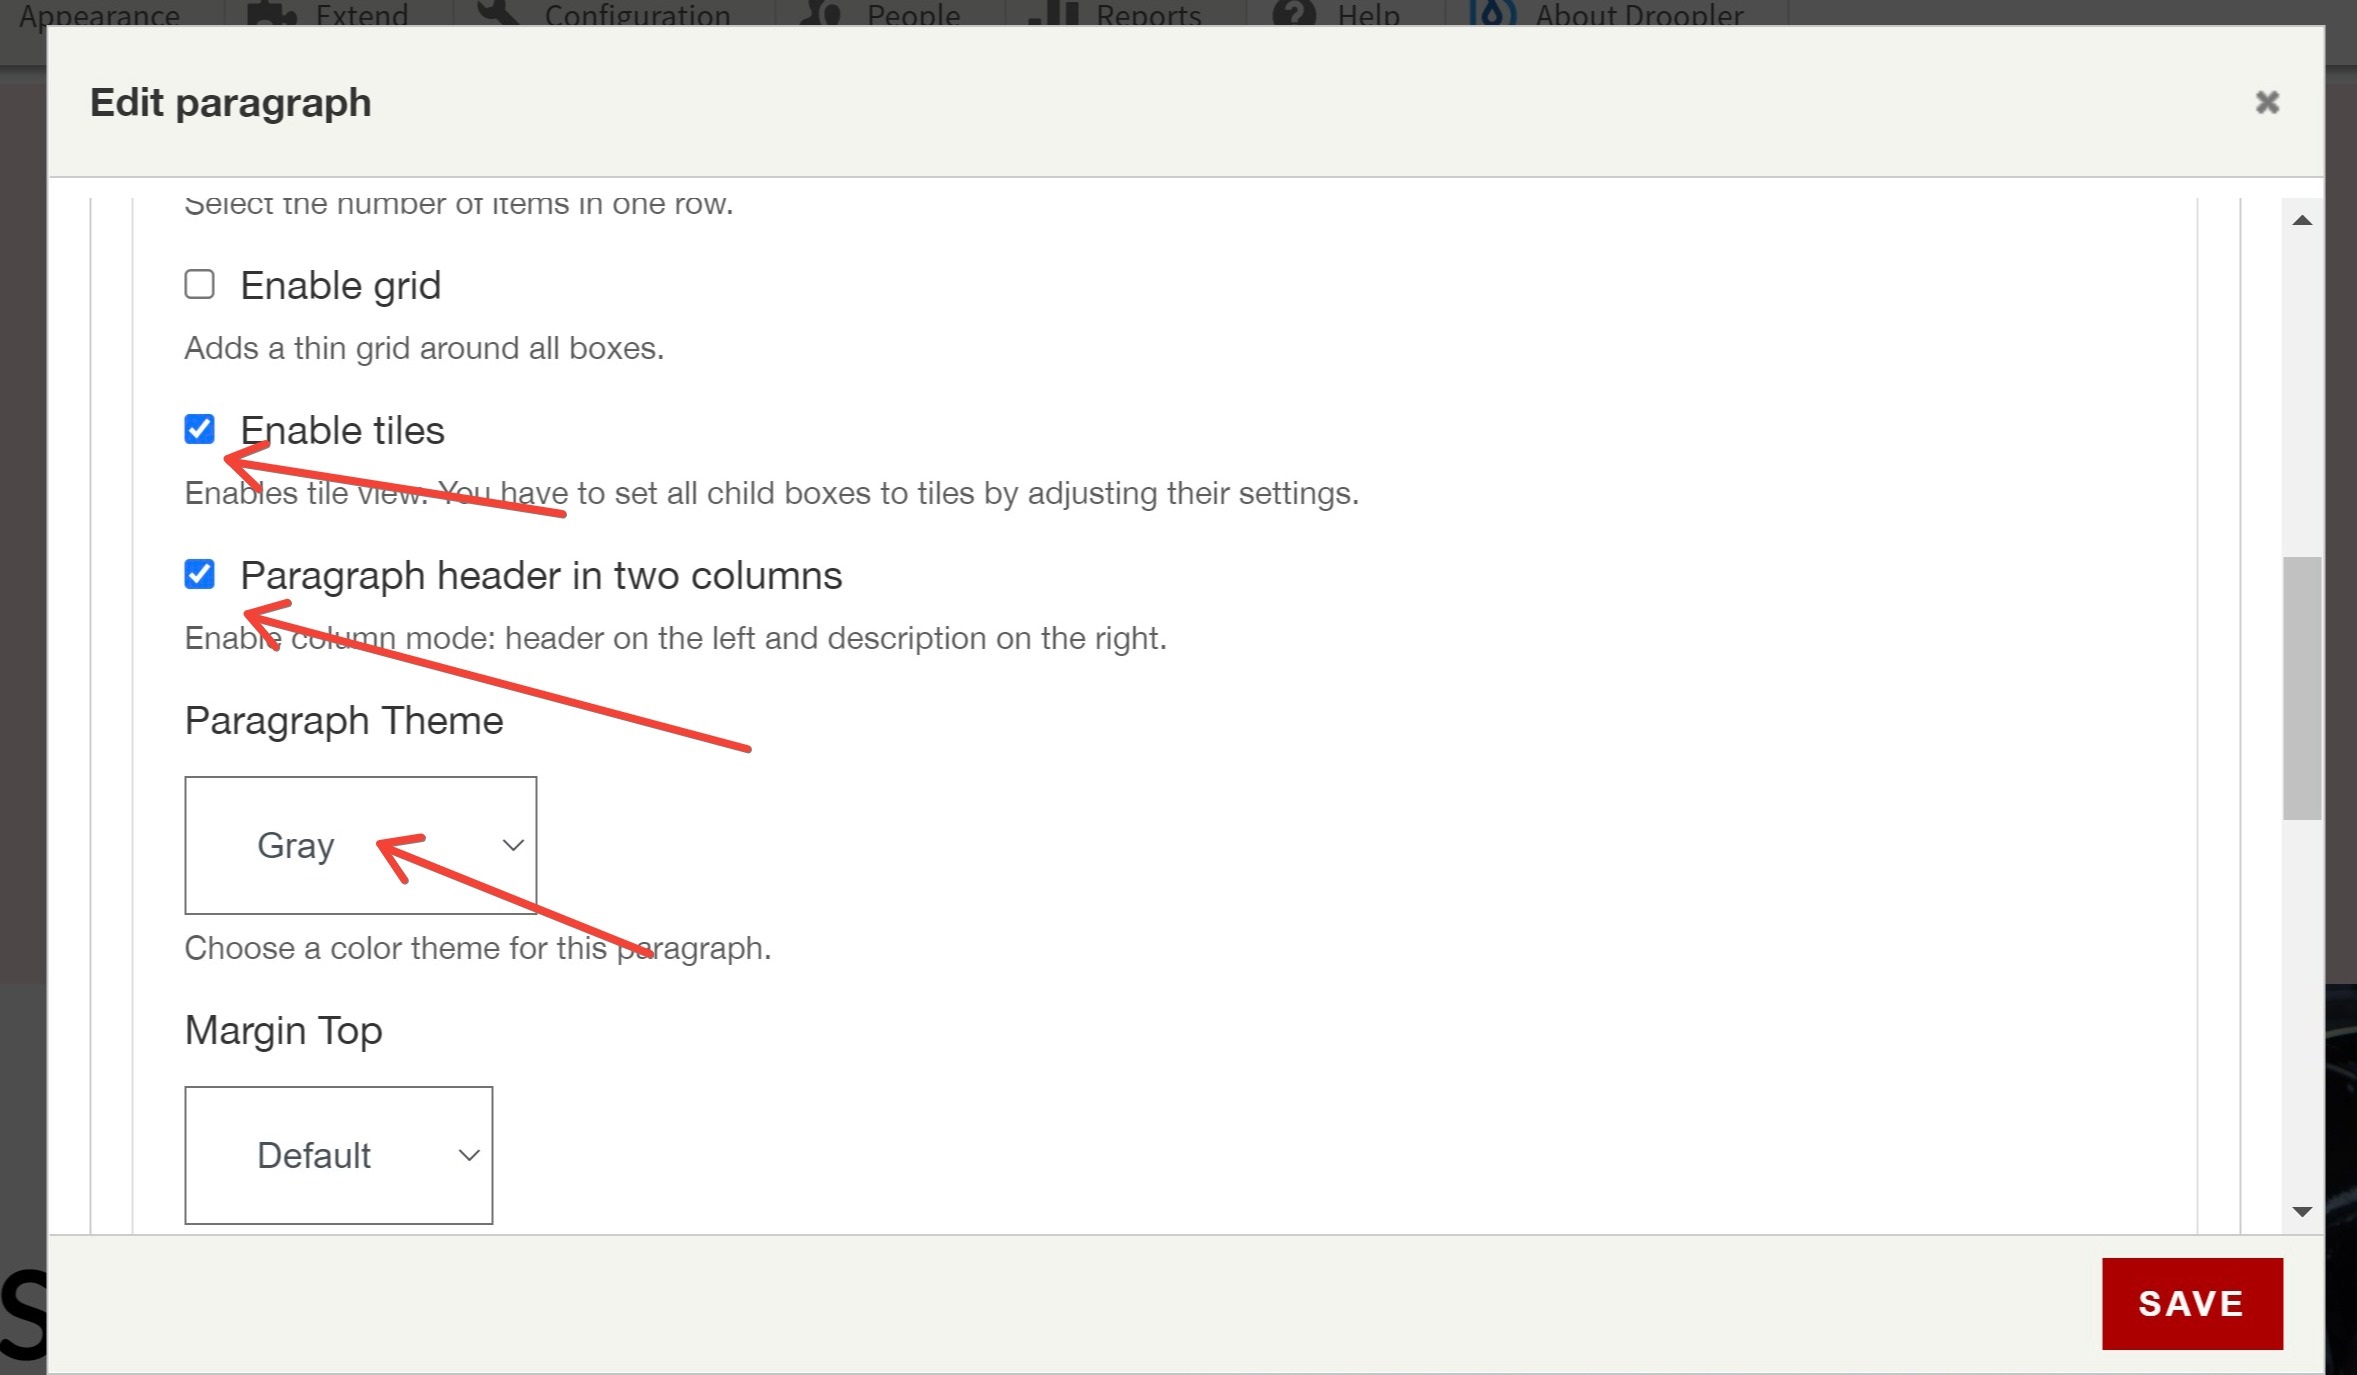
In the options for each of the tiles, we select:
We click Save and we have a ready section with subcategories for the services we offer.

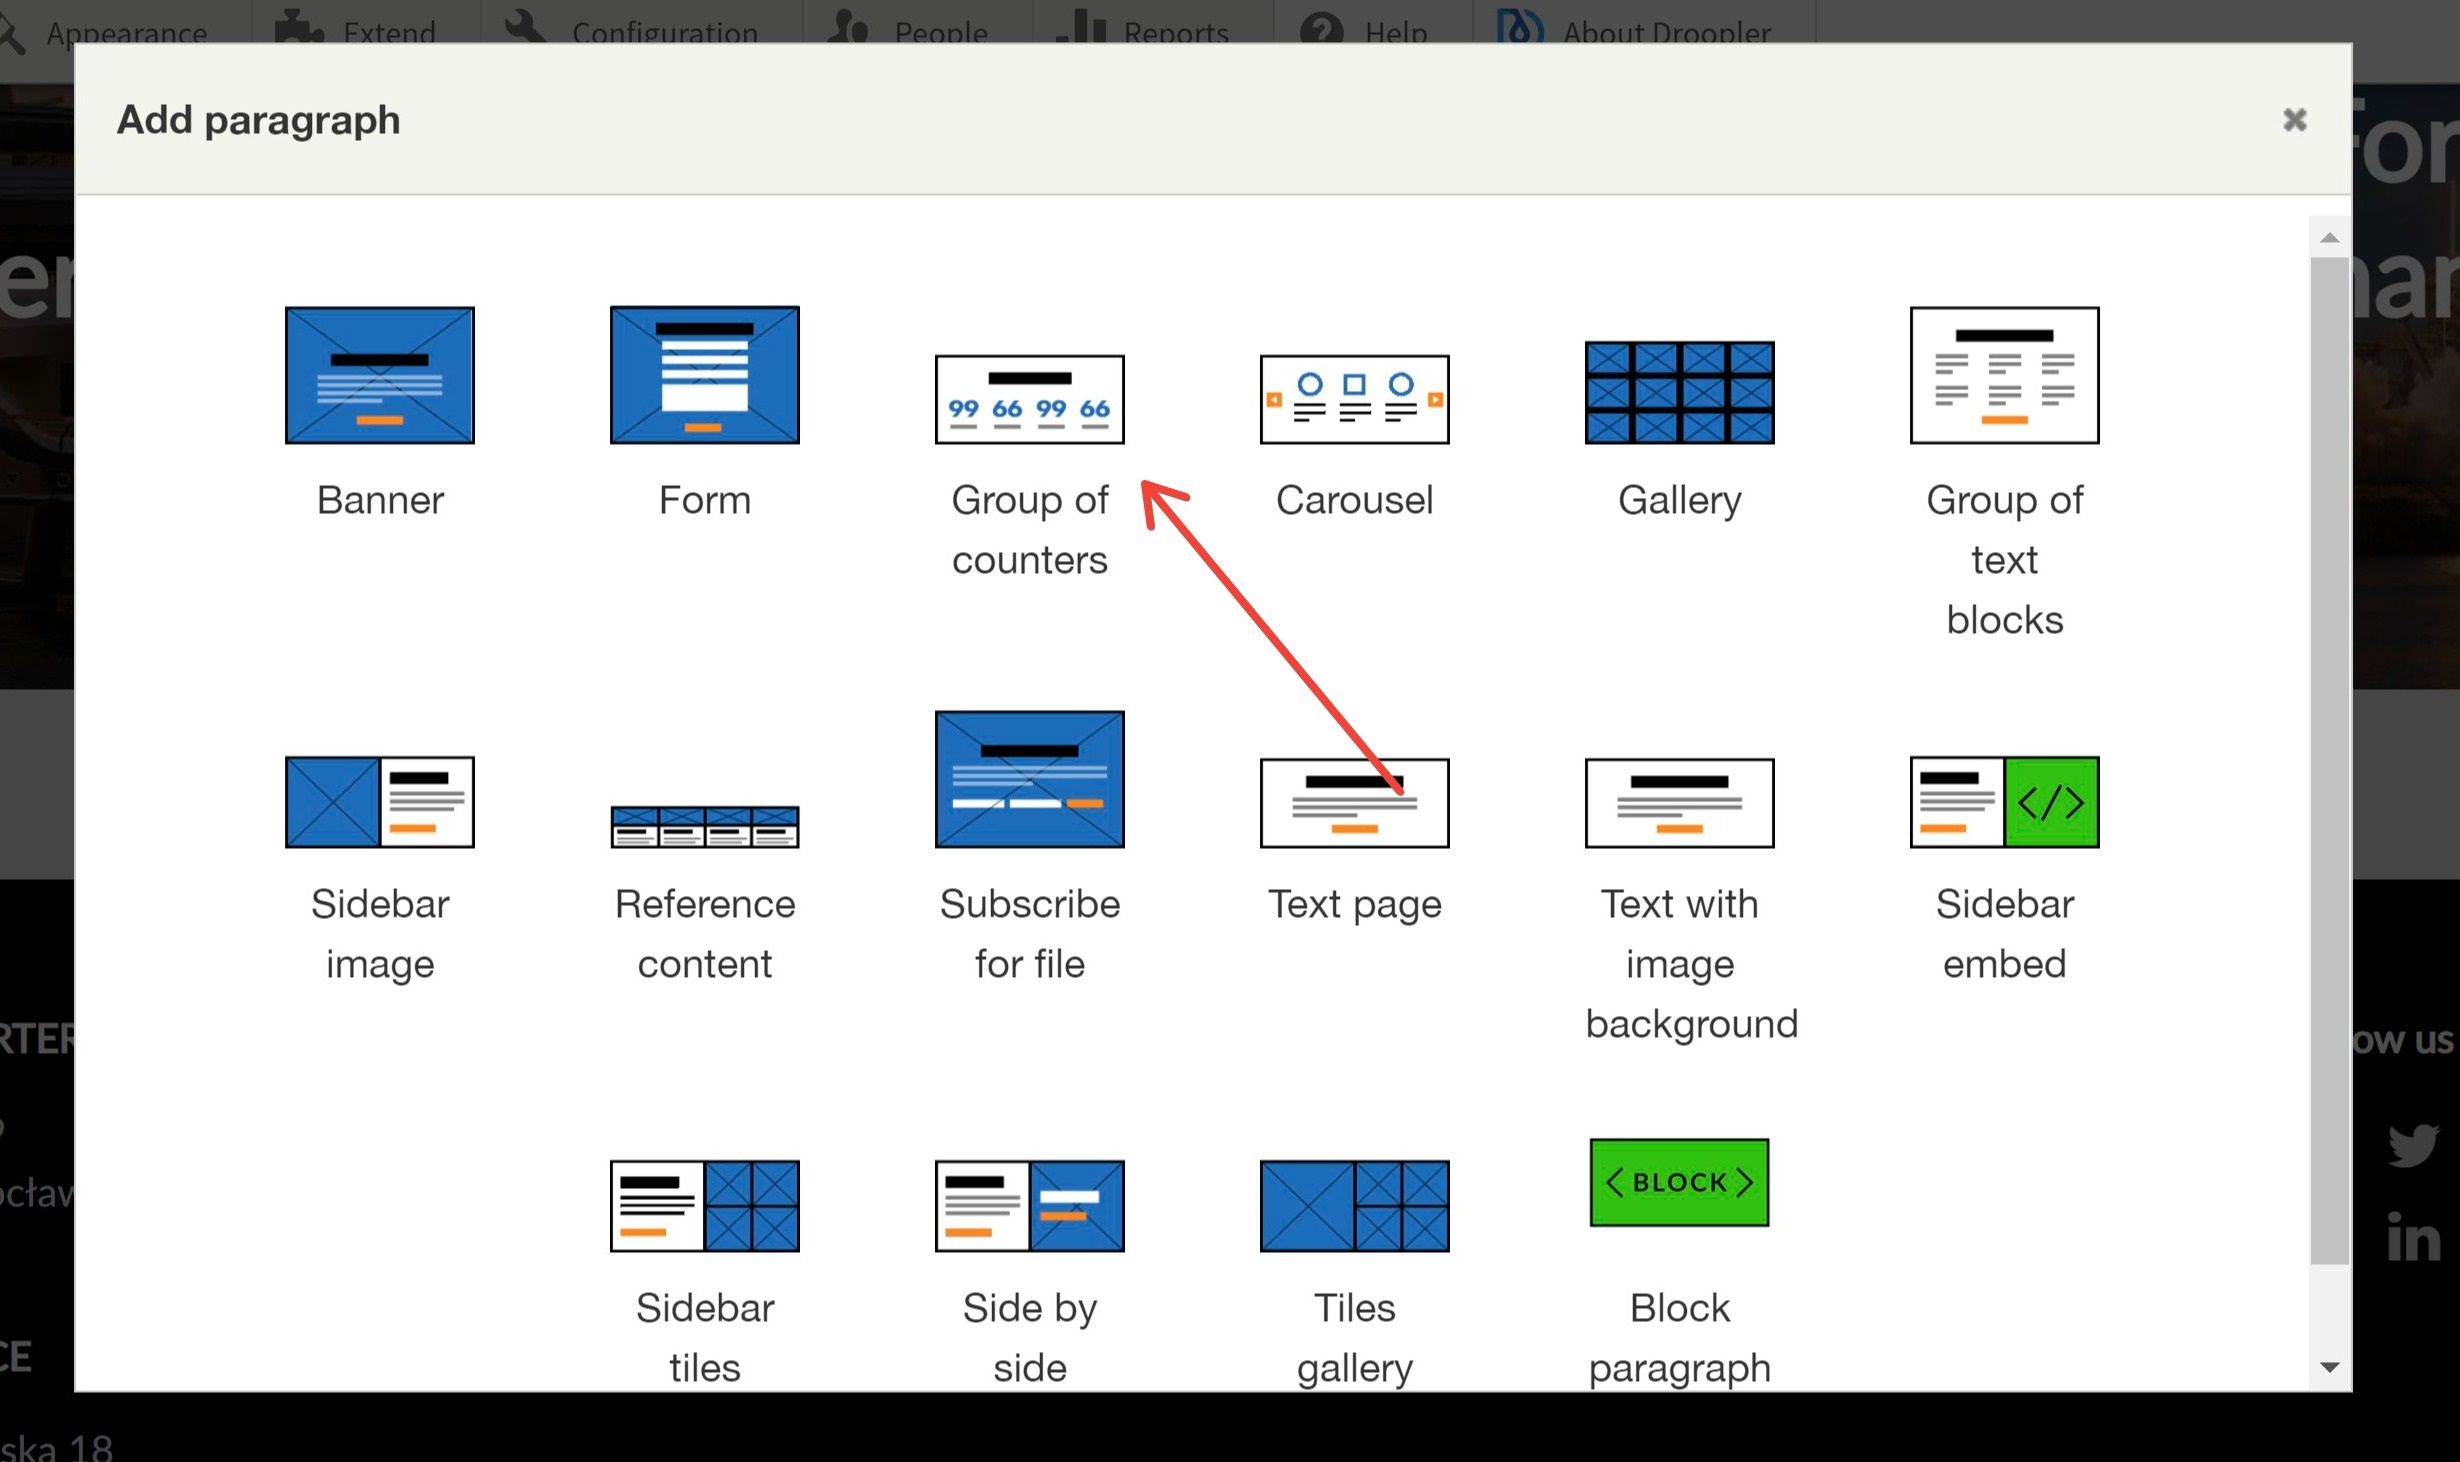
Group of counters
We move on to the next section of the page, that is a counter with interesting figures regarding the company. We'll use the Group of counters component.
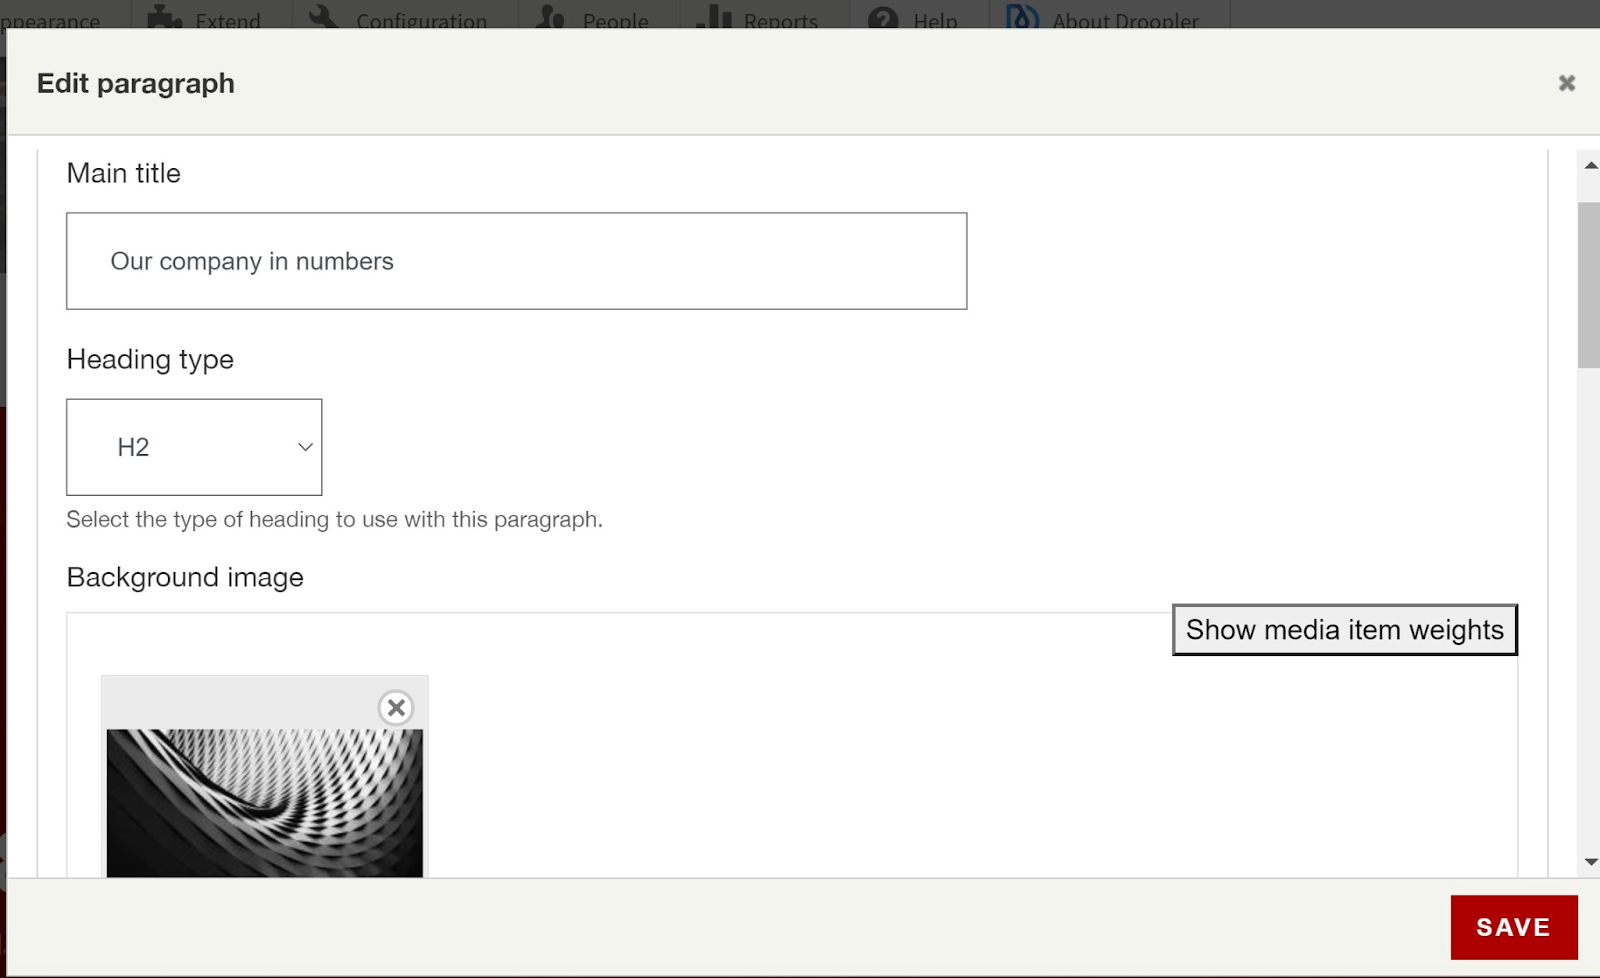
Similarly to the previous sections, we choose the title, header type and background photo.
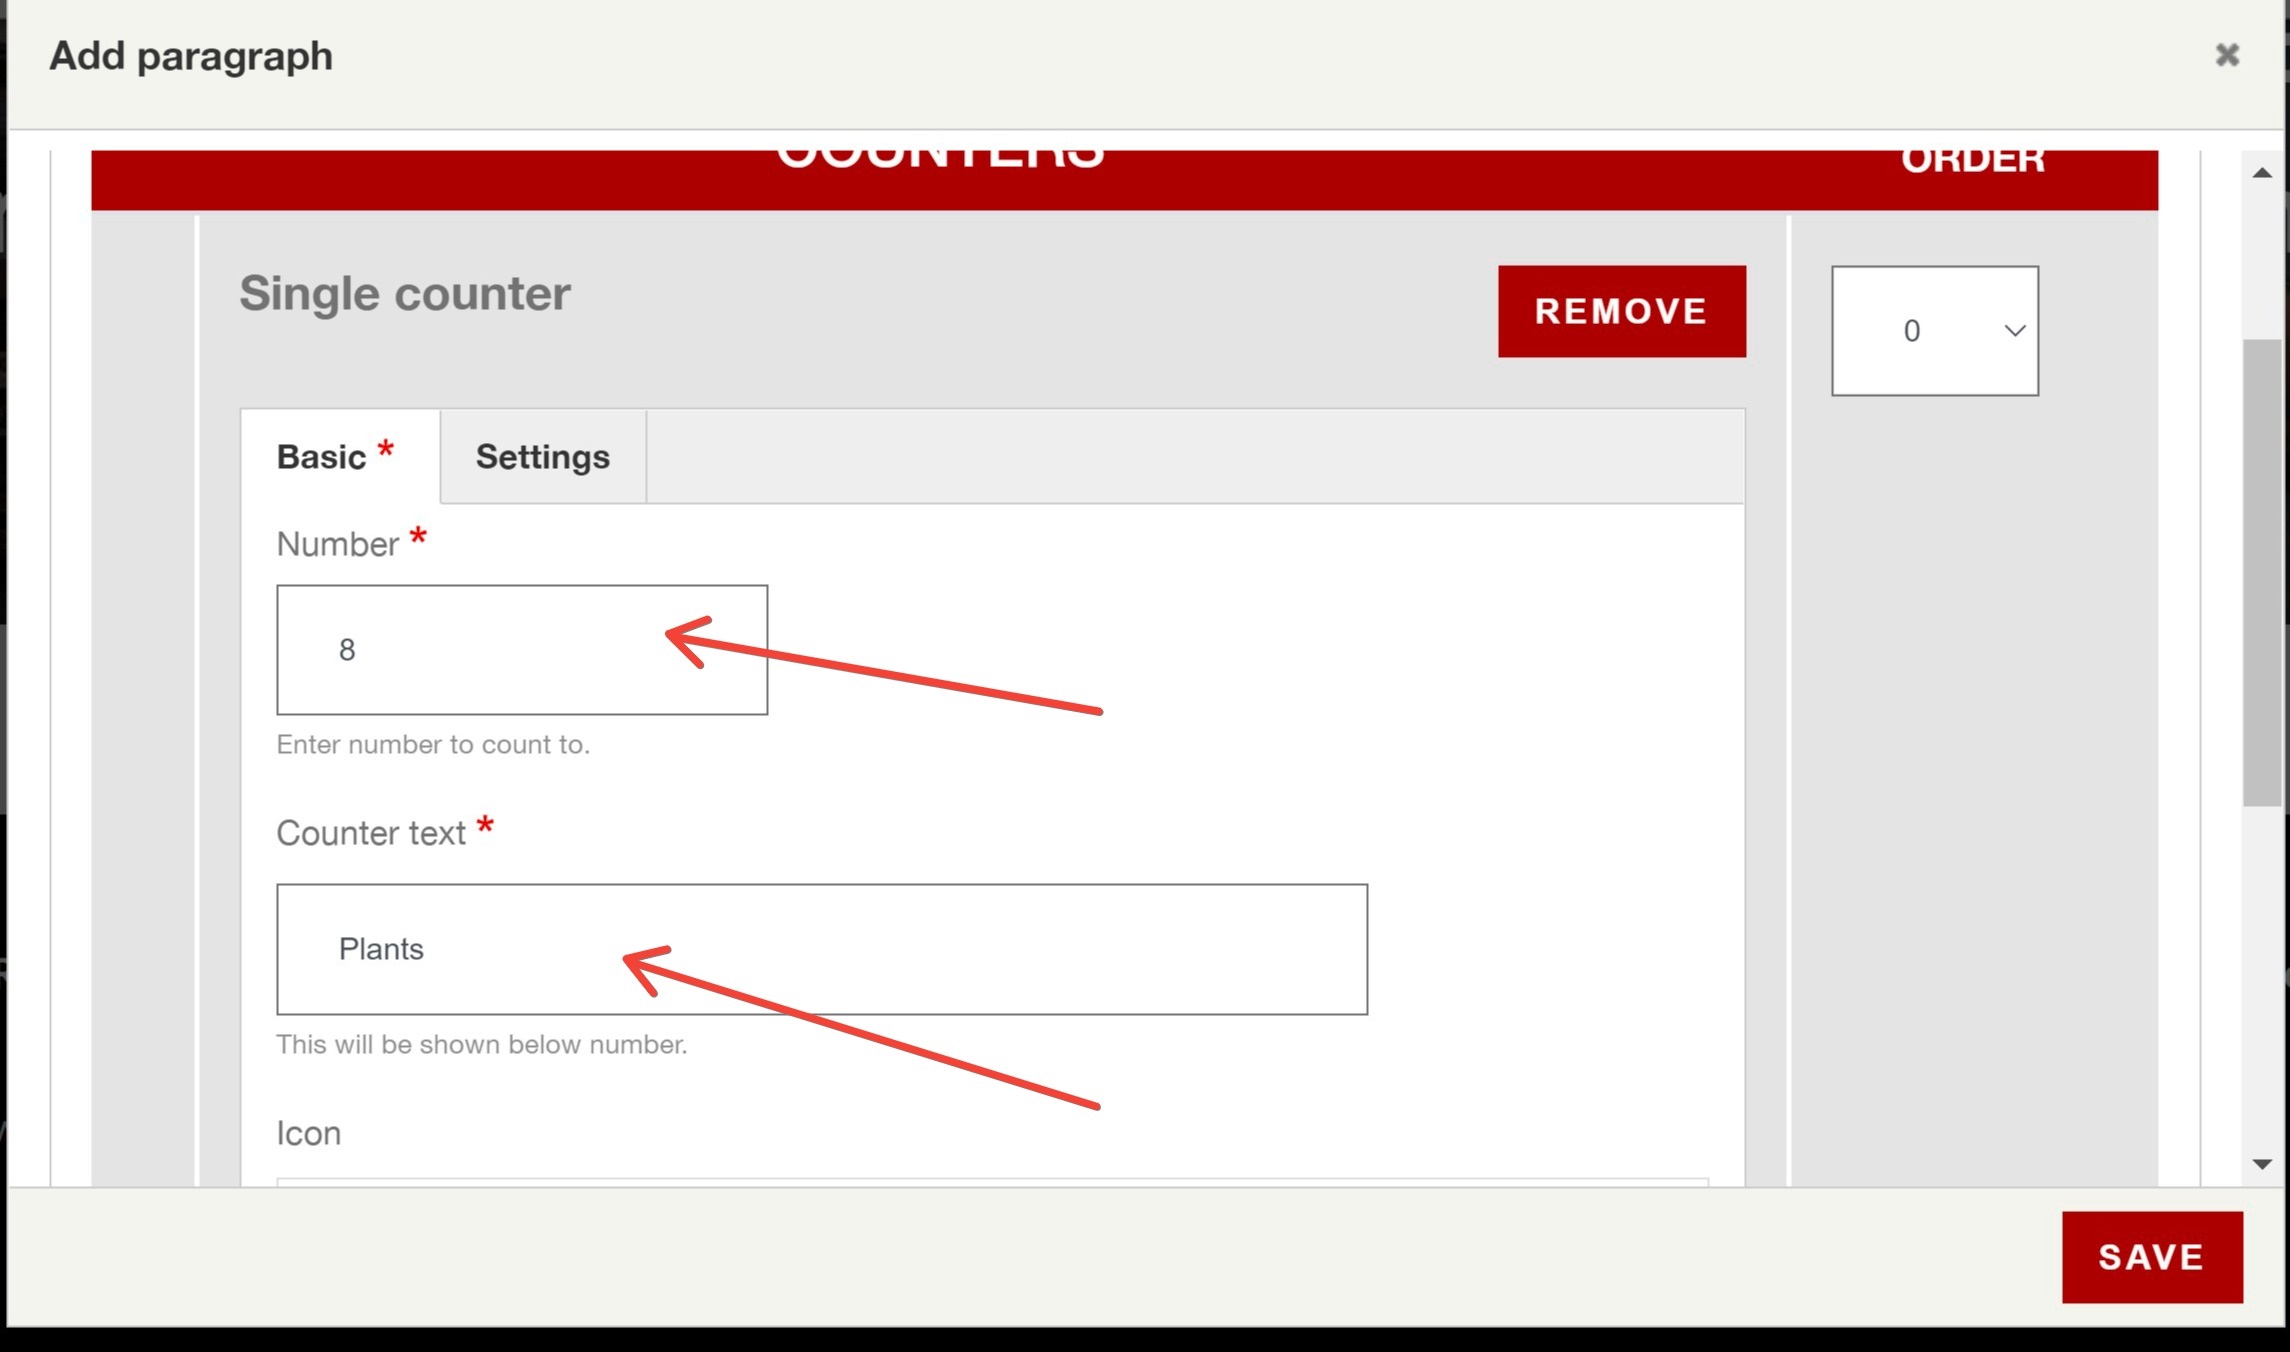
In the Items tab, we add individual values by clicking Add single counter and entering a digit and a text. We create 4 such elements and click Save.
The finished section should look like this:

Text page
The last element that we'll add to the services page will be a call to action. We add this simple section using the Text page component.
As in the case of the previous steps, we select the header, "long text" and define the button.
A ready services page in Droopler
The services page is finished. We only have to select Published in the selection field in the main options of the subpage. Now everything is ready and available online for the visitors of our website.
The whole Services subpage should look like this:
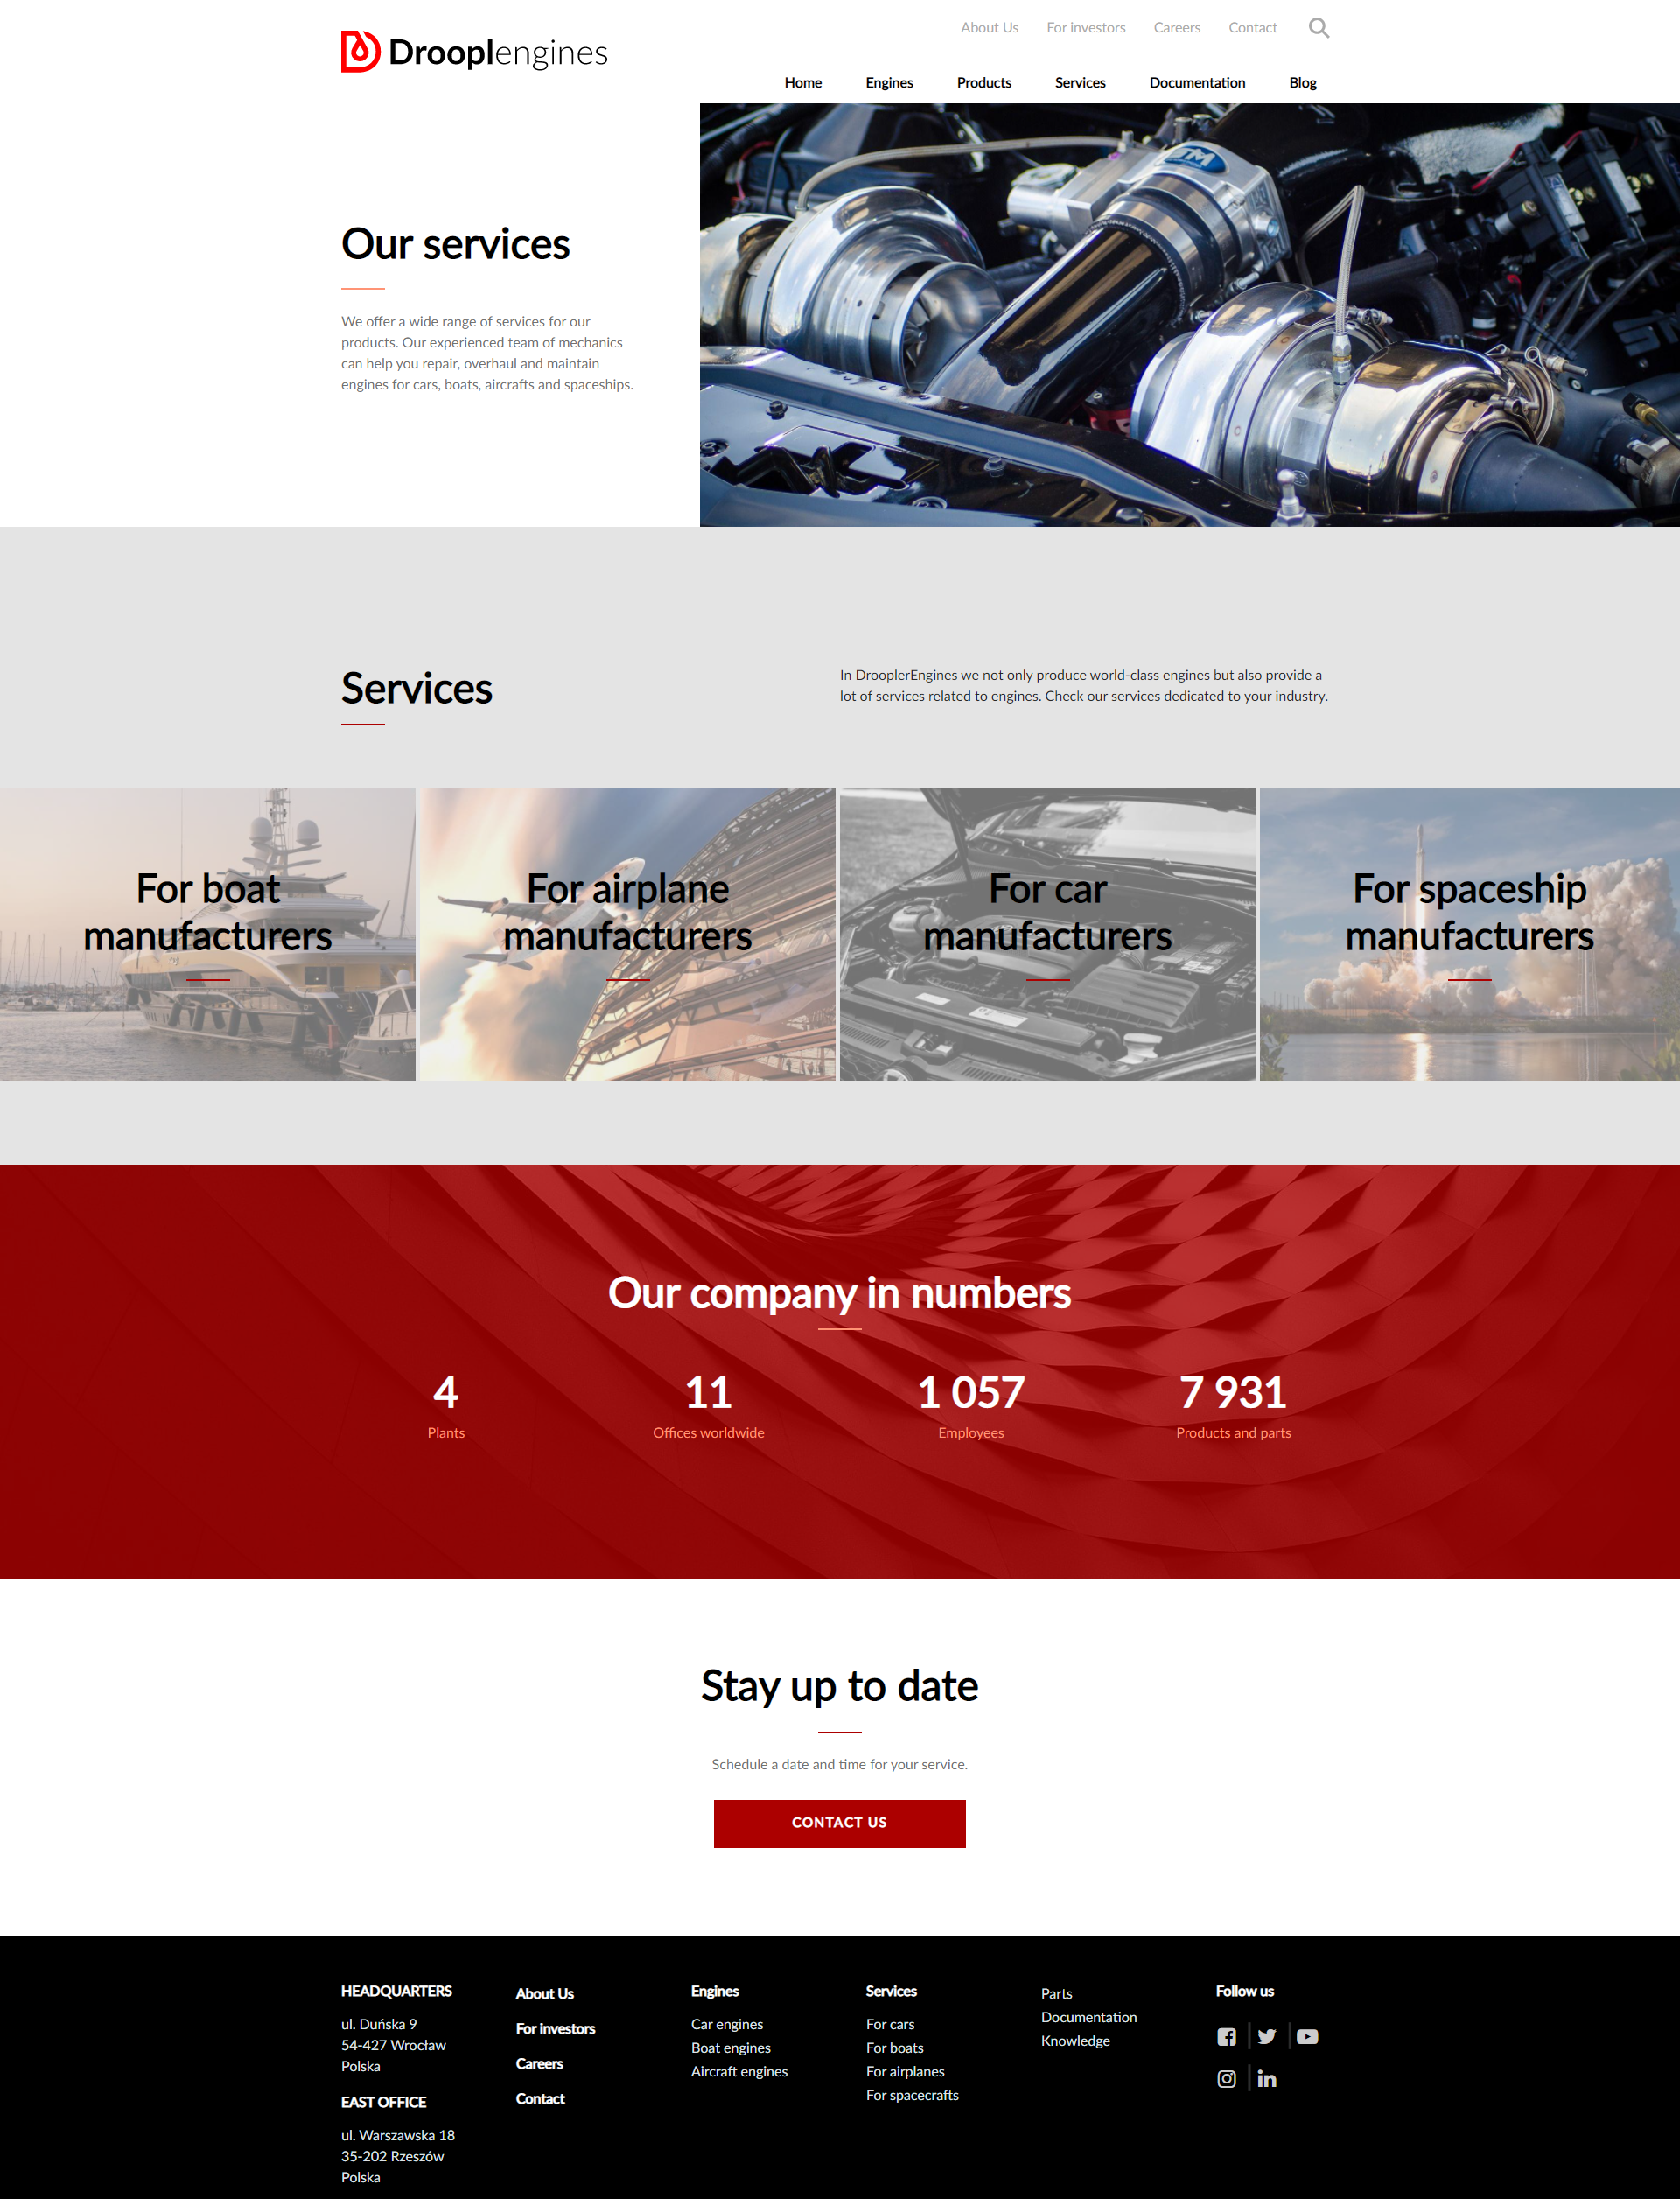
You can see the created subpage in the Droopler demo. We build other subpages in a similar way. We encourage you to experiment with the options and different components. The multitude of available possibilities allows for personalising the page in a simple and quick way, without the need for coding.