How to Easily Create a Blog in Droopler?
A blog is the part of a website where authors publish posts on a specific topic. It may be a separate part of a web page or actually cover the entire content of a particular site. Both private and corporate portals often have blogs. Due to their popularity, we've prepared a simple way to place your blog in Droopler, our Drupal distribution.
Blog in Drupal
There is a Blog module in Drupal that allows authorized users to run a blog. Blog posts may be public or private, depending on which roles have access to them. It's worth noting that the Blog module has been removed from the core of Drupal 8 and is now a contrib module. It used to be included in the core of Drupal 7 and earlier versions.
The Blog module adds to the main navigation menu the link that takes the visitor to the page that displays the latest blog posts by all users on the site. There is the Create content link – available to authorized persons – in the navigation menu, which takes the user to the page with the link to the post creation form, as well as the My blog link that displays the given user's posts. The Blog module also creates a block with recent posts, while Drupal provides an RSS feed for each post.
How to create a blog in Droopler
Droopler is a Drupal-based website builder where a blog is available as an optional add-on. It may be enabled during or after the installation by turning on the d_blog module. To add a new post, go to the /node/add/blog_post page where you'll see this form:
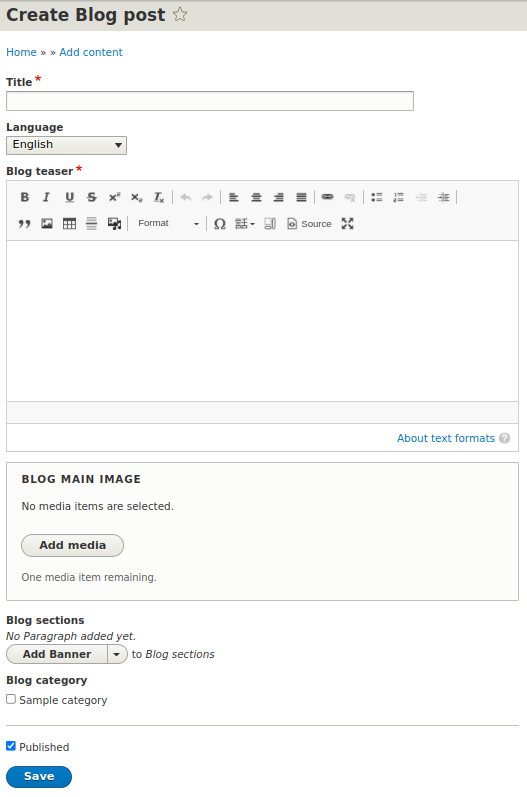
The form includes the following fields:
Title
The title of the article.
Language
The language of the article (only for multilanguage pages).
Blog teaser
The short introduction that'll be displayed in the post listing view.
Blog main image
The main image that'll appear at the top of the article and on the post listing page.
Blog sections
The main content of a post created with the use of Drupal paragraphs (that is – different sections).
Blog category
The list of tags.
The created post will appear on the /blog page.
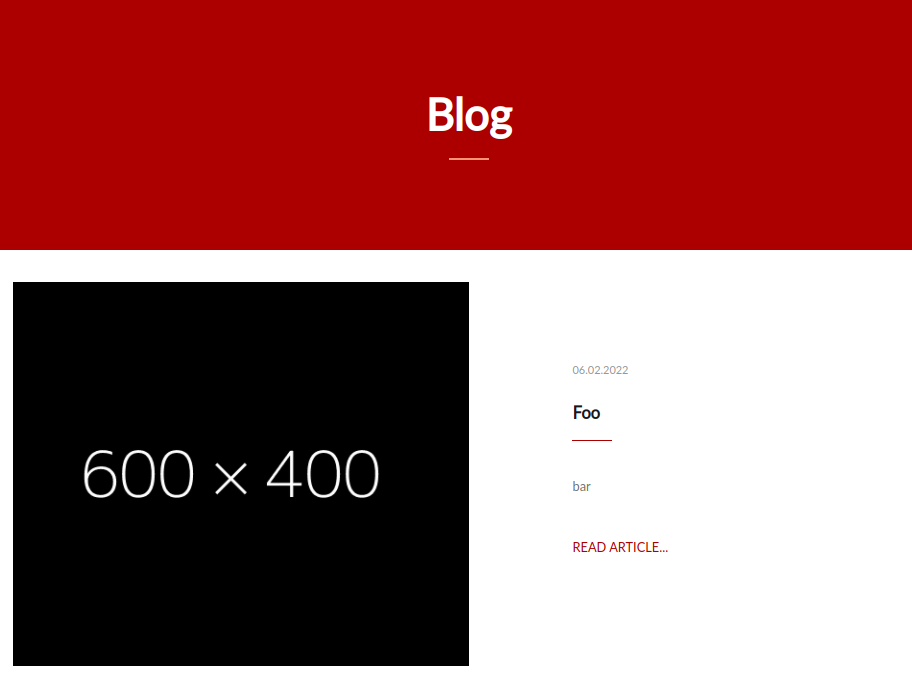
Droopler uses the Pathauto module. For this reason, all posts have this simple path: /blog/{post_title}
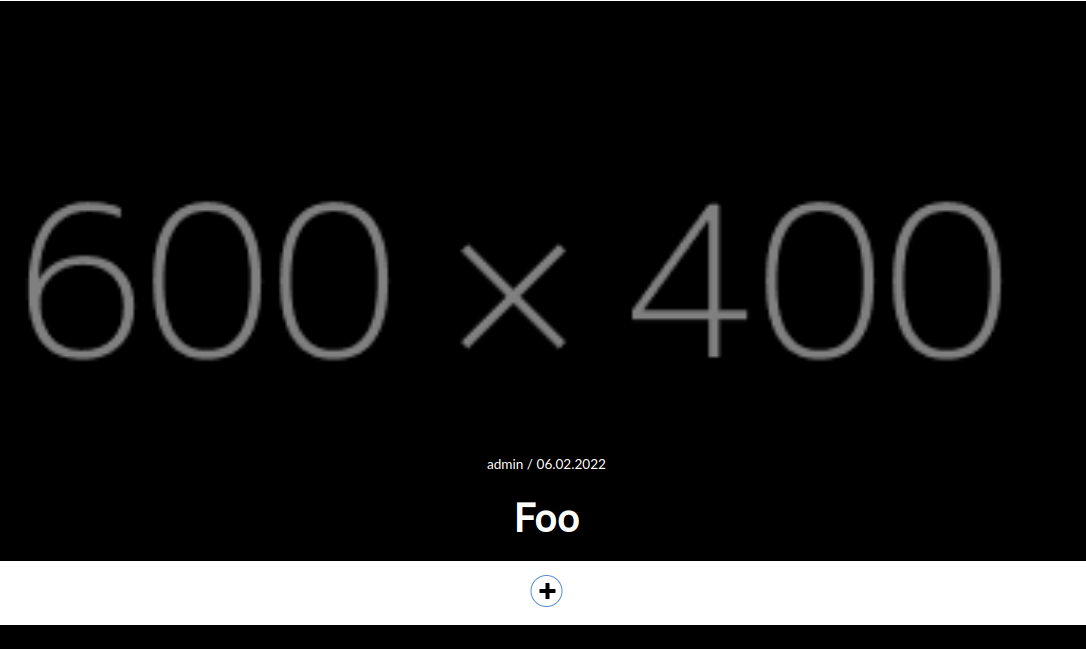
This is what the blog page looks like without sections:
Customization
A keen eye will definitely notice the "+" symbol in the screenshot above. This is the Geysir module's feature that makes adding and organising paragraphs easier than usual. To add a new section, just click on the "+" and then select any paragraph you want.
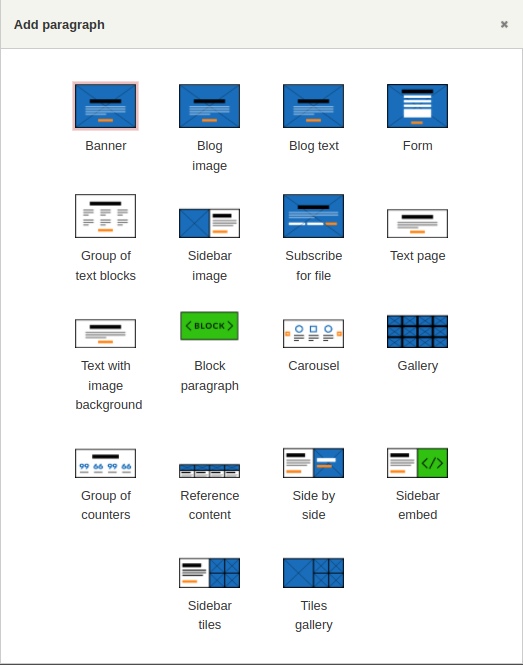
The list of paragraphs is long, which translates into many available options for creating content on your blog. The full demo of all paragraphs, along with all the possible configurations, is available in Droopler documentation.
A post may contain, for example, the following sections:
Blog text – the main text part.
Blog image – the images between text sections.
Text page - the section containing text and CTA (call to action).
Form – the section with a form.
Using only the paragraphs above, we've managed to create the following page:

As you can see, the potential is quite considerable. By dedicating some time, you can create a variety of posts, the layout of which may be adapted to the individual preferences of the author or to the post itself.
A simple way to create a blog
A blog is a must-have for many website. Running a company or personal blog brings many benefits and increases recognition. It also allows you to share insights and news in a way that is accessible to readers. Droopler minimizes the effort required to create a blog that works well. In addition, it provides many options for personalizing the content so as to adapt it to the individual preferences of the author or to the company requirements. The extensive documentation makes it much easier to familiarize yourself with the many possibilities offered by paragraphs. The Geysir module fits perfectly into other elements that make up the blog and definitely makes it easier to create posts.


